What Is Battlefield REDSEC? 🧨
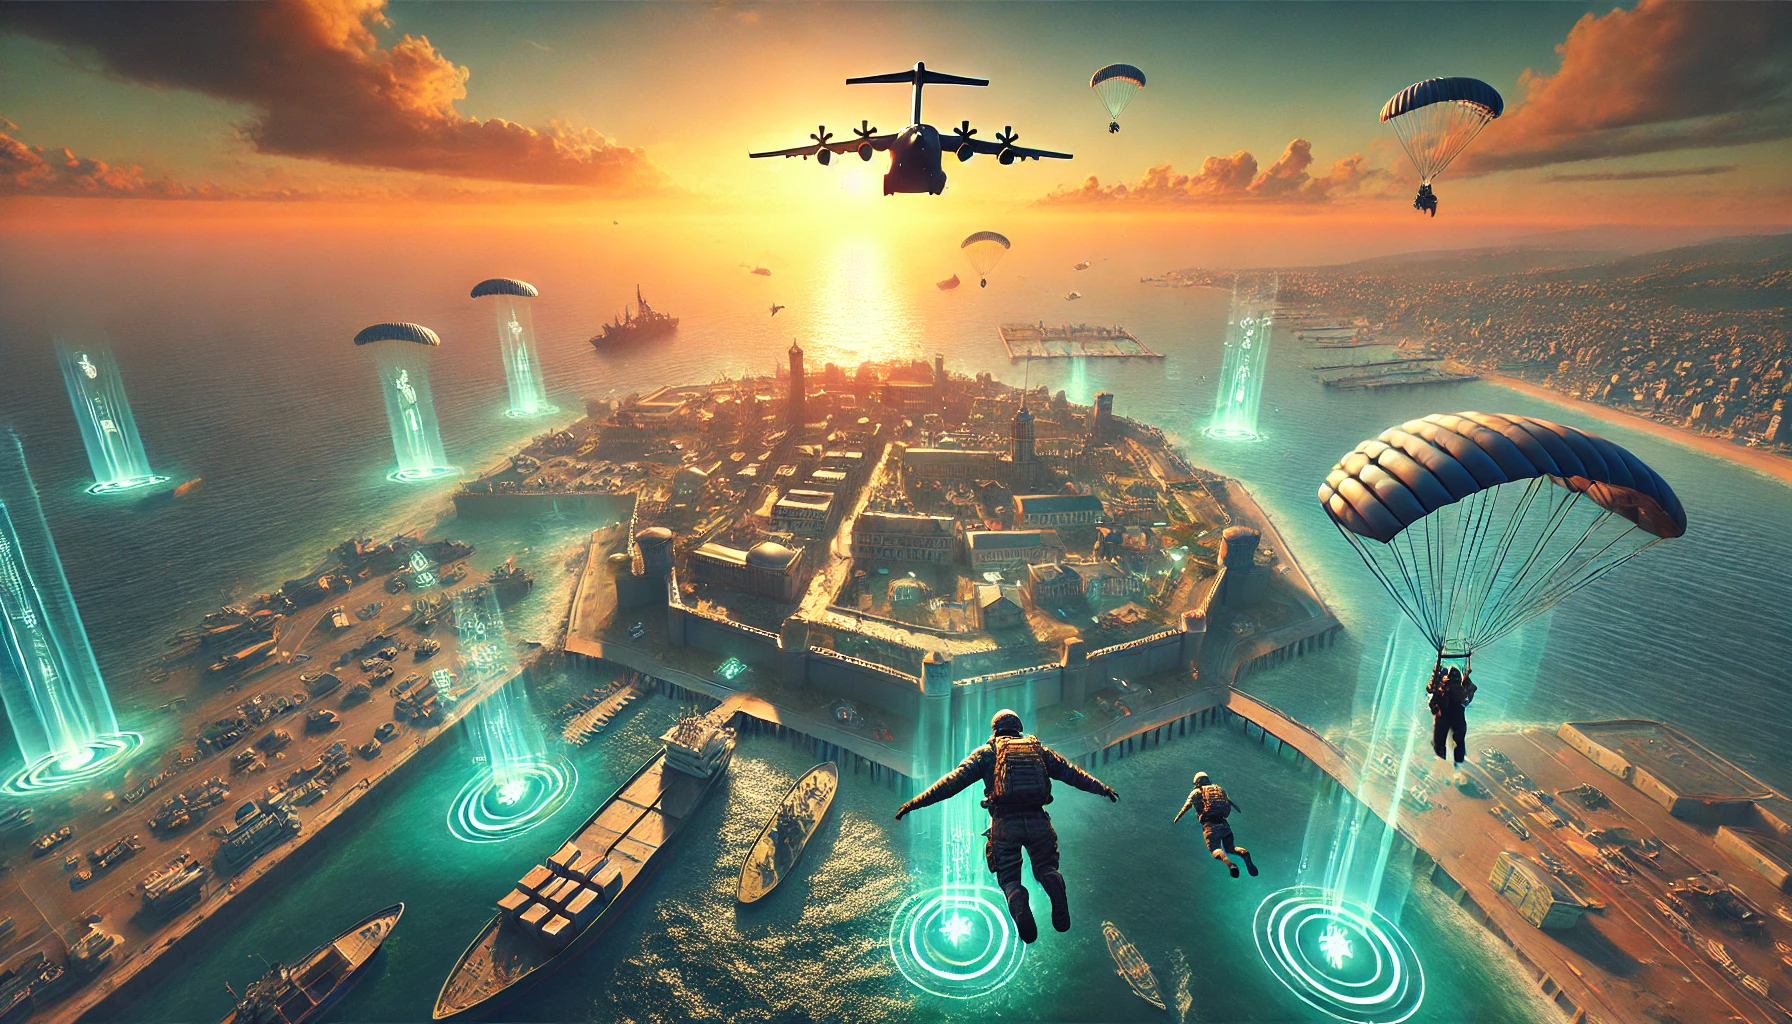
Battlefield REDSEC is a standalone, free-to-play Battle Royale built on Battlefield 6’s tech, launching alongside Season 1. You don’t need to own Battlefield 6 to play it, but if you do, both games share the same EA account, progression, and Battle Pass.
Key points:
- Up to 100 players on the huge Fort Lyndon map (duos, trios, or quads depending on playlist).
- Same class system as Battlefield 6: Assault, Engineer, Support, Recon with training paths and abilities.
- A brutal fire circle instead of a simple gas cloud — get caught and you die quickly.
- Contracts and missions that give cash, gear, vehicles, or custom loadout drops.
- Gauntlet mode inside REDSEC: short, objective-based 4v4v4v4 rounds for fast XP and warmups.
Think of REDSEC as a Battlefield-flavored BR: huge sandbox, lots of destruction, tanks and helis in the mid/late game, and the same guns and classes you’re already using in Battlefield 6.
How REDSEC Progression Connects to Battlefield 6 🔁
The biggest reason to care about REDSEC: shared progression.
Official pages and multiple guides confirm:
- Your career rank XP, weapon XP, attachments, and most cosmetics are shared between REDSEC and Battlefield 6 as long as you’re on the same EA ID.
- The Battle Pass is unified — tiers unlocked in one game show up in the other.
- Cross-progression works across PC, PS5, and Xbox thanks to your EA account.
What this means for you:
- You can level guns in REDSEC and then use the unlocked attachments in 64-player Battlefield 6 modes.
- Playing standard Conquest / Breakthrough also makes your REDSEC arsenal better.
- If you’re bored of regular lobbies, you can grind your account through BR without losing progress.
If you ever feel stuck behind players with fully leveled meta guns, REDSEC is a great way to catch up — and if you want to skip some of that grind completely, you can always lean on services from BoostRoom to handle the repetitive leveling while you focus on the fun parts.
Fort Lyndon Map Overview — Zones, POIs & Hot Drops 🗺️
Fort Lyndon is the largest Battlefield map to date and the exclusive playground for REDSEC. It’s built around a massive coastal region with city blocks, industrial zones, resorts, and open fields.
Commonly listed regions and POIs include:
- Urban/central zones: Fort Lyndon proper, Downtown blocks, construction sites.
- Coastal & resort areas: Marina, Angel Beach, Golf Resort.
- Industrial hubs: The Docks, Oil Pumps, Radar Comms, Military Storage, Water Treatment.
- Outer ring hotspots: Suburbs, farms, small villages, and hilltop compounds.
Loot distribution and hot drops shift patch-to-patch, but some general rules are stable:
- Center city (Downtown / Fort core):
- Highest risk, high loot density, lots of vertical fights.
- Great if your squad is confident in close-quarters chaos.
- Industrial belts (Docks / Oil / Comms):
- Tons of sightlines and containers; strong mid-range fights.
- Great for Engineer/Assault duos who like rifles and launchers.
- Resort/coastal areas (Golf Resort / Angel Beach / Marina):
- Mix of open fairways and dense buildings.
- Good compromise between loot and safety, especially if you rotate early.
- Far-out hamlets:
- Safer early-game, weaker loot, but perfect for slow, contract-focused starts.
Learn 2–3 comfortable drop routes: one hot (for start-fighting practice), one medium-risk, and one chill path for challenges or warmups.
Core Rules of REDSEC Battle Royale 🔥
At a high level, REDSEC plays like a modern BR with Battlefield flavor:
- Up to 99–100 players in duos/quads on Fort Lyndon.
- A closing fire ring that kills incredibly fast instead of slow chip damage — you cannot sit in the zone.
- Ground loot with rarity tiers, contracts, missions, and battle pickups that can grant powerful items or vehicles.
- Same class abilities and destruction as Battlefield 6, so you still blow walls, open lines of sight, and play around cover that can be destroyed.
Two big things to remember:
- Zone = hard fail state. Don’t treat it like light gas; rotating late is a fast way to throw games.
- Missions/contracts win games. They provide money, intel, vehicles, and sometimes access to custom loadout drops — all huge power spikes.
Classes, Training & Custom Loadouts in REDSEC 🎯
REDSEC keeps the same four classes as Battlefield 6, with upgradeable training paths that improve their role abilities.
- Assault: Strong in close/mid fights; great for chasing picks, breaching buildings, and holding short angles.
- Engineer: Brings launchers and tech to control vehicles and doors.
- Support: Sustains the team with ammo, heals, and faster revives.
- Recon: Provides intel with sensors, drones, and long-range pressure.
Custom loadouts
Custom loadouts are where your Battlefield 6 grind really shines:
- Your multiplayer custom weapons carry into REDSEC thanks to shared progression.
- You can access them in BR by:
- Completing certain missions/contracts that reward a loadout drop.
- Contesting global custom drops that appear on the map during events (marked with special pods/icons).
Each drop usually lets you grab one custom weapon, not a full class setup, so plan which gun matters most (often your primary).
Recommended loadout basics
- Primary: One gun you’ve fully leveled in Battlefield 6 (AR/SMG/DMR), tuned for your comfort.
- Secondary: A reliable pistol or shotgun for tight spaces.
- Tactical: Smoke, stuns, or flashes for closes and revives.
- Lethal: Frag, semtex, or mines depending on your style.
If you don’t have your perfect guns unlocked yet, you can grind them in REDSEC, or a service like BoostRoom can help you get those weapons and attachments ready so your BR loadouts feel “finished” sooner.
Early Game — Best Ways to Start Strong 🪂
The first 2–3 minutes decide whether your squad enters mid game with momentum or spends the match spectating. Use this flow:
- Pick smart drops, not random ones.
- For consistent top 10s, aim for edge POIs with at least two nearby buildings and one rotation route (road or ridge).
- Only go central hot drops (Fort core / big resorts) when you’re in the mood to brawl and practice mechanics.
- Land with a plan.
- Call one main building and one backup.
- Prioritize: gun → armor → utility (not the other way around).
- Clear your local squad, then reset.
- Don’t chase kills across half the POI; finish your local fight, loot quickly, and reposition before third parties arrive.
- Grab a contract early.
- Bounty/target missions give you money + info.
- Loot/scan contracts help you stock up without RNG.
- Commit to one class identity.
- Two Supports + one Assault + one Recon is a strong default: sustain, entry power, and intel all in one.
If you find your team constantly dying on drop, slow the tempo: pick quieter POIs, land together, and only push once everyone has plates, a primary gun, and at least one piece of utility.
Mid Game — Rotations, Contracts & Vehicle Control 🚙
Mid game begins when the first few circles have closed and most of the map is already looted.
Rotation rules
- Play ahead of the fire. The REDSEC ring kills fast; if you’re running from it, your choices get worse and worse.
- Rotate with cover, not straight lines. Use ridges, walls, train cars, or buildings as “checkpoints” between circles.
- Respect sound. Fort Lyndon has lots of verticality — elevator shafts, scaffolds, stairwells. Always clear up and down before crossing open space.
Contract and mission value
Contracts in REDSEC aren’t just extra XP; they’re massive power spikes:
- Bounty / target missions: Give intel on nearby squads and pay out on a kill or survival.
- Loot/scan contracts: Highlight loot-heavy areas; good for recovering after a rough early fight.
- Vehicle or high-risk missions: Can grant strong vehicles (MBT, IFV) or special drops once completed.
Stacking 2–3 contracts over mid game is often the difference between limping into final circle and rolling in full plates and fully kitted guns.
Vehicles in mid game
Fort Lyndon mid circles are where vehicles really matter:
- IFVs and AA trucks are amazing for edge control and pushing squads out of houses.
- Helis are strong for repositioning, but only if AA presence is low or distracted.
- Park vehicles behind hardcover and use them as insurance, not as battering rams.
Only commit to a vehicle push if you know there’s no strong AV/AA presence looking at you — a single smart Engineer duo can ruin your whole round.
End Game — Winning the Final Ring 🏆
The last 1–2 circles in REDSEC are brutal: tiny safe zones, limited cover, and almost no second chances.
End-game fundamentals:
- Get to the strong position first.
- You want cover + sightlines + exit paths.
- Prioritize rooftops with stair coverage, solid rock formations, or inside corners with at least two ways out.
- Play the edge, not the dead center.
- Center often pulls every angle onto you.
- Edge play lets you clear one side and slowly “sweep” toward final circle.
- Use utility aggressively.
- Smokes to cross or res.
- Stuns/flashes when pushing final buildings.
- Frags to deny corners and force people into open angles.
- Listen more than you peek.
- Footsteps, doors, ziplines, and explosions tell you everything about who’s left and where.
- Class synergy decides wins:
- Support keeps plates and revives flowing.
- Recon sensors/drones uncover last squads.
- Assault/Engineer finish fights with coordinated pushes.
If you’re losing lots of finals, record or mentally replay those endings: Was your position bad? Did you rotate too late? Did you die with utility unused? Usually, it’s one of those three.
Gauntlet Mode — Fast Rounds, Fast Practice ⚡
Gauntlet is REDSEC’s 5-minute objective mode: eight 4-player squads run through quick, round-based matches on smaller slices of Fort Lyndon.
Why it’s worth playing:
- You get lots of gunfights in a short time, which is perfect for aim practice.
- Objectives force you to learn good utility usage and peeks.
- XP, weapon progress, and Battle Pass levels still move thanks to shared progression.
Use Gauntlet as your warmup before “serious” BR sessions: 2–3 rounds to get your aim and movement going, then hop back into full REDSEC matches.
Crossplay, Settings & Quality-of-Life Tweaks ⚙️
REDSEC, like Battlefield 6, supports full crossplay and cross-progression across PC, PS5, and Xbox Series X|S through your EA account.
A few useful details:
- Crossplay is on by default and uses “console-preferred” matchmaking, mixing platforms only when needed.
- Console players can disable crossplay through settings; PC can’t (at least for now), though EA says they’re reviewing feedback.
- Cross-progression means you can swap devices and keep all progress if you log in with the same EA ID.
Performance and comfort tips:
- FOV: Push it higher on PC (and if your console supports it) for more awareness, but not so high that targets become tiny.
- Sensitivity: Use the same sens you run in Battlefield 6 multiplayer so your muscle memory carries over.
- Visuals: Prioritize clarity over beauty — better contrast, lower post-processing, and sharper image make spotting players much easier.
Using REDSEC to Supercharge Your Battlefield 6 Account 🚀
Because of shared progression, REDSEC is basically a giant progression engine for Battlefield 6:
- Level weapons in REDSEC and bring those attachments back into Conquest and Breakthrough.
- Clear Battle Pass tiers and cosmetic unlocks even if you’re more in the mood for BR than standard modes.
- Farm class XP (Assault/Engineer/Support/Recon) while learning Fort Lyndon’s angles and rotations.
You can also flip it: grind classes and guns in Battlefield 6’s 64-player modes (where you get more predictable fights and vehicle XP), then bring those maxed builds into REDSEC for easy custom loadout wins.
And if you ever decide you want certain guns, attachments, or rank milestones “done” without spending weeks grinding, Battlefield-focused services from BoostRoom can help you skip some of that workload so you can jump straight into high-level BR matches with fully ready gear.
Quick Beginner Checklist ✅
Before you queue your next REDSEC match, keep this short checklist in mind:
- Pick one or two safe drop routes and one hot drop for practice.
- Always secure gun + plates + utility before chasing fights.
- Grab at least one contract in early/mid game.
- Rotate ahead of the fire ring, not inside it.
- Aim to secure one custom weapon from a mission or global drop every match.
- Communicate clear roles in your squad: who’s Support, who’s Recon, who’s entry.
- Use Gauntlet as a warmup tool, not just a side mode.
Do this consistently and you’ll see your win rate, average placement, and account progression all climb together.
