What “Kinesthetic Combat” Actually Means 🧠
“Kinesthetic” here is DICE’s label for a package of changes that make your soldier feel more connected to the world: crouch sprinting, contextual leaning around cover, weapon mounting to reduce recoil, quick rolls, and drag-and-revive so you can pull a teammate to safety before the heal. The studio and partners have described this system repeatedly since the July reveal and throughout launch coverage. The point is control — you have more ways to shape an engagement before you fire.
You’ll also notice BF6’s movement choices are being tuned to avoid “superhuman” spam: slide-to-jump momentum is reduced, jump height decays if you chain jumps, and firing accuracy is lower while sliding or airborne. That elevates cover discipline, predictable peeks, and team pushes over lone-wolf parkour.

Core Movement Fundamentals — The Rules Under the Hood ⚙️
Before the cool tech, nail the basics:
- Stance as a signal
- Standing gives mobility; crouch sprint tightens your profile and lets you snake along cover; going prone makes you stable but easy to pin. Crouch sprinting and rolls are part of the new system — they exist for a reason: to traverse danger with less exposure and to recover momentum after drops.
- Accuracy vs. motion
- Post-beta updates increased inaccuracy while you shoot mid-slide/jump and trimmed slide-to-jump momentum. Don’t build habits around “shoot while surfing”; build habits around peek → plant → shoot.
- Friction creates windows
- The dev team has been upfront about reining in CoD-style slide hopping. That means predictable windows of vulnerability now exist when opponents slide, pop, and fire. Angle for those windows instead of mirroring their movement.
Slides — From Crutch to Precision Tool 🛝
What changed: Slide-to-jump momentum is muted; chaining jumps loses height; shooting accuracy while sliding is worse. Translation: slides are for entry, distance-cutting, or crash-landing into cover, not for spraying at full speed.
Best uses now:
- Cover-to-cover dashes: Break a sightline, then stop sliding before shooting.
- Angle breaking: Slide into off-angles on stairs and rubble to force head-height crosshair gaps.
- Objective breaches: On Breakthrough/Escalation, slide the last 2–3 meters into hard cover, stand, then pre-aim the common swing.
Practice drill: In a private server, pick a doorway and a waist-high block. Sprint → slide → stand → fire a 3–5-round burst at a dummy point. Add a second dummy angle and switch target after you stand. Repeat until the stand-then-shoot is automatic. (You’re unlearning “shoot while sliding.”)
Crouch Sprint — The Silent Needle 🪡
Crouch sprinting is new to Battlefield proper and it’s perfect for low profile approaches along jersey barriers, car rows, sandbags, and trench lips. Previews and hands-on reports repeatedly call out crouch sprint + quick rolls as signature BF6 movement.
Use it to:
- Ghost across short openers that would get you leg-tagged if standing.
- Re-peek lower than your last head-height peek to desync enemy crosshair placement.
- Descent management: crouch sprint off short ledges and chain a roll to stay safe.
Gotchas: If crouch sprint is triggering oddly on PC, double-check keybinds. (Some players reported oddities early on; much of this has been smoothed in patches.)
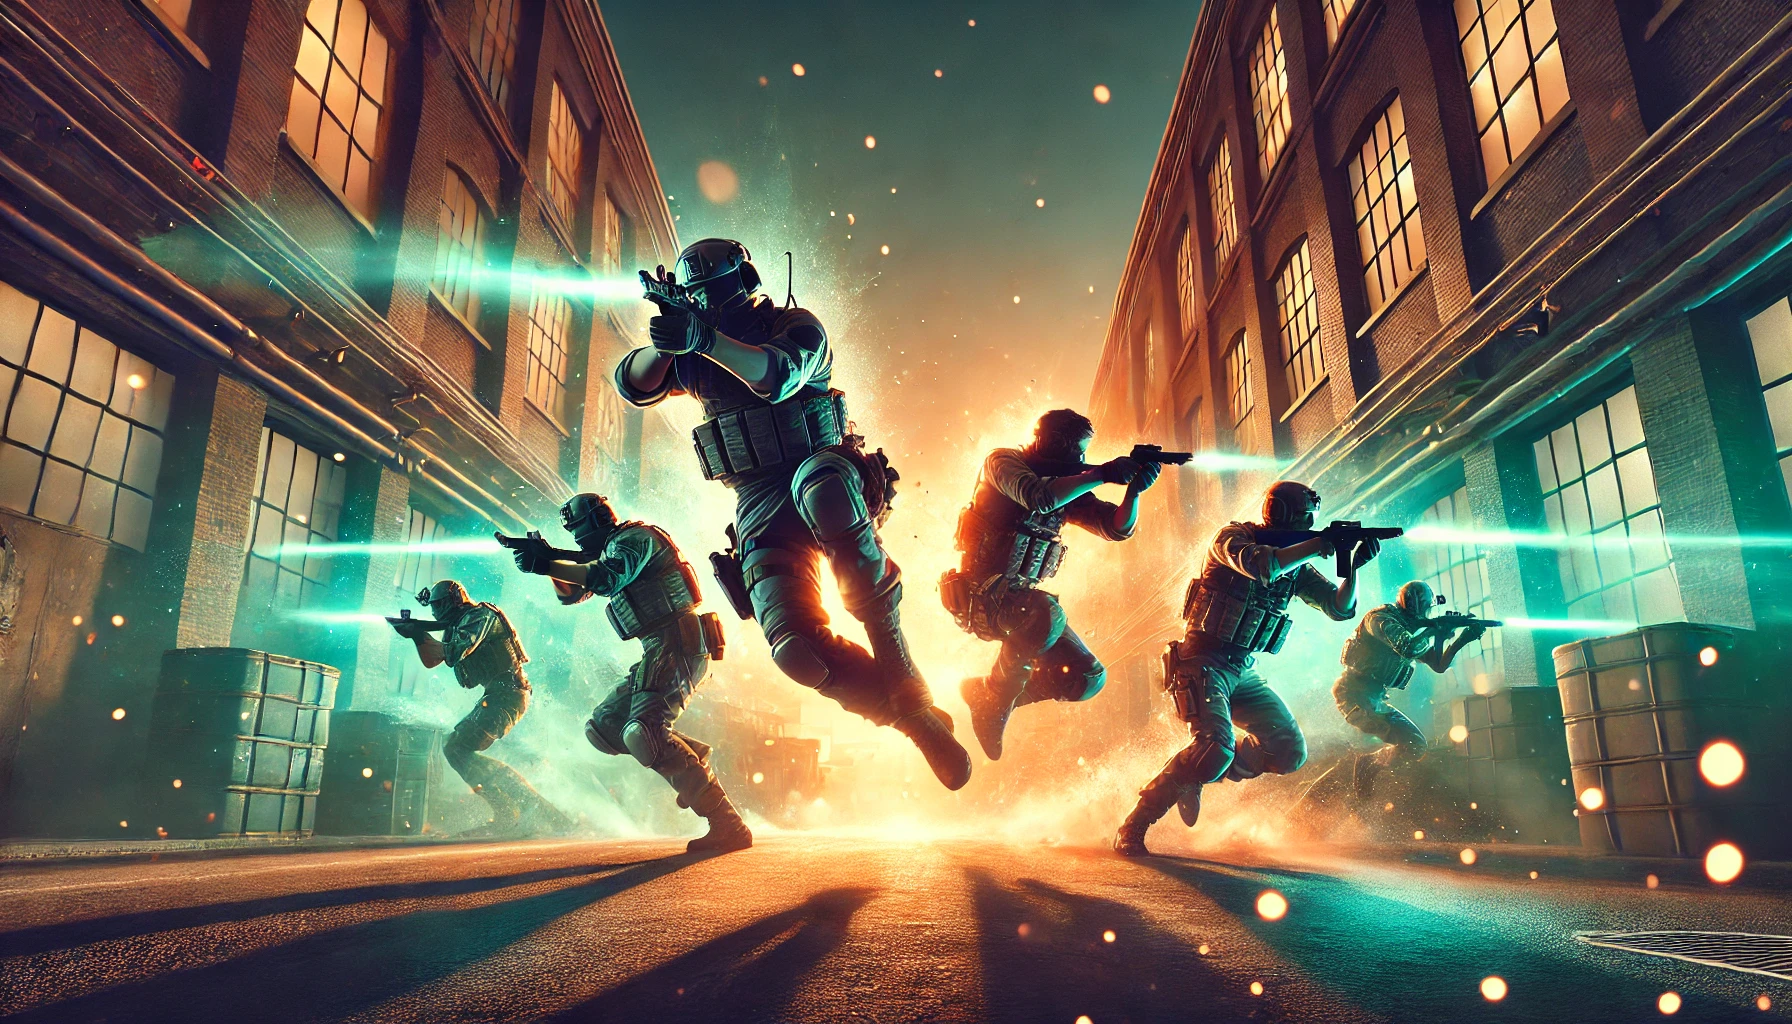
Combat Rolls — Save HP, Keep Tempo 🤸
BF6 gives you quick rolls to soften falls and reset your gun after drops. Use rolls to exit blast zones, change horizontal line quickly, and minimize stagger when dropping into fights. Rolls were highlighted in previews and are tuned in recent animation updates to settle faster.
Roll habits that win:
- Roll into cover, not past it; you want the gun up ASAP.
- Drop from a window → roll → mount & hold that new line (more on mounting below).
- If you take chip damage mid-roll, don’t ego peek immediately; let the roll’s position change bait a swing.
Leaning & Corner Peeks — The Bread and Butter 🪟
Contextual leaning lets you slice angles without overexposing. Pair lean with mounting at corners for recoil control. Leaning and peeking have been cleaned up in patches for more reliable transitions, which makes these mechanics core to winning head-level trades.
Micro-fundamentals:
- Head-then-shoulder: ease the lean until you just unlock the hitbox.
- Break rhythm: left-side peeks are harder due to camera offset; use micro-strafes to de-sync enemy ADS timing.
- Pre-aim lanes: lean out already aiming at a specific pixel, not a general corridor.
Weapon Mounting — Stability on Demand 🧱
Mounting reduces recoil and aim sway when tethered to a surface. EA’s materials, partners, and previews repeatedly list weapon mounting among BF6’s headline combat tools, and DICE has ironed out some mounting inconsistencies post-launch. If you’re anchoring an angle or holding a lane in Breakthrough, it’s a free buff.
When to mount:
- Long-lane LMG/DMR fights in Mirak Valley’s river flats or Firestorm’s oilfields.
- Crossfire holds on New Sobek City scaffolding where micro-sway ruins beams.
- Post-drop roll: roll into cover, mount, and punish the chase.
Mounting trades mobility for control; if you commit, commit — set a killbox and make them cross it.
Drag-and-Revive — Turning Bleeds into Baits 🧑⚕️
Being able to drag a downed teammate out of lane before the revive is one of BF6’s biggest tactical upgrades. It converts “dead in the open” into “revivable behind hardcover,” and it lets you set ambushes for greedy pushers. The feature is part of Kinesthetic Combat and appears across reveal/press materials.
Plays that print tickets:
- Smoke + drag: pop smoke slightly past your teammate so you drag into its densest part.
- Corner pull + stick: yank behind a 90-degree, hold the swing with your pistol while a third starts the revive.
- Fake-drag bait: touch the drag, cancel, pre-aim the chase path; many players over-swing to finish DBNO.
Players have been loudly positive about drag-revive for creating movie-moment rescues that also win rounds — lean into it.
Hitching Rides, Vaults & Windows — Speed Without Spam 🚁
BF6 also encourages riding vehicles (tank hulls, trucks, birds) to reposition squads, and smashing through windows into interior lines. These aren’t gimmicks; they’re how you steal tempo — without relying on nerfed slide chains. Hands-on previews emphasize window breaks, crouch sprint entries, and vehicle hitching as real tools, not fluff.
Rules of thumb:
- If a rooftop is hot, don’t ladder — hitch a ride and drop past the angle, roll, and clear.
- Vault with intent: pre-aim your exit point. Vault → half-beat → peek; let hip-to-ADS settle.
- Windows are funnels: two enter, one holds the reverse angle to catch the counter-rush.
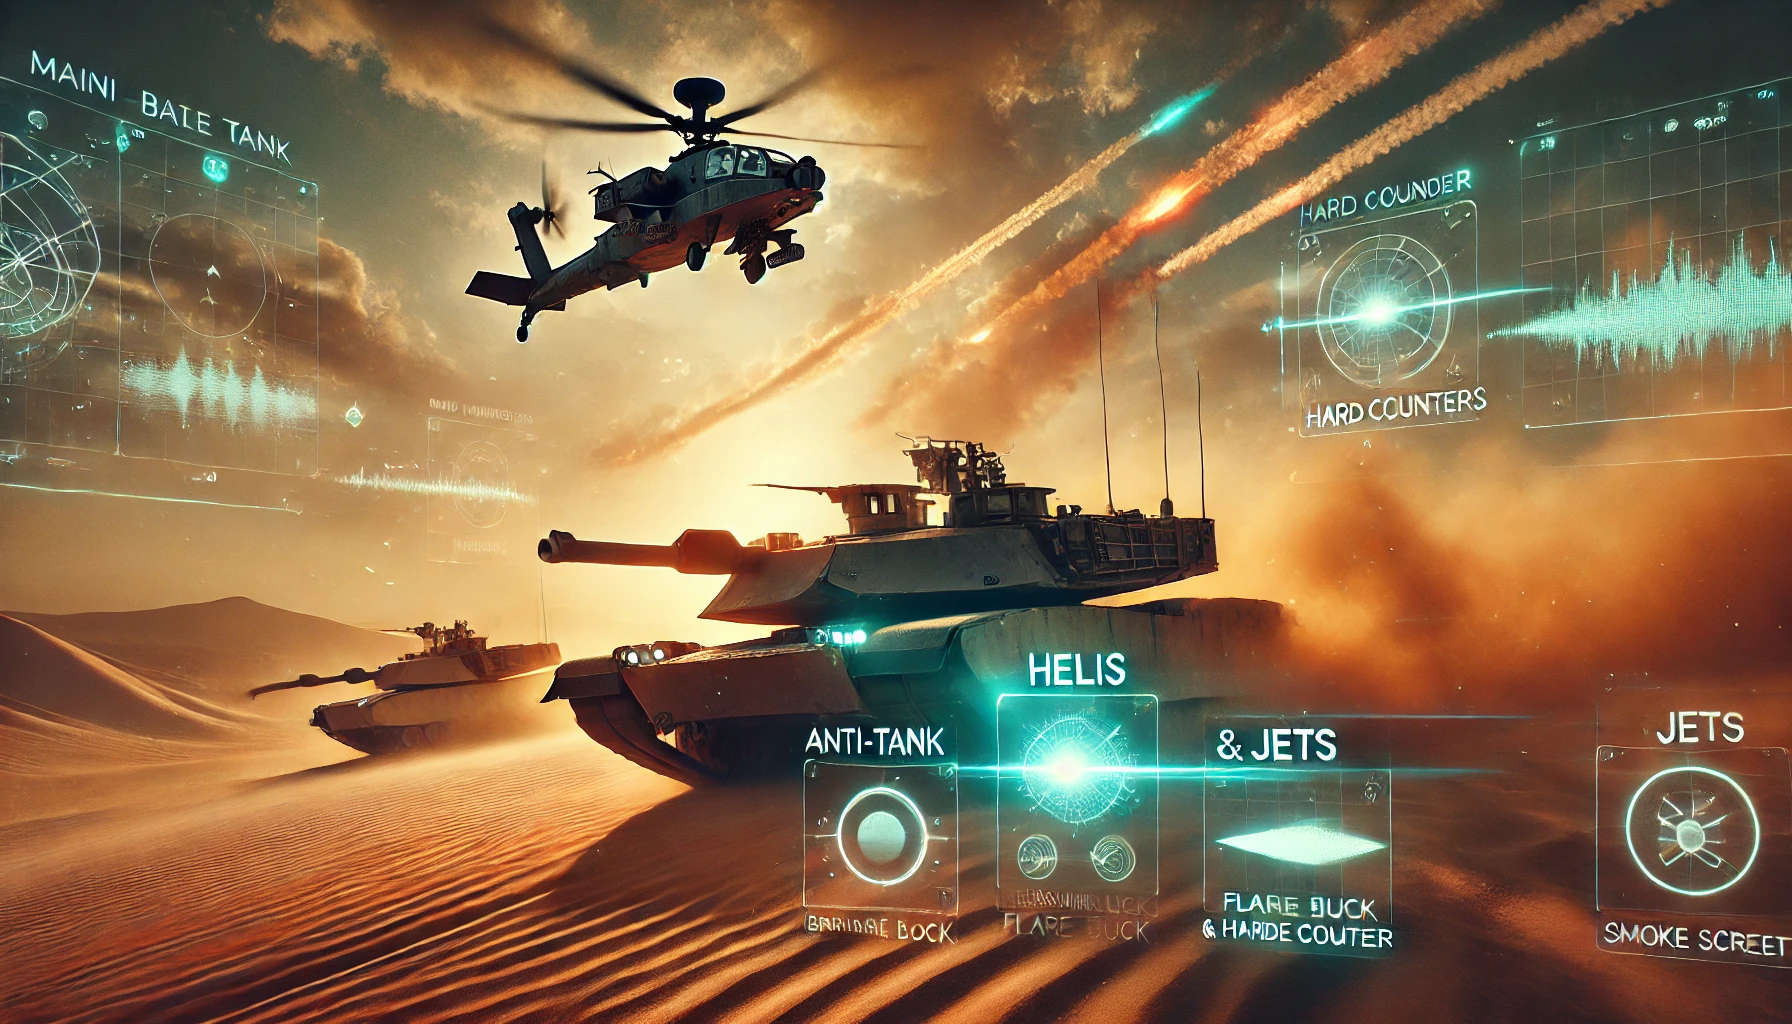
Mode-by-Mode Movement — Win Where It Matters 🎯
Conquest — Rotations > Duels 🧭
Conquest is about being somewhere first with guns up. Use crouch sprint + rolls to cross small kill zones and avoid ego-slides in open fields: slide only to break the last sightline into cover, then plant and shoot. If your squad wipes mid-field, drag-revive behind the nearest density (crates, jersey barriers) rather than reviving in place.
Breakthrough — Timing the Crash 🧨
Attackers win when three things hit together: smoke, stuns, and bodies. Chain crouch sprint → slide → stand → mount on the final cover piece and hold a no-cross line for your team. Defending, stagger your peeks around leaned anchors so attackers never get two defenders in the same spray. Recent updates adjusted layouts to balance lanes; expect more cover to matter.
Escalation — Shrinking Space, Rising Stakes 🔻
As the combat zone tightens, mounting goes up in value (stable beams), while slides are best used to crash the final head-glitch. Stacking drag-revives is huge because bodies that would be unrevivable in open ground can be pulled just inside the next circle wall.
REDSEC (BR) — Survival Footwork 🪖
Fort Lyndon’s BR demands quiet traversals, quick rolls off drops, and strict discipline about sliding only into cover. Use crouch sprint to thread across roads; don’t wide-swing open grass. Mount to pin rotations when the ring forces bridge crossings, then drag-revive behind structure when possible. The official REDSEC primer spells out the basics; the rest is footwork.
Map-Specific Movement Notes 🗺️
Mirak Valley (Tajikistan) — The Big One
The largest launch map mixes river flats, hamlets, and long vehicle lanes. Movement is about terrain lines: dip along riverbanks in crouch sprint, then roll behind rocks to break LOS before your final peek. Mount frequently — your LMG/DMR will beam on these sightlines.
New Sobek City (Cairo Outskirts) — Urban Slides, Vertical Rolls
Scaffolds and dunes give stacked vertical fights. Slide the last meters into rebar stacks; don’t shoot during the slide, stand and plant. Use window breaks to side-enter construction blocks, then roll to cancel landing lag and catch crossers.
Operation Firestorm — Legacy Angles, New Tools
The classic oilfields favor mounting and lean peeks through catwalks. Crouch sprint under pipes, roll after short drops, and don’t contest long rails standing; mount and punish. (Expect Escalation variants to force spicy final pushes through refinery lanes.)
Class Synergy — Move Like Your Kit Matters 🧰
- Assault: Best at entry pathing. Stock smokes/stuns, crouch sprint to the piece, then slide the last steps. Drag-revive after you crack open space.
- Engineer: Plays around vehicles and hard cover. Crouch-sprint with the tank; mount to deny counter-pushes on repair stops.
- Support: The drag-revive king. Your job is to lower TTK against your team: position to drag, then heal and restock.
- Recon: Lean, mount, and rotate early. Rolls let you reposition after rooftop jumps without the clumsy “thud” that gets you picked. (Class overviews reaffirm the classic identities are back — build your movement plan around that identity.)
Practice Plan — 15 Minutes to Lock It In ⏱️
5 min — Slide Entries (No Shooting While Sliding)
Pick two chest-high covers. Sprint → slide → stand → 4-shot burst on a marked pixel. Swap targets after each rep. You’re training the stand-then-shoot timing the patch expects.
4 min — Lean & Mount Holds
Pick a doorway and a corner. Lean, pre-aim a pixel, strafe back, lean again. Then mount the corner and track a moving teammate across a hallway without firing. Feel the recoil/sway
difference while mounted.
3 min — Crouch Sprint Lines
Map a 20–30 m lane with low cover. Crouch sprint, roll off a small drop, crouch sprint again. Add a mid-lane “freeze” so you practice going from movement to planted ADS.
3 min — Drag-Revive Baits (With a Friend)
Set a teammate DBNO at a corner. Smoke slightly past them, drag into smoke, swap to pistol, catch the chase, then finish the revive. Repeat from both sides.
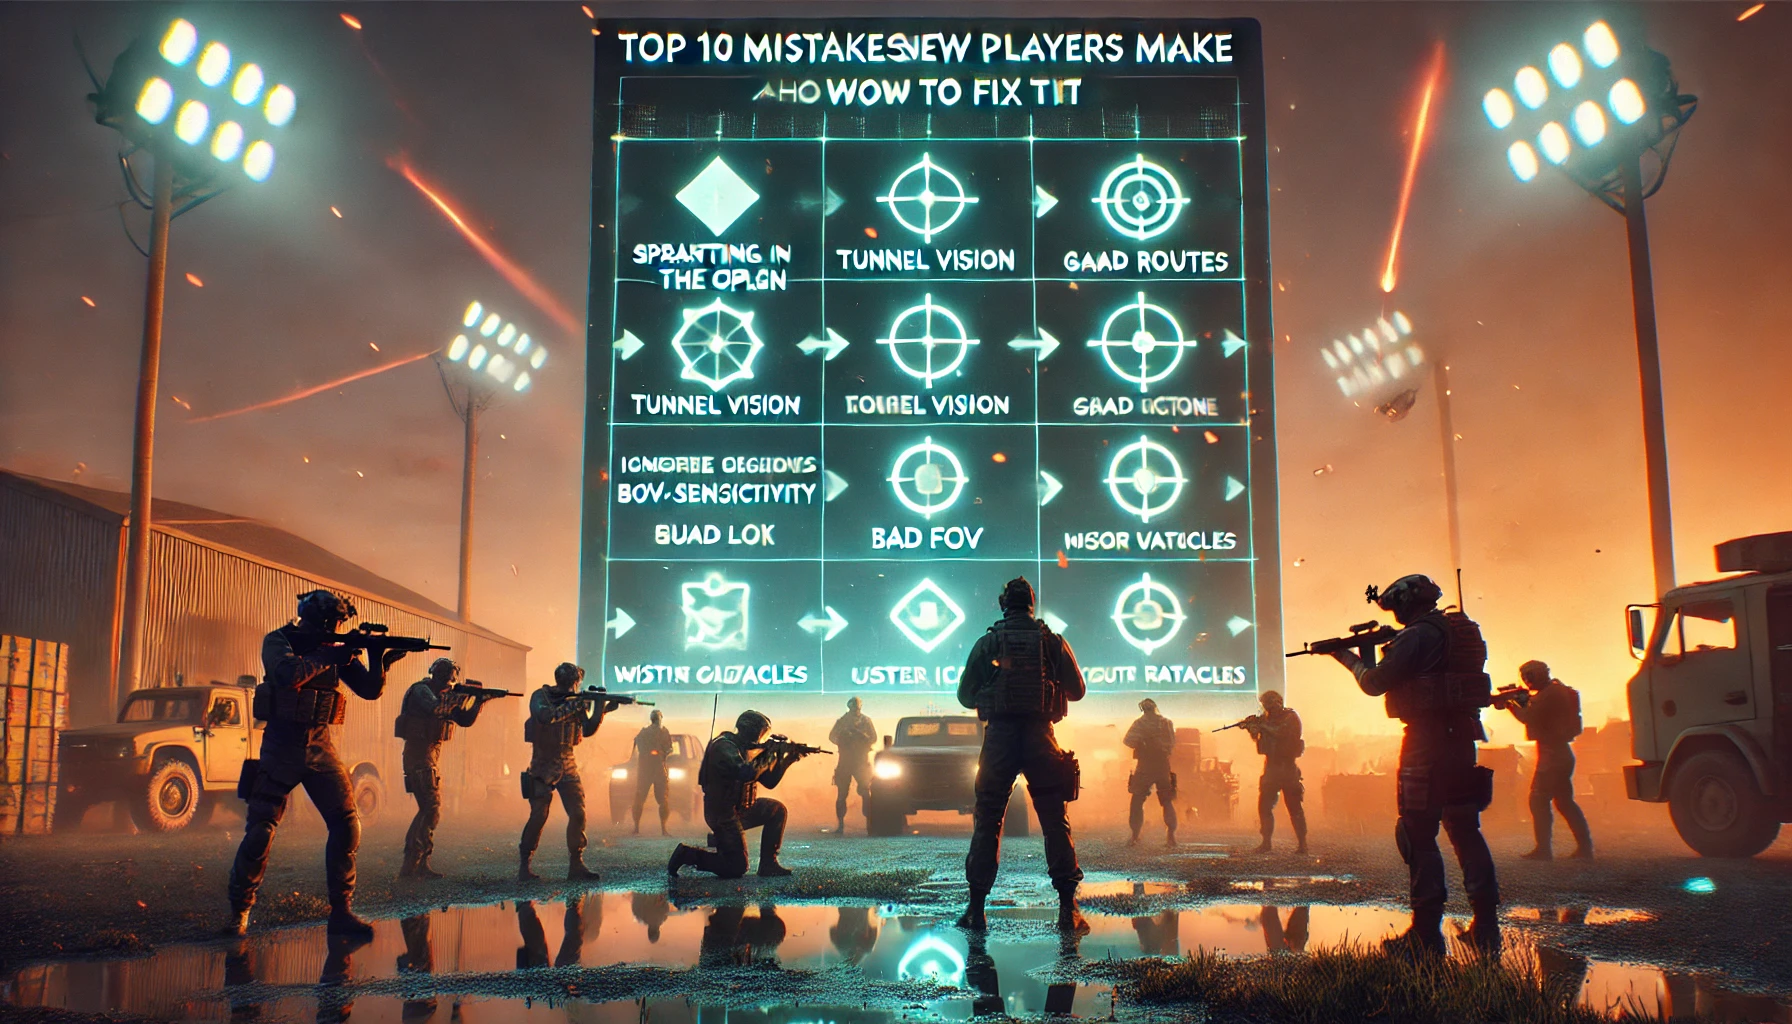
Common Movement Mistakes (And Fast Fixes) ❌
- Shooting during slides → accuracy penalty now; stand first.
- Chaining jump spam → you lose height and bloom anyway; jump with purpose.
- Mounting in a bad lane → you traded mobility for nothing; mount where enemies must cross.
- Reviving in place → drag first; revive second. Bait swings with the pull.
- Ego-sliding into a head-glitch → you’ll lose the bloom battle; crouch sprint to the edge, shoulder peek, then swing on a reload.
Tuning & Patches — Why Your Movement Feels Better Now 🧩
DICE has already shipped multiple updates that refine slide/jump rules, peeking and mounting reliability, and even stance and landing animation settle times. The practical effect: fewer “sticky” transitions, clearer accuracy feedback, and a movement model that rewards fundamentals over gimmicks. If you tried the beta and bounced off the slide meta, it’s a different game now — by design.
Putting It All Together — Movement That Wins Rounds 🏆
Battlefield 6’s movement isn’t about flashy clips; it’s about stacked small edges: crouch sprint lines that cut exposure, slides that end in planted shots, leans that give you just enough of the angle, mounts that erase recoil, and drags that turn wipes into recoveries. Put these pieces into your squad’s language — “low line to B, slide stand, mount left, drag resets” — and every push will feel cleaner.
Spend a week on the practice plan above, and you’ll feel it: fewer “I died mid-slide again” moments and more “I planted and won” trades. And when you want to keep account progress rolling while you practice smarter, remember BoostRoom can handle the time-consuming parts so you can put reps into the mechanics that actually raise your ceiling.