🎯 What “classes” mean in Battlefield 6 (and why they matter)
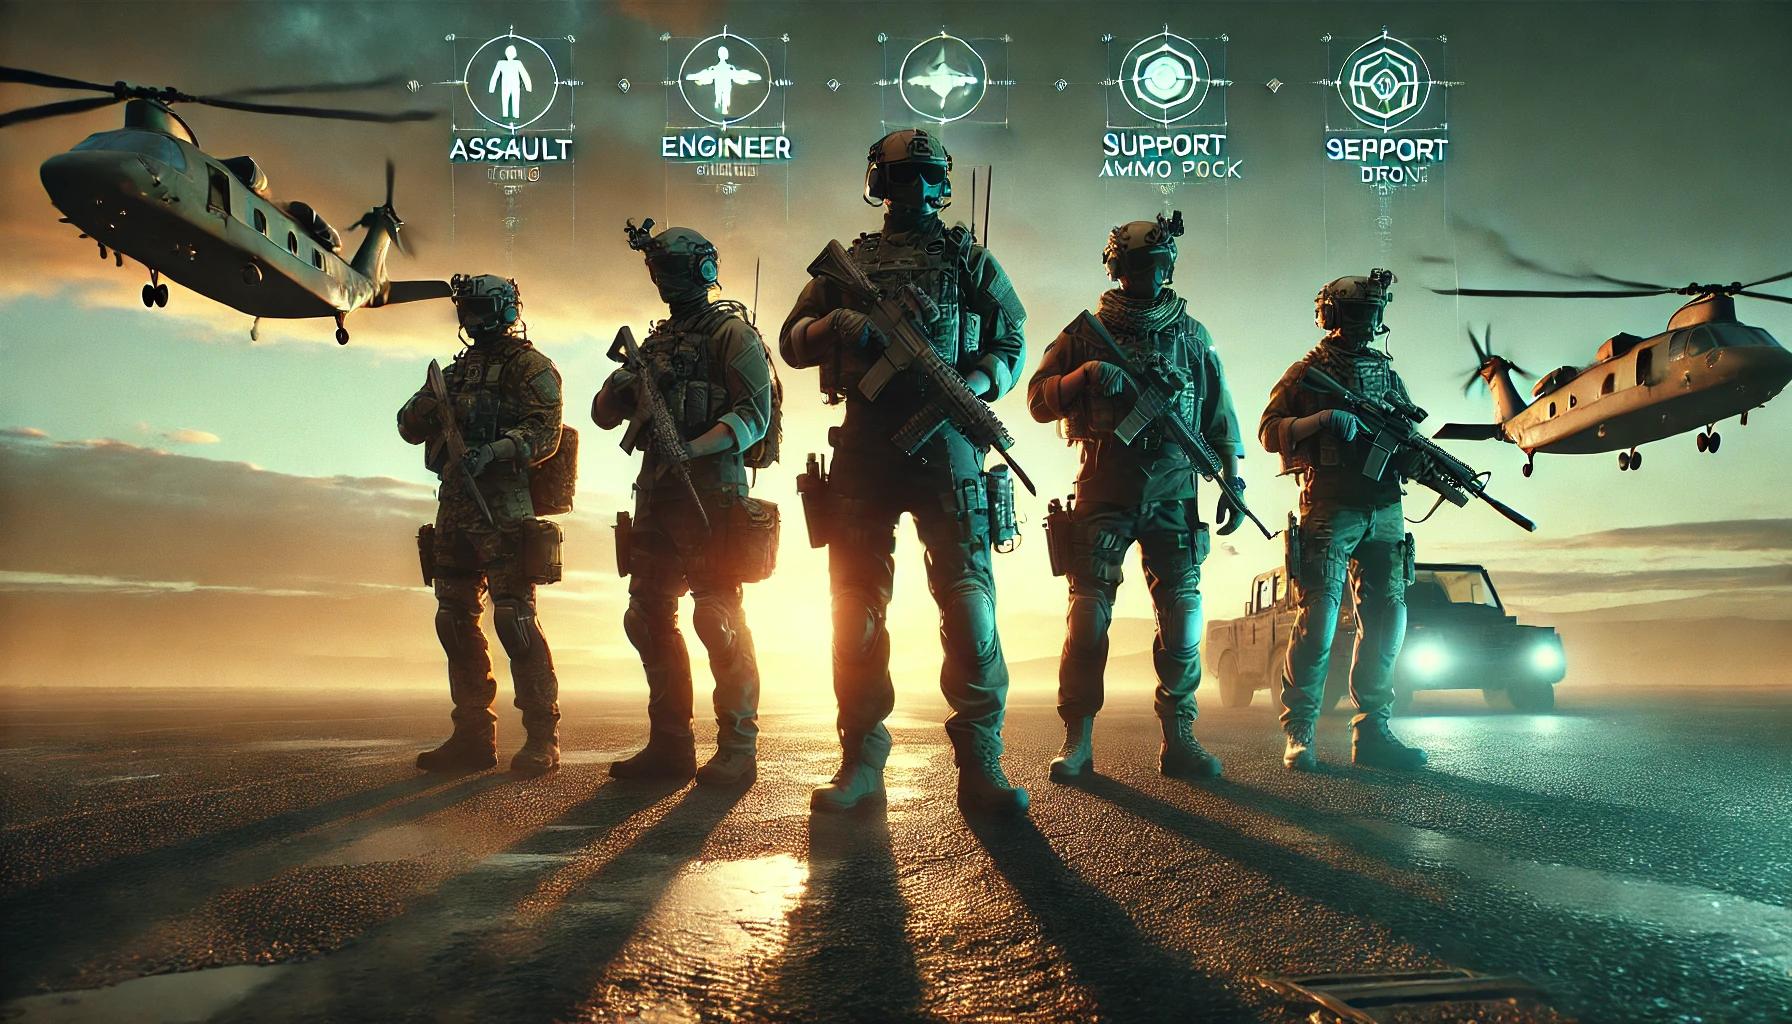
Battlefield 6 brings back the classic four-role backbone—Assault, Engineer, Support, Recon—to make teamwork readable and powerful. Each class has a clear combat job, gadget identity, and playstyle so your squad can make quick decisions under pressure and win fights before the first bullet is fired. If you’re new, think of classes as jobs first, weapons second: you pick a responsibility the team needs, then kit around it with stable loadouts and simple utility chains. Official materials and press coverage consistently frame BF6 around this familiar four-class structure, so learning them is the fastest way to start winning.
Why classes beat “flex everything”
- Predictability wins: your squad always knows who opens space (Assault), who controls lanes/vehicles (Engineer), who sustains pushes (Support), and who feeds intel/picks (Recon).
- Stronger plans: clear jobs make it easier to plan utility layers—smoke, breach, anchor, rotate—without voice-comms chaos.
- Meta-proof fundamentals: balance patches will tweak numbers, but role clarity keeps paying off across maps, modes, and seasons.
🔥 Assault — space-making, trades, and decisive entries
Your job: break deadlocks, win first contact, and shove the front line forward. BF6 materials and interviews emphasize that class tuning is ongoing across updates, but the core fantasy is unchanged: Assaults take space and force progress for the team.
Playstyle pillars
- Entry cadence: nade or flash → cross the dead angle → secure a pocket for teammates.
- Trade discipline: swing with a buddy; if you can’t be traded, your entry doesn’t exist.
- Tempo control: after a pick, plant utility (smoke or deployable cover), then stabilize—greed loses more fights than “low DPS.”
Loadout basics
- Low-recoil AR with a consistent 1.5–2.0x optic to keep target tracking easy through dust and destruction.
- Explosives (or a displacement tool) to force defenders off head-glitches.
- Mobility perk (if available) that helps you re-swing faster than enemies expect.
Mode tips
- Conquest/Domination: crash the first hold, then call the lock (two flags + one flex route).
- Sabotage (8v8): sync your entry with Engineer utility—no dry peeks into mined lanes.
- Gauntlet: treat every round like a drill—one plan, one swing, one reset.
- REDSEC BR: Assault is your mid-game closer—power-position pushes and fast third-party timing.
Common mistakes
Over-swinging after a pick; crossing without smoke; solo hero plays. Fix it with two-man entries and a simple utility count-down: “3…2…smoke, swing.”
🧱 Engineer — anti-vehicle menace and lane control
Your job: keep armor alive, stop their armor cold, and shape the map with deployables. Across Battlefield coverage, Engineers are repeatedly framed as lane shapers with mines, turrets, and repair loops that dictate where fights can happen.
Playstyle pillars
- Deny first, duel second: mines and turrets force predictable enemy paths you can punish.
- Repair pockets: announce “safe pockets” for armor; repair from cover, rotate with the vehicle, never in the open.
- Angle engineering: place deployables to steer enemies into your team’s crossfires.
Loadout basics
- Controllable DMR or AR for mid-range control.
- Mines/turret (map-dependent) plus a quick swap to a repair tool when your armor commits.
- Explosive counterplay if the lobby is vehicle-heavy.
Mode tips
- Conquest: place layered denial on common rotations; call “lane closed” so Assault can reroute the push.
- Sabotage: pre-mine plant sites and set turret crossfires on choke exits.
- REDSEC: one mine wins a game—trap ladders, stair pinch points, and vehicle escape routes.
Common mistakes
Greedy mid-road repairs; static turret spots; stacking mines too close together. Spread denial so one clear doesn’t open the lane.
💊 Support — sustain, suppression, and fight length control
Your job: keep ammo/health flowing, anchor angles with LMGs, and make long fights winnable. BF6 spotlights Support as the glue that lets squads layer utility for repeated swings without running dry.
Playstyle pillars
- Resource economy: restock before the push, not after.
- Anchor fire: LMG on a head-height angle to pin enemies while Assault crosses.
- Reset calls: after two downs, call the reset, plate/heal, and re-time utility.
Loadout basics
- Stable LMG with an optic you trust at 20–60m.
- Ammo/health tools on predictable timers—your squad should never guess when they’re up.
- Smoke to cut sightlines for controlled crosses.
Mode tips
- Domination: you are the anti-chaos role; lock one lane so your team can flip others.
- Gauntlet/Sabotage: act like a mini-IGL—announce “next smoke in 8, plates in 5” to stabilize fights.
- REDSEC: your value spikes late—plates, ammo, and smoke win endgames.
Common mistakes
Front-lining like Assault; tossing utility reactively instead of on a count; dropping kits where teammates can’t safely resupply. Stage your resources behind cover that you own.
👁️ Recon — information, picks, and cross-map pressure
Your job: reveal rotations, isolate targets, and punish greedy peeks. From EA and press previews to early interviews, Recon is repeatedly tied to intel tools and precision that turns map awareness into free picks.
Playstyle pillars
- Sightline discipline: pick one anchor angle that governs a lane; move only when your team shifts the front line.
- Intel loops: sensor → pick → relocate → sensor; never shoot blind if a ping can make it 70% safer.
- Counter-Recon: watch likely sniper nests; two tags force relocations and open a push window.
Loadout basics
- Semi-auto or forgiving bolt with mid-zoom optic until your timing is crisp.
- Spotting/sensor tools on cooldown.
- Secondary built for escapes (SMG/handgun with quick pull).
Mode tips
- Conquest: keep your anchor tied to an objective’s most abused cross; call rotations before the collapse.
- Gauntlet: play for info first, opening pick second—short rounds amplify intel value.
- REDSEC: third-party setup king—ping two squads, wait for shots, then pinch the winners.
Common mistakes
Tunnel visioning one perch; peeking without utility; abandoning the squad’s play to chase montage clips. Your value is predictive info, not distance on the killfeed.
🧭 Picking the right class for the lobby (simple triggers)
- Vehicles are farming your team → Engineer now.
- Your pushes stall and run dry → add Support.
- No one makes space → double up Assault.
- You’re blind to rotations → slot Recon for sensors and cross-map pressure.
- These triggers align with the way BF6’s class loop is presented—clear roles that flip on lobby conditions.
🛠️ Gadget chains that actually win fights
You don’t need fancy combos—just repeatable ones your team understands:
- Assault + Support: smoke → entry → anchor LMG → resupply → re-swing.
- Engineer + Assault: turret/mine lanes → force route → breach while denial cooks.
- Recon + Team: sensor → synchronized swing on the closest ping → instant reposition.
- Stick to two gadget chains per class and run them until they feel automatic.
📅 Season 1 beats and what they mean for your class picks
EA’s launch cadence splits Season 1 into three drops—Rogue Ops (Oct 28), California Resistance (Nov 18), Winter Offensive (Dec 9). Expect a new map, the Sabotage 8v8 mode, and ongoing class/gadget tuning, with further changes already hinted beyond open beta. This means your best bet is mastering jobs and fundamentals, then flexing between Assault/Engineer/Support/Recon as the patch notes roll in.
🧪 Portal & community servers = your class lab
REDSEC’s update and BF6 comms highlight Portal-style experiences and persistent custom servers. Use them as a low-noise playground to drill recoil rhythm (Support), turret/mine placement (Engineer), entry timing (Assault), and sensor/bait cycles (Recon) before you jump back into all-out warfare.
Practice plan (repeat weekly)
- 20 minutes infantry rules for crosshair economy
- 20 minutes Engineer denial drills
- 20 minutes Recon sensor → pick → relocate cycles
- 30 minutes mixed scrims to force mid-fight retasks
🪂 REDSEC priorities by class (BR-specific)
Assault: mid-game closer—flush teams out of cover after Recon pings; don’t hot-drop, power-position first.
Engineer: trap ladder/stair exits; keep a repair loop ready for stolen vehicles.
Support: late-circle lifesaver—ammo, plates, and smokes decide top-5s.
Recon: map brain—tag two squads, time the third-party, deny their safe pocket.
BR coverage and EA’s REDSEC page both emphasize Fort Lyndon’s large-scale destructible playground and shared progression with BF6, so class time here pays off twice.
🎮 Settings & aiming that serve each class (quick wins)
- Global: disable motion blur/film grain; pick an FOV that reduces visual recoil; lock a single ADS multiplier so muscle memory sticks.
- Assault/Support: slightly lower sens to stabilize tracking in smoke and debris.
- Engineer/Recon: focus on micro-adjust accuracy—short bursts on DMRs and calm click timing on semis/bolts.
🎧 A tiny comms framework that fixes most squads
- Plan: “Assault opens A-stairs; Engineer mines east; Support smokes; Recon pings mid.”
- Trade: “I’m second swing on your flash—count me in.”
- Reset: “Two down—back to pocket, plate, reload, smoke in five.”
❌ Common mistakes (and the fast fix)
Assault: sprint-peek syndrome → pre-aim, then swing on a count.
Engineer: repairing in the open → announce a pocket before welding.
Support: reactive utility → set smoke/plate timers before the fight.
Recon: nest camping → move after every pick or when sensors are dark.
✅ 7-day class mastery plan (repeatable, no burnout)
Day 1 — Dial FOV/sens; disable visual clutter.
Day 2 — Assault entries in Domination (20 pulls), record two mistakes.
Day 3 — Engineer denial on a Conquest lane (30 minutes).
Day 4 — Support anchor drills (LMG tracking + smoke counts).
Day 5 — Recon sensor/pick/relocate cycle (Portal server).
Day 6 — Gauntlet pressure reps—short rounds, clean plans.
Day 7 — REDSEC positioning block—edges, third-party timing, final circle.
Conclusion — build the habit, then the highlight
Classes make Battlefield 6 understandable: one teammate opens space, one shapes lanes and kills armor, one sustains the push, one keeps the whole map in view. If your team speaks that language, wins follow—even when balance patches shuffle numbers. When you’re ready to level up faster with real structure—coaching, farming plans, or a ready-made squad—BoostRoom is built for that. From in-depth guides to hands-on help, the BoostRoom marketplace connects you with pros who train clean, play smart, and respect your time.
