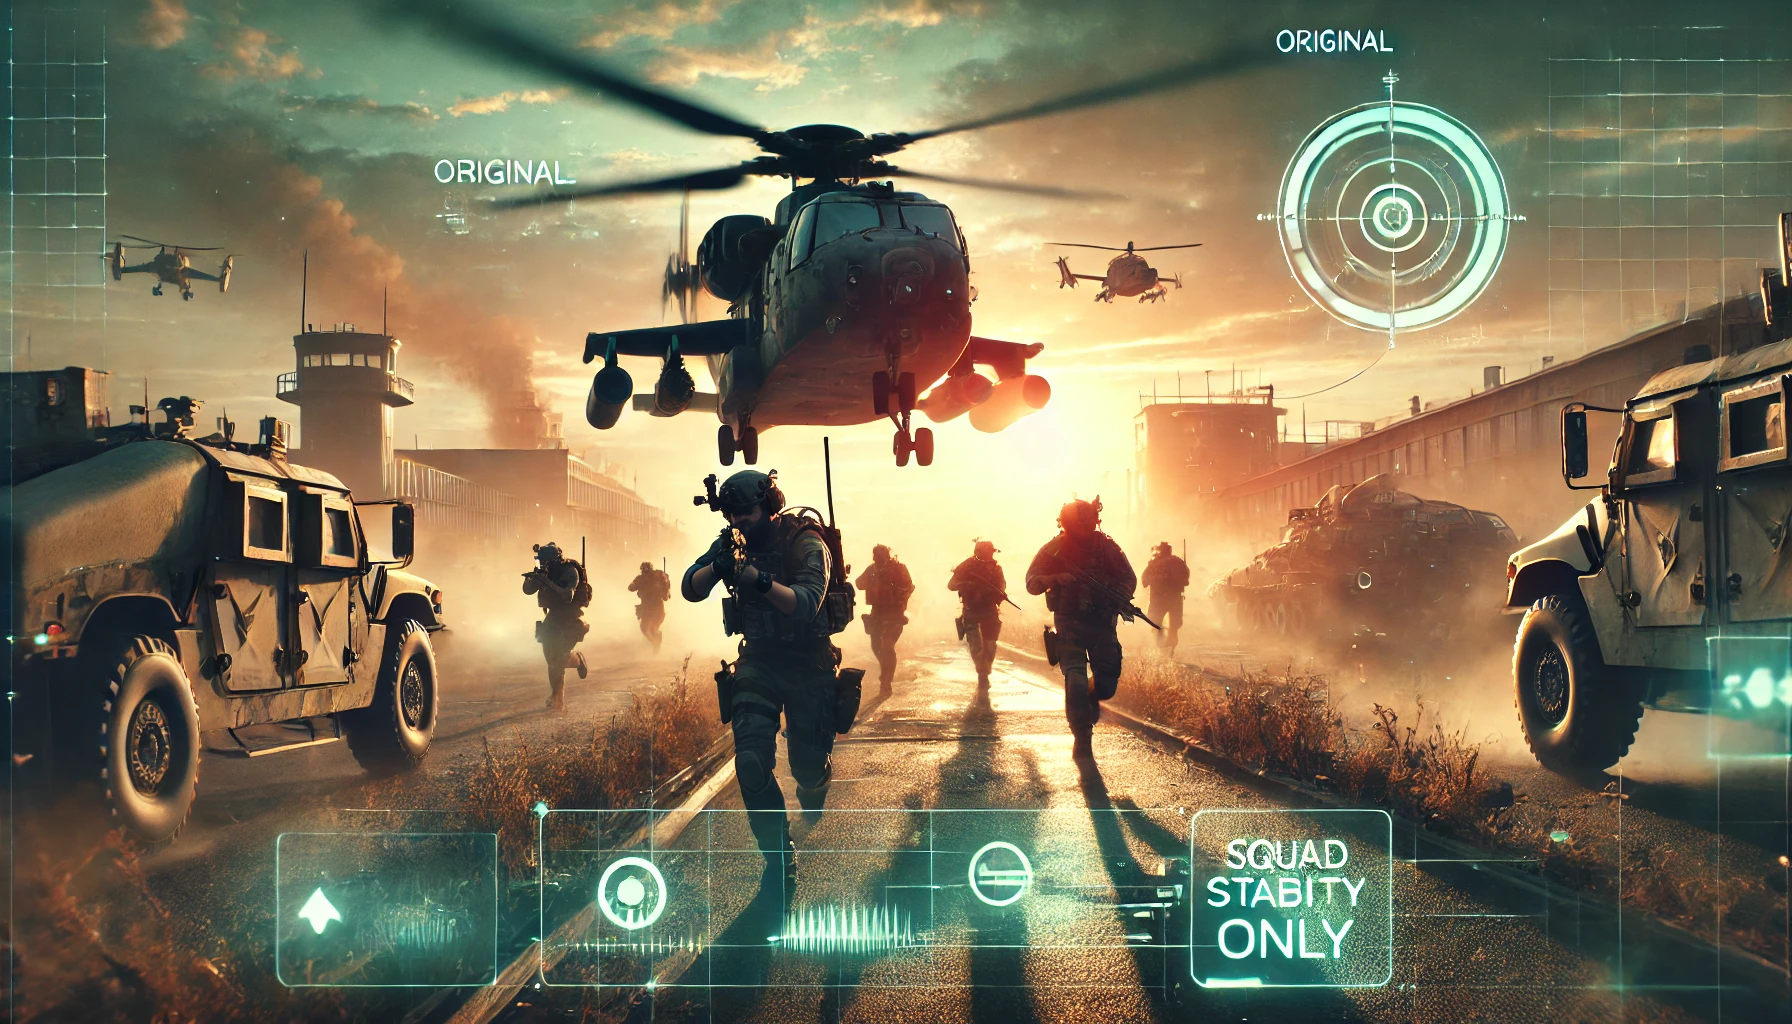
Battlefield works best when your squad fills complementary jobs. In BF6, you choose from Assault, Engineer, Support, and Recon, each with distinct perks and gadgets. Don’t overthink it: pick the role that matches how you already play shooters, then lean into its toolkit until it feels second nature. The weapon you carry matters, but your class job wins matches.
- Assault: cracks open strongholds, trades first contact, pushes space for the team. If you like constant action and entry fragging, this is home.
- Engineer: shapes the map with deployables, traps, and anti-vehicle tools. If you enjoy lane control and punishing pushes, you’ll love it.
- Support: sustains fights with ammo, health, and cover tools. If you’re the teammate who keeps everyone going, this is your lane.
- Recon: turns intel into picks and map control. If you think in sightlines and rotations, Recon rewards your patience.
Starter plan for each class 🔧
- Assault: low-recoil AR, 1.5–2.0x optic, fast-equip frag; play pairs and trade aggressively.
- Engineer: controllable DMR/AR, mines or turret; lock a lane first, then pivot.
- Support: stable LMG for anchor fire, supply/heal on cooldown; treat every fight like a resource puzzle.
- Recon: semi-auto with mid-range optic; master a single anchor sightline before roaming.
Settings that make aiming easier (not just “higher FPS”) 🎯
Clarity beats raw frames. Start with broader FOV for peripheral vision and reduced visual recoil, then tune sensitivity so you can 180° without over-swing. Keep aim acceleration consistent, turn off motion blur/film grain, and prioritize frame-time stability. A clean, readable image helps more than chasing a maxed counter. (You’ll feel this most in dust and smoke.)
HUD & audio: enable clear hit indicators, crank footstep-friendly mixes, and reduce UI spam so callouts land. Your goal is readability: see threats early, track them smoothly, and react without fighting your settings.
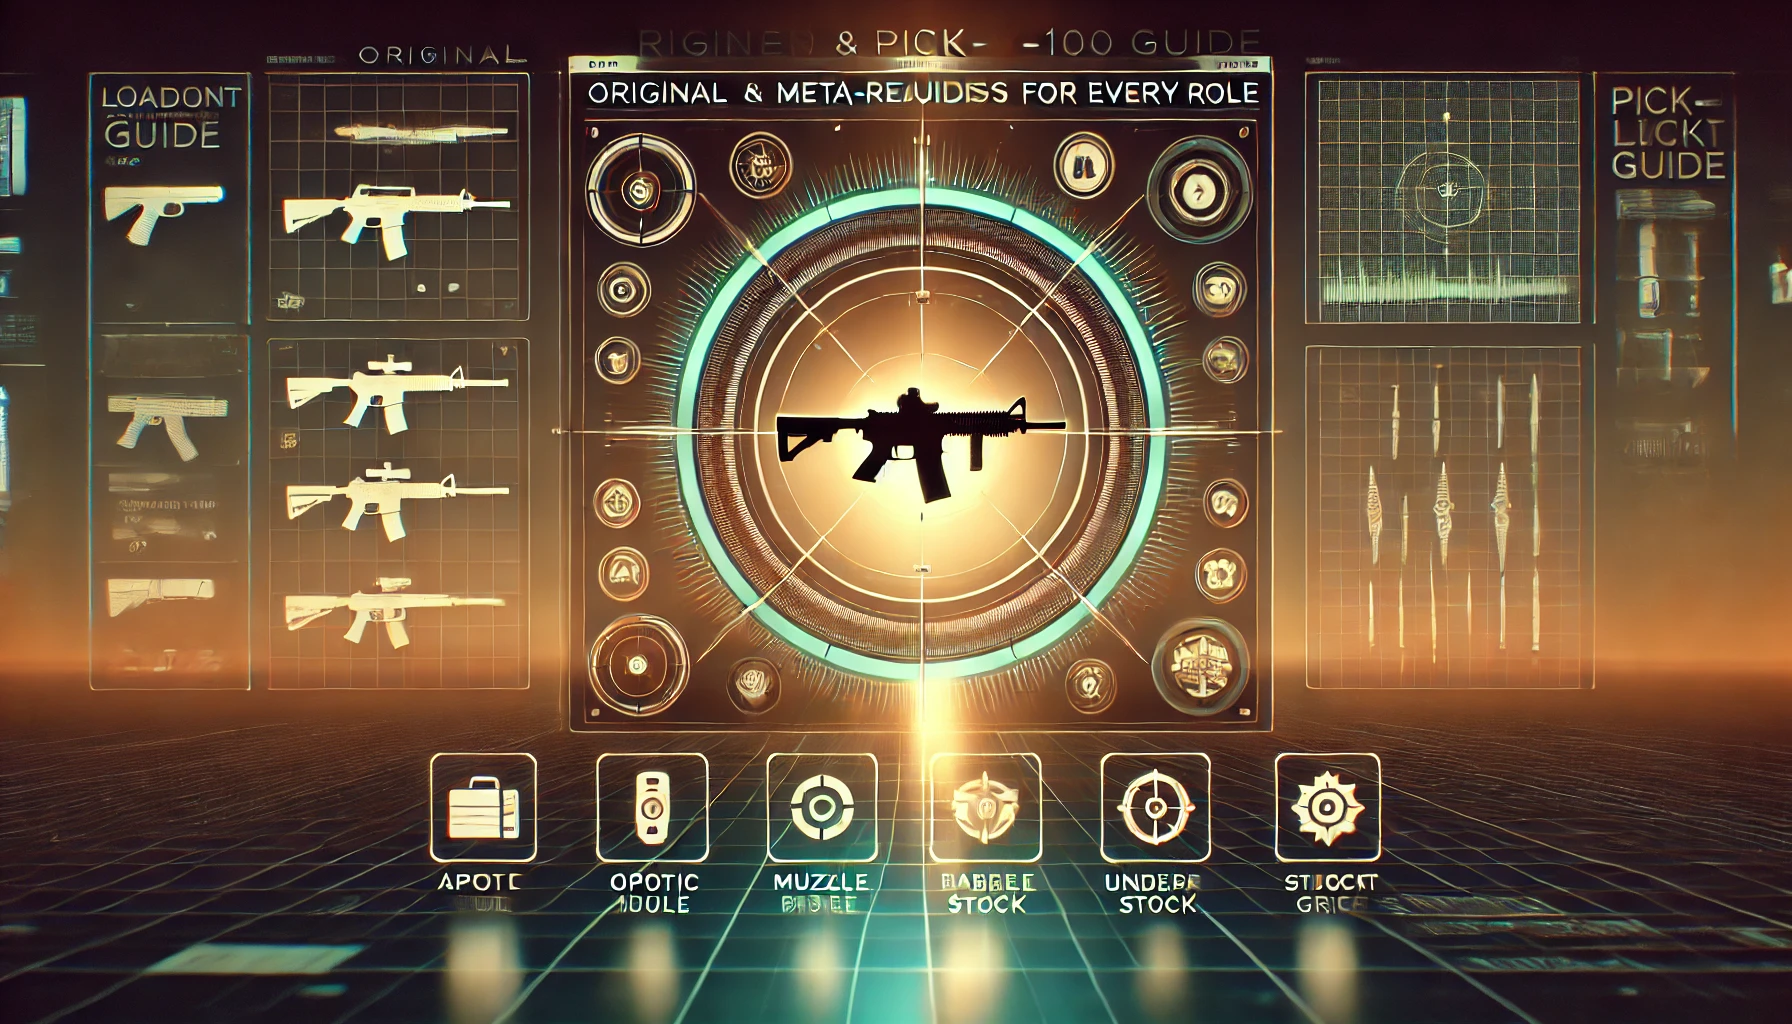
A simple loadout philosophy you can reuse in every mode 🧩
- Stability first. Build for recoil comfort and sight picture. Add damage/handling later.
- One optic you trust. Pick a zoom that works 10–60 meters and stick with it while you build muscle memory.
- Gadget cadence. Treat gadgets like parts of one play: flash/smoke → swing → mine/turret → reposition.
- Map the reloads. Every gun has a “rhythm.” Set it to cover transitions, not wide crossings.
How Season 1 content shapes your early meta 🗺️
The opening season arrives in three beats (Rogue Ops → California Resistance → Winter Offensive). Expect at least two new maps, multiple weapons, and a pair of tight-team modes that reward comms and role discipline. That pacing means the meta will shift month-to-month, so anchor on fundamentals (class roles, positioning, utility timing) rather than chasing every stat uptick.
REDSEC 101 — your BR sandbox for positioning reps 🪂
REDSEC is a free-to-play Battlefield experience that launched alongside Season 1 and runs on the same core DNA as all-out warfare. You drop into Fort Lyndon, a massive map with classic Battlefield destruction and up to 100 players, then rotate through zones while managing loot, third-party timing, and a brutal ring that punishes hesitation. If you want fast lessons in positioning, awareness, and team trades, this mode is gold.
Why new players should visit REDSEC early
- Positioning practice: BR flow forces smart cover usage and map reading.
- Fight selection: learn when to third-party, reset, or anchor.
- Carryover benefits: REDSEC progression can give you a small head start in BF6’s main modes, so your time there compounds.
Gauntlet — tournament pressure in bite-size rounds 🏆
Gauntlet is an intense squad competition with rapid, objective-based rounds. It’s perfect for learning decisive pushes, utility layering, and post-fight resets without the chaos of 64-player lobbies. Think: “short clocks, clear win-cons, no wasted movement.” Use it to teach your squad a shared language for rotations and trades that you’ll reuse everywhere
Sabotage (8v8) — clean fundamentals, huge payoff 💣
Sabotage is a limited-time mode built for 8v8 attack/defend. The win condition is simple—destroy or protect key cargo across multiple areas—but the mode exposes sloppy habits: isolated entry, late utility, and over-swinging wide angles. Treat it like a drill for tight trading and utility sequencing: nade → swing → smoke/cover → plant/defuse.
Portal — your lab for skills (and full custom nights) 🧪
Portal lets you host and play community experiences with custom rules, damage models, and map/mode mixes. It’s the best place to lock mechanics in low-noise environments (e.g., infantry-only Domination for recoil/crosshair discipline). The menu integration makes discovery easy, and the server browser helps you return to favorites. Many players also celebrate persistent custom servers at launch, which means your practice spots can actually stick around.
How to use Portal for real improvement
- Run “one-clip drills” on an infantry server: hold angles, commit to a single magazine, then reposition.
- Host a “utility school”: practice breach sequences on timers with your friends.
- Schedule a weekly scrim block: same rules each week so you see progress, not noise.
Modes in plain English — what wins games 🧠
- Conquest: you don’t need every flag; you need the right two plus rotation control to pinch spawns. Run a 2-1 split (two squads hold, one flexes) and trade wide flanks for mid-map denial.
- Domination: Conquest on fast-forward. Pre-aim predictable peeks, trade pairs, and value spawn literacy over hero plays.
- Strikepoint (4v4): think lane control with quick retasks; don’t chase picks once you’ve won space—plant utility and force them into losing fights.
- Sabotage (8v8): defenders win by stalling and draining utility; attackers win by synced timing and layered gadgets.
Map fundamentals you can apply everywhere 🗺️
- Own a lane before you cross it. Pin an anchor angle with your LMG/DMR, then move the team behind that cover.
- Fight from hard cover you can leave. If you can’t peel safely, the position isn’t a position—it’s a trap.
- Trade through smoke, not into it. Use smoke to break sightlines, then swing synchronized; don’t dry-peek through.
- Rotate early, loot late. If the zone or ticket state is about to flip, move now and loot/plate after you secure space.
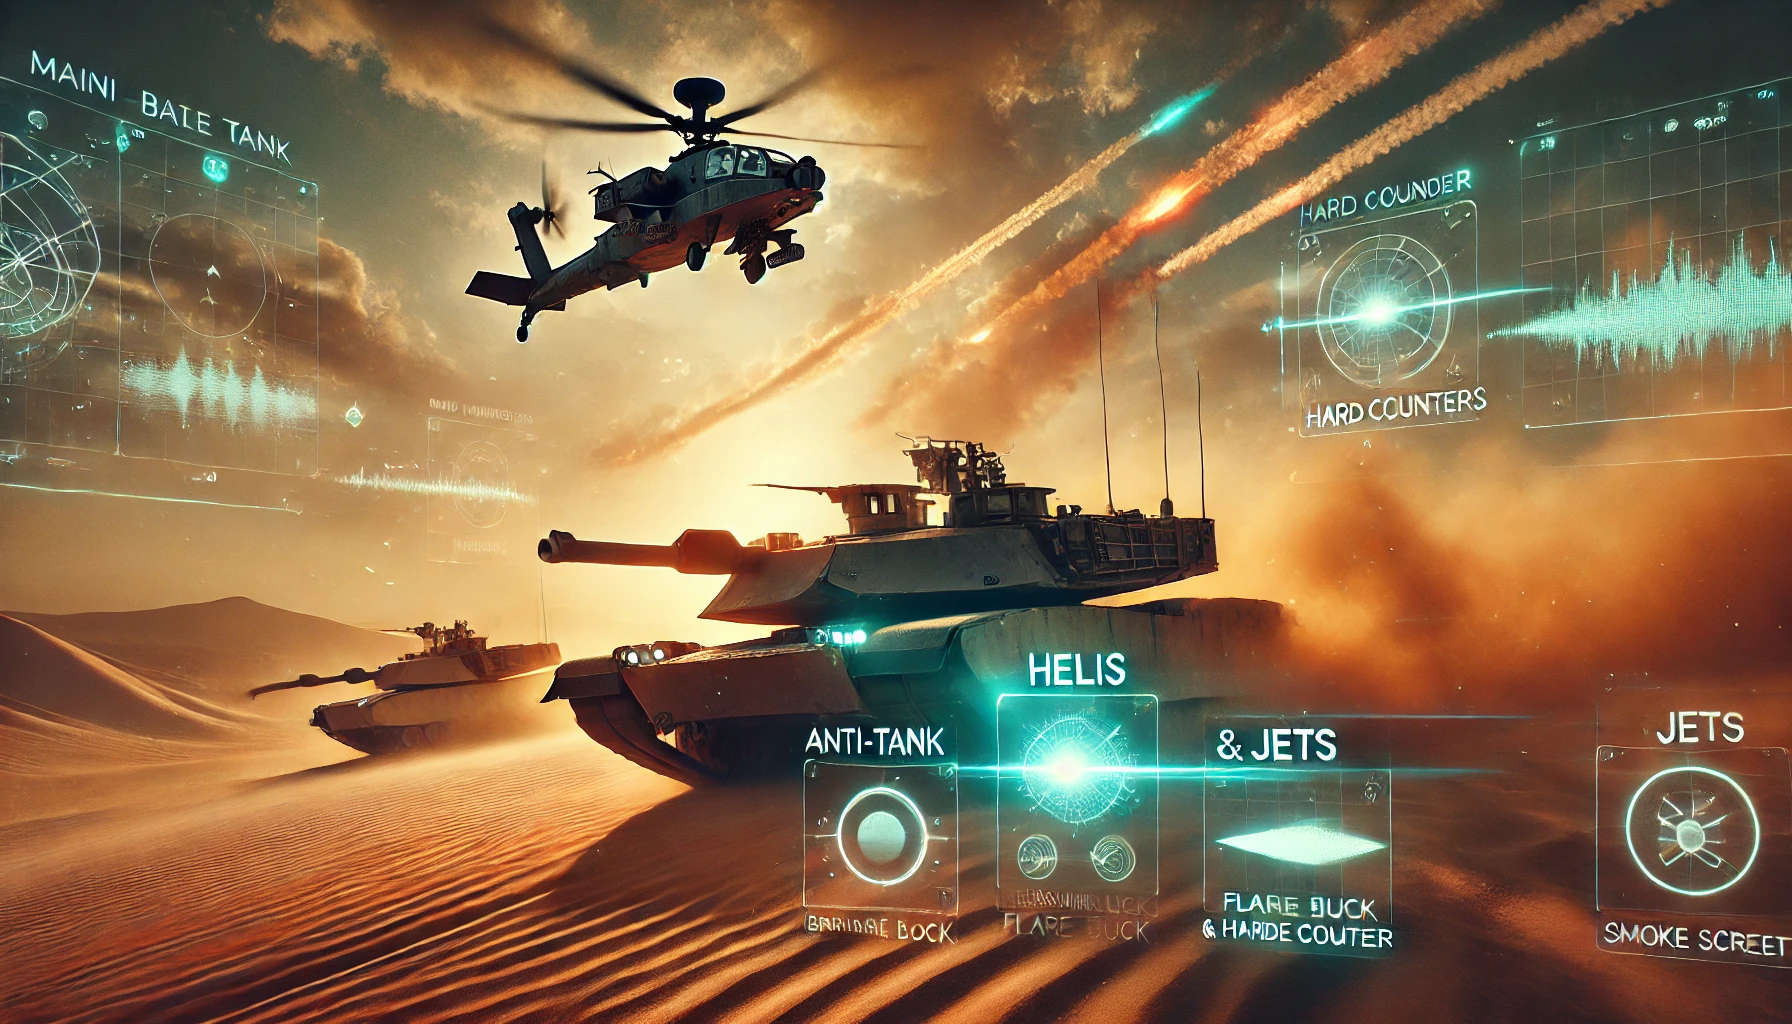
- Vehicles need a pocket. Engineer supports from safe cover, Assault screens infantry, Recon scouts entries.
Vehicle basics — be useful even if you’re not the driver 🚁
Every vehicle is a team piece, not a solo farm. If you’re repairing, stage your repair loop behind cover and call the next safe pocket. If you’re screening, don’t chase kills—punish threats to your armor. If you’re reconning, give landmark callouts tied to the driver’s next pivot (“turning past Golf Path to Oilworks pocket”). These habits keep rides alive and fights winnable.
Gun skill that scales — recoil rhythm, not just “good aim” 🔫
- Recoil rhythm: treat each weapon like a metronome—burst, pause, micro-correct.
- Strafe timing: ADS → micro-strafe → burst during the still moment; don’t ADAD spam mid-spray.
- Crosshair economy: keep it at chest height while rotating; hide it just off-angle to pre-aim swing peeks.
- 10-minute warmup: hip-to-ADS flicks at short range, then slow tracking at mid, then two long-range bursts to settle breathing.
Squad playbook — a tiny comms framework that fixes chaos 🎧
- Call the plan, not the hope. “We take Eastwood A-stairs, smoke top rails, plant, hold double swing.”
- Name the trade. “I swing second on your flash.”
- Own the reset. “Two down, back to stair pocket, plate, reload, nades in 10.”
- One IGL, rotating roles. Anyone can IGL the next minute; the job is just to pick a plan.
Progression that respects your time ⏫
Chasing objectives, saving teammates during pushes, and wiping anchor squads deliver steady unlocks without resorting to gimmick farms. As seasonal updates hit, systemic play (rotations, utility, trades) remains the highest return on time—and it translates across modes, including REDSEC’s BR and Gauntlet.
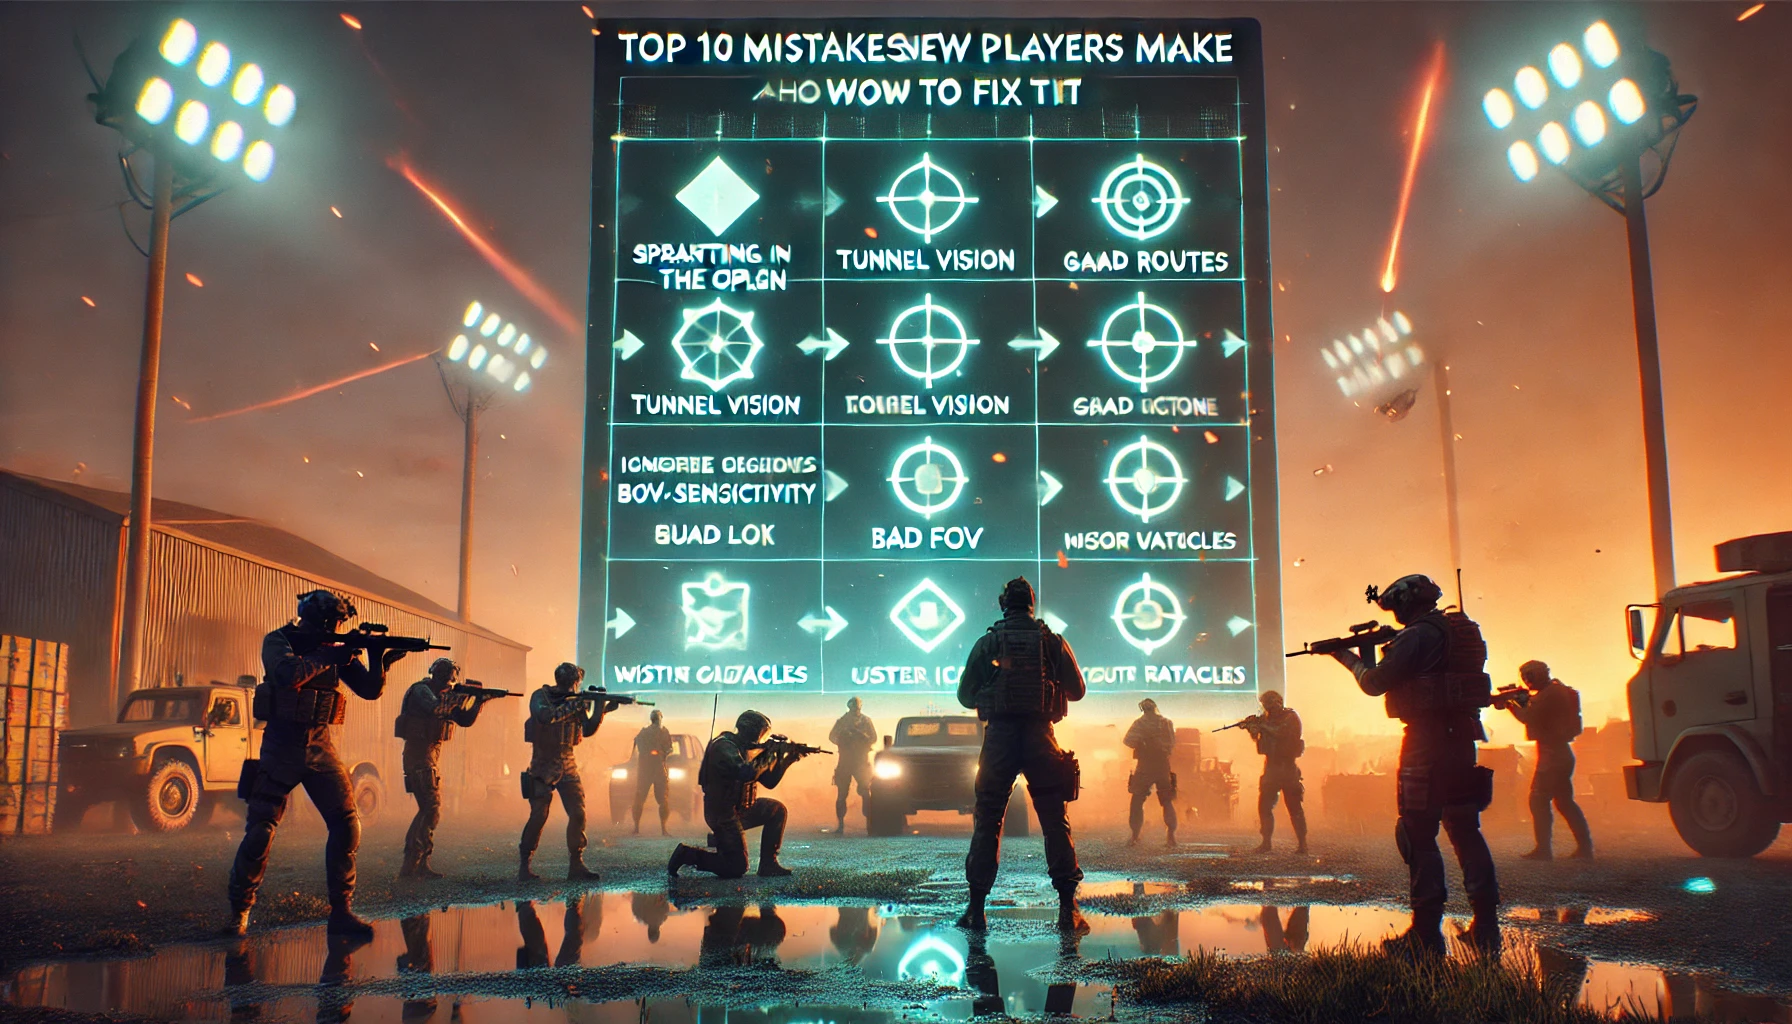
Early mistakes to avoid (we all make them) ❌
- Changing sensitivity daily. Pick a baseline and protect it for a week.
- Over-looting in BR. Win the position, then the fight, then the loot.
- Solo hero entries. If your team can’t trade you, your entry doesn’t exist.
- Ignoring gadgets. Grenades, deployables, and sensors decide fights before the first bullet.
- Crossing open ground to “help.” Anchor first, cover your teammate’s exit, then move together.
A first-week plan that actually sticks ✅
Day 1: Dial FOV/sens; turn off visual clutter.
Day 2: Pick one class and one optic; run infantry Domination for muscle memory.
Day 3: Portal practice block—20 minutes of utility drills, 20 minutes of fight resets.
Day 4: Conquest rotations—play a 2-1 split with squad comms.
Day 5: REDSEC positioning night—edge play, third-party timing, ring discipline.
Day 6: Gauntlet sprint—practice decisive entries and quick resets.
Day 7: Review clips; fix one habit (late utility, greedy peeks, or poor resets).
When to swap classes (simple triggers) 🔁
- Vehicles farm you: at least one teammate shifts to Engineer for denial and repairs.
- Long brawls stall: bring Support for ammo/health economy and cover tools.
- Team lacks info: add Recon for sensors and cross-map pressure.
- You’re losing doors: double Assault to crack stalemates with layered utility.
REDSEC map sense — Fort Lyndon in broad strokes 🗺️
Think of Fort Lyndon as a set of macro zones: waterfront low-ground with lateral escapes, downtown verticality with third-story danger, and industrial belts that reward early pocket control. Hot drops are fun, but the better habit is safe early loot → power position → third-party. Identify a mid-map “anchor” ridge/building each game and rotate from pocket to pocket as the ring collapses. (Learning a handful of named POIs helps your callouts land faster.)
Why this guide focuses on habits, not patches 🧭
Patches will shuffle numbers—TTKs, recoil curves, gadget timers—but positioning, trading, and utility timing survive every balance pass. Season beats add variety; your squad’s language and discipline turn that variety into wins. Stay elastic: keep one “comfort” class, one “problem-solver” class, and one “map-control” class in rotation so you can answer any lobby.
FAQ — quick answers for brand-new players ❓
Is REDSEC separate from the main game?
It’s a free-to-play experience built on Battlefield’s core; it launched with Season 1 and ties into the broader ecosystem.
Can I learn in Portal without sweaty lobbies?
Yes. Use the server browser to find focused experiences (e.g., infantry-only) and keep returning to a persistent favorite.
What’s the point of Gauntlet?
Tournament-style pressure in short rounds—perfect for practicing decisive entries and resets.
Which class is “best”?
The one that fills your squad’s gap right now. If vehicles dominate, Engineer. If trades fail, Assault/Support. If you’re blind, Recon.
How do I stop dying crossing streets?
Own a lane first (anchor fire), smoke/flash, then cross on a count. If you can’t leave a position safely, it isn’t a position.
Your next upgrade path — do this in order 🧱