Workshop Upgrades: What “Progress Faster” Really Means
Progress in ARC Raiders is mostly a loop of three things: survive raids, bring home materials, and convert those materials into stronger options. The Workshop is where that conversion happens. When you “progress faster,” you’re not just crafting more items—you’re reducing the number of raids needed to reach a reliable, repeatable loadout that can win PvE, survive PvP, and still extract with profit.
Workshop upgrades speed you up because they:
- unlock stronger crafts (weapons, shields, augments, utilities, grenades, healing),
- reduce how often you rely on luck to find gear topside,
- let you rebuild kits cheaply after deaths,
- and allow you to scale into harder zones without “gear fear.”
The opposite is also true: if you delay upgrades, you’ll spend more time running budget kits, losing fights you could’ve survived, and dying with items you didn’t even need.
The Workshop Stations (And What Each One Is For)
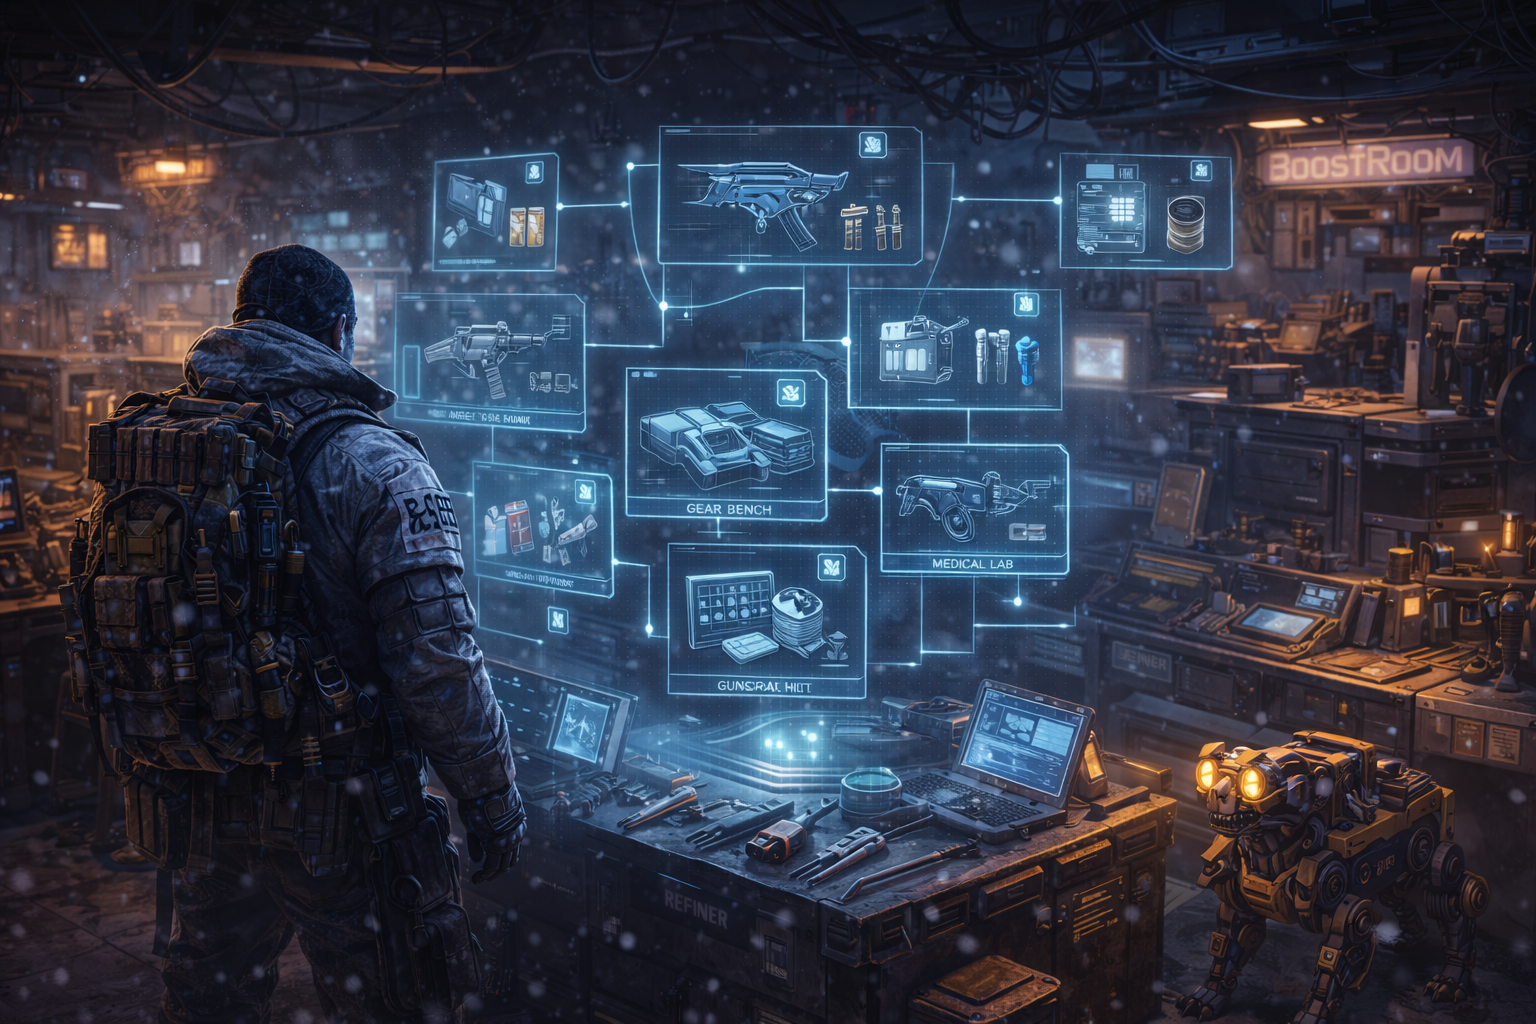
ARC Raiders uses multiple crafting tables in the Workshop, each focused on a type of crafting. If you’re ever unsure what to upgrade next, start by connecting the station to your playstyle:
- Gunsmith: weapons and weapon attachments (your damage and fight control)
- Gear Bench: shields and augments (your survivability and utility identity)
- Medical Lab: stimulants and bandages (your ability to stay in fights and survive mistakes)
- Explosives Station: grenades and mines (crowd control, denial, extraction defense)
- Utility Station: tools like lures and barricades (movement/control and “escape options”)
- Refiner: custom parts (turns “random junk” into upgrade/crafting progress)
On top of those specialized stations, most players begin with a basic bench that covers fundamentals like basic weapon/ammo crafting, then expand from there as they unlock and upgrade stations.
How Station Upgrades Work (And Why Level 3 Is the Breakpoint)
Most Workshop stations upgrade through multiple levels, with Level 3 commonly being the “breakpoint” where your options stop feeling starter-tier and start feeling like real builds. Practically, this means:
- Level 1 gets you functional basics.
- Level 2 is where you start feeling “consistent” (better crafts, more control).
- Level 3 is where your station becomes a power tool: stronger gear, higher-tier options, and the ability to support harder routes.
A major reason upgrades feel slow is that stations don’t just ask for common stacks like Fabric or Plastic Parts—they start demanding specific bottleneck items and ARC parts that you only get by targeting certain enemies and surviving the trip home. Your job is to identify those blockers early, then build your raid plan around bringing them back safely.
Blueprints vs Station Levels: Two Locks, One Door
A common mistake is thinking Workshop upgrades alone unlock everything. In reality, ARC Raiders uses two kinds of gates:
- Station level requirements (you must upgrade the station)
- Blueprint/recipe requirements (you must learn the blueprint)
That means the fastest progression is not “upgrade everything randomly.” The fastest progression is:
- upgrade the station that supports your current goals,
- learn the blueprints that turn that station into value,
- craft the items that make your next raids safer,
- repeat.
Also important: you can find new recipes/blueprints while topside, so upgrading without blueprint progress (or blueprint progress without station upgrades) will always feel incomplete.
The Fastest Upgrade Order (3 Proven Paths)
There isn’t one perfect order for every player—there’s a best order for your goal. Use these as your blueprint (pun intended).
Path 1: “Survive More, Die Less” (Best for solos and newer players)
If your main problem is dying before you can extract, you want survivability first.
Upgrade priority:
- Medical Lab (better healing changes everything)
- Gear Bench (shields/augments make every mistake cheaper)
- Gunsmith (better weapons once you can survive long enough to use them)
- Utility Station (escape tools, barricades, control)
- Explosives Station (nice-to-have until you’re confident)
- Refiner (use it earlier only when you’re blocked by parts)
Why this works: the fastest way to progress is extracting consistently. Healing + shields increases extraction rate, which increases materials, which upgrades everything faster.
Path 2: “Win Fights, Farm Faster” (Aggressive PvP/PvE clears)
If you’re confident fighting and want to speed-run higher value zones, you want damage and control.
Upgrade priority:
- Gunsmith (your fights end sooner, you take less damage)
- Medical Lab (so you can keep pushing after fights)
- Gear Bench (so you don’t get deleted in one mistake)
- Explosives Station (chokepoints, flushes, extraction defense)
- Utility Station (movement/control second)
- Refiner (turn extras into missing parts)
Why this works: faster kills = fewer resources spent per raid + more safe looting time.
Path 3: “Loot Runner Economy” (Maximize extracts and stash value)
If you want to progress through efficiency, not fights, you want inventory advantage and escape options.
Upgrade priority:
- Gear Bench (augments that support looting/utility are game-changing)
- Utility Station (tools that avoid fights and support clean rotations)
- Medical Lab (survive third parties and cold pressure)
- Gunsmith (only enough to defend yourself reliably)
- Refiner (turn junk into upgrade parts)
- Explosives Station (situational)
Why this works: fewer fights, more extracts, more materials, less time wasted.
Blueprints 101: Learn, Don’t Hoard
Blueprint handling is one of the highest impact “progress faster” habits in ARC Raiders.
Your rules:
- If it’s a blueprint you don’t know yet, extract it and learn it immediately.
- If it’s a duplicate blueprint, sell it for Coins.
- If it’s a blueprint you want but you’re about to take a risky route, treat it like a treasure: keep it safe and extract.
Blueprints are permanently useful because they convert the game from “hope I find it” into “I can craft it.” This is especially true for quality-of-life crafts like reliable meds, consistent shields, and your favorite weapon/attachment combos.
Duplicate Blueprints = A Clean Coin Engine
If you want a simple economy win: duplicates are not junk—they are money. Once you’ve learned a blueprint, any additional copies become a clean payout you can turn into:
- crafting materials from traders,
- repairs,
- loadout rebuilds,
- or station upgrades you’re missing.
This is one reason blueprint farming is so powerful: it doesn’t just unlock crafts—it can stabilize your entire economy.
Blueprint Drop Rates: When to Farm (Right Now Matters)
Blueprint availability has been actively tuned in recent updates. The practical takeaway for players is simple:
- Blueprints became much more common around the Cold Snap update window.
- A follow-up hotfix reduced blueprint drop rates slightly, but they remained higher than they were before.
What this means for you: if you care about crafting progress, it’s smart to treat “good blueprint windows” as an opportunity to lock in permanent account strength. Even if you’re not chasing legendary crafts, learning basic quality blueprints early makes every raid cheaper.
Stella Montis and Blueprint Routing (Why Location Matters)
Patch notes and community experience have repeatedly pointed to certain maps and conditions being stronger for blueprint volume. You don’t need a perfect “secret route,” but you do need the right mindset:
Blueprint farming is about:
- opening lots of containers quickly (volume),
- checking high-value loot points (locked rooms, caches, special containers),
- surviving long enough to extract the blueprint.
If you only do one thing differently after reading this page, do this:
stop staying in raids after you’ve already found a blueprint you need.
One extra greedy minute turns a “permanent unlock” into nothing.
Workshop Bottlenecks: The Items That Actually Slow You Down
Players don’t get stuck because they can’t find Fabric. Players get stuck because of bottleneck items—things that appear rarely, require harder zones, or require defeating specific ARC units.
Bottlenecks usually fall into three buckets:
- rare household/industrial loot (found in specific themed areas),
- ARC parts (dropped by specific enemies),
- multi-item requirements (you need 5–10 of something, so one lucky drop doesn’t solve it).
Your goal is to identify your current bottleneck and build your next 3–5 raids around it, instead of looting randomly and hoping the game “gives it to you.”
The Container-Per-Minute Method (The Secret to “Faster” Without Risk)
When you’re farming upgrade materials, the best metric isn’t kills—it’s containers opened per minute.
Here’s why:
- Upgrade items are often general loot (industrial, household, medical, electrical).
- The more containers you open, the more rolls you get on that loot pool.
- Fighting slows you down and increases death risk.
A fast farming run looks like:
- choose an indoor-heavy route,
- open everything fast,
- keep only what fits your current upgrade goals,
- extract as soon as you hit a milestone (a rare part, a blueprint, a key item).
This is how average players progress faster than strong aimers who “hot drop” every match.
Field Crafting and Field Recycling: Progress Tools, Not Just Survival Tools
Two underused mechanics can speed up Workshop progress even before you return to Speranza:
- Field crafting (combine resources topside to craft improvised items)
- Field recycling (break down items instantly in your inventory)
Why this matters for upgrades:
- You can free inventory space mid-raid to carry more high-value upgrade items.
- You can convert low-value clutter into components you actually need.
- You can craft emergency items that prevent death—protecting the materials you already collected.
A simple example of “fast progress thinking”:
- You’re overloaded with junk and still need one rare upgrade item.
- Instead of dropping valuables, you recycle low-priority items and keep moving.
- That one habit can be the difference between “I’m always full” and “I always extract with what matters.”
Refiner Strategy: Turn Junk Into Progress (Without Burning Your Stash)
The Refiner exists because ARC Raiders is fundamentally about risk and reward: you’re supposed to make decisions about what you carry, where you go, and what you’re willing to risk for higher value.
The practical Refiner mindset:
- Don’t refine everything.
- Refine to solve a bottleneck.
Use the Refiner when:
- you are blocked by a custom part requirement,
- you’re drowning in one resource type but missing another,
- your stash is clogged with items that don’t sell for much but refine into valuable components.
Avoid the Refiner when:
- you’re short on Coins and should sell valuables instead,
- you’re missing the basic station upgrades that give more value per craft.
The Refiner is best treated like a “problem solver,” not a default action.
Scrappy Upgrades: The Passive Engine That Makes Workshop Upgrades Easier
Scrappy is one of the strongest progression accelerators in the game because he generates basic materials passively as you raid. This changes the entire Workshop economy:
Once Scrappy is upgraded:
- basic materials become less stressful to farm,
- you can spend more raids targeting bottlenecks and blueprints,
- you can sell excess basic stacks more confidently (freeing stash space).
The biggest Scrappy mistake is delaying upgrades because the items look silly (dog collars, fruit, pillows). In practice, upgrading Scrappy early reduces grind and improves your long-term crafting consistency.
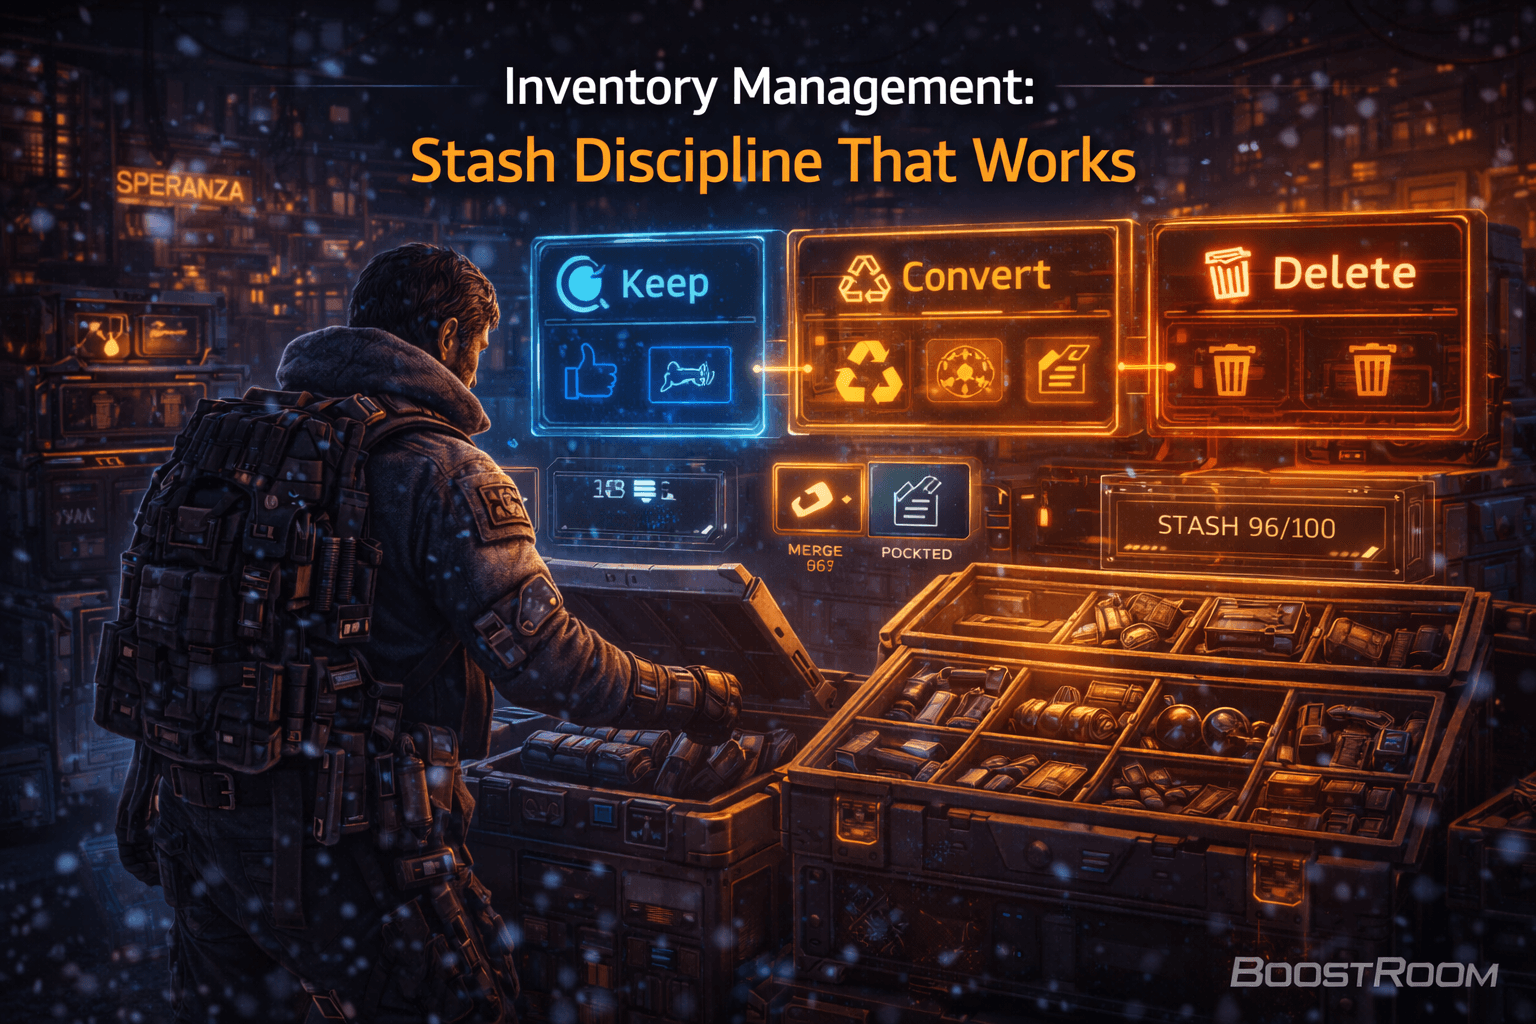
Inventory Management: Why “Merge Stacks” Is a Progress Button
Workshop progress is limited by stash space more often than people admit. If your stash is clogged, you can’t keep the rare upgrade materials that actually matter.
Two habits make a huge difference:
- Merge stacks regularly to compress ammo/material stacks.
- Run a Project Box system in your stash:
- One section for station upgrade items you currently need
- One section for blueprints you haven’t learned yet
- One section for “sell bin” items you liquidate every session
This turns stash management from stress into routine, which is exactly what fast progression looks like.
Upgrade Planning: The “One Station at a Time” Rule
A surprisingly effective rule is:
never farm for more than one station upgrade at once.
When you try to upgrade everything simultaneously:
- you keep too many different items,
- your stash becomes unusable,
- you forget what matters and sell something important,
- and you waste raid slots carrying items that don’t finish anything.
Instead:
- pick one station,
- identify its blockers,
- farm those blockers until the upgrade is done,
- move to the next station.
Your Workshop will feel like it’s leveling twice as fast—because it will.
Blueprint Discipline: The Safe-Pocket Rule
If you want to progress faster, treat blueprints and bottleneck items like they’re the real objective of every raid.
Good discipline:
- If you find a blueprint you need, play safer immediately and extract.
- If you find a rare upgrade part, don’t take an unnecessary fight “for fun.”
- If you must cross a dangerous zone, do it early—before you’re carrying your best loot.
The #1 way players waste blueprint windows is dying with unlearned blueprints in their bag. One bad raid can erase hours of progression if you let it.
Buying vs Crafting: When Coins Save More Time Than Materials
“Craft everything” sounds smart until you realize you’re crafting with bottleneck items you can’t replace. The faster approach is balanced:
Craft when:
- it’s a repeatable essential (ammo, basic meds, common shields),
- it uses common materials you can restock easily,
- it reduces raid risk (better survival = faster progress).
Buy when:
- you need a missing piece to finish a station upgrade,
- you’re stuck and the time cost of farming is higher than the Coin cost,
- you need a quick rebuild kit to get back topside immediately.
Progress faster players don’t hoard Coins forever; they spend Coins to remove bottlenecks.
Expedition Project Warning: Your Workshop and Blueprints Can Reset
One of the biggest “progress faster” decisions is knowing when not to over-invest. The Expedition system can reset parts of your progression when you choose to depart and restart.
In official Expedition guidance, a reset includes your Workshop and Blueprints (along with other progress-tied elements). That doesn’t mean upgrades are pointless—it means you should be intentional:
- If you’re planning to reset soon, focus on improvements that help you extract more and build stash value efficiently.
- If you’re not resetting soon, full Workshop investment pays off massively.
Either way, Workshop upgrades are still the fastest way to stabilize your raids right now—just don’t ignore the fact that resets exist when planning long grinds.
A Simple 7-Day “Progress Faster” Workshop Plan
If you want a practical schedule that works even with limited playtime, use this:
Day 1: Pick your path (Survival / Aggro / Loot Runner) and set your first station target
Day 2: Farm only that station’s blockers (no distractions)
Day 3: Learn every blueprint you extract (sell duplicates)
Day 4: Upgrade Scrappy once (if you can) and clean stash (merge stacks + sell bin)
Day 5: Push your second station target (usually the one that protects extracts: meds or shields)
Day 6: Blueprint farming session (short raids, early extracts)
Day 7: Craft 2–3 complete kits and run them to “snowball” your extract rate
This works because it builds momentum: your Workshop upgrades make raids easier, and easier raids accelerate upgrades.
BoostRoom: The Fastest Way to Stop Guessing and Start Upgrading
If you want Workshop progress without trial-and-error, BoostRoom is built for exactly this type of structured grind:
- targeted upgrade item routing (so you stop carrying the wrong loot),
- blueprint farming sessions planned around safer extracts,
- stash and crafting planning so you don’t get stuck on bottlenecks,
- and playstyle-based station priority (solo survival vs aggressive vs loot runner).
The goal isn’t just “get an upgrade.” It’s turning your entire session into permanent progress—so every week you feel noticeably stronger, not just “busy.”
FAQ
Do I need both station upgrades and blueprints?
Yes. Station levels unlock crafting capacity, while blueprints/recipes unlock specific crafts. You progress fastest when you advance both together.
Should I learn blueprints immediately?
Yes. If you don’t know it yet, extract and learn it as soon as possible. Hoarding unlearned blueprints increases the risk you lose them.
Are duplicate blueprints useful?
Yes—duplicates are a clean Coin payout. Sell them and reinvest into upgrades or kit rebuilding.
What’s the fastest station to upgrade first?
For most players: Medical Lab or Gear Bench first (survival increases extraction rate). Aggressive players can start with Gunsmith.
How do I farm upgrade items faster without taking more risk?
Use the container-per-minute method: indoor routes, minimal fights, extract once you hit a milestone item.
How do I stop running out of stash space?
Use Merge Stacks regularly, keep a Project Box for upgrade items, and sell anything not tied to an active station target.
Can Workshop and Blueprints reset?
Yes—if you choose to depart through the Expedition system, your Workshop and Blueprints are among the progress-tied elements that reset.
