Know Your Currencies: Coins, Cred, Raider Tokens, and “Seed Money”
To decide whether to sell, craft, or keep, you have to know what each currency is actually for.
Coins (your survival currency)
Coins are the main spend for day-to-day power:
- Buying items from Traders
- Paying for big sinks like skill tree resets (priced per skill point)
- Funding upgrades and “rebuild” purchases when you’re low
If you’re constantly short on Coins, you’ll play scared—because every death becomes expensive.
Cred (your Raider Deck currency)
Cred is earned by completing daily Feats (they reset every 24 hours) and is used to unlock items inside Raider Decks. Cred is not your raid economy currency—think of it as your “cosmetic progression fuel.”
Raider Tokens (your premium cosmetic currency)
Raider Tokens are used for cosmetics and (depending on the Deck) purchasing Deck access. They’re not meant to solve your raid economy.
Assorted Seeds (your “trade currency” with Celeste)
Assorted Seeds are special because they can function like money in two ways:
- They’re valuable per inventory space (they stack well)
- They can be traded with Celeste for useful crafting materials (and also sold for currency value)
If you want a simple rule:
Coins keep you strong today. Seeds help you craft tomorrow. Cred and Tokens style you forever.
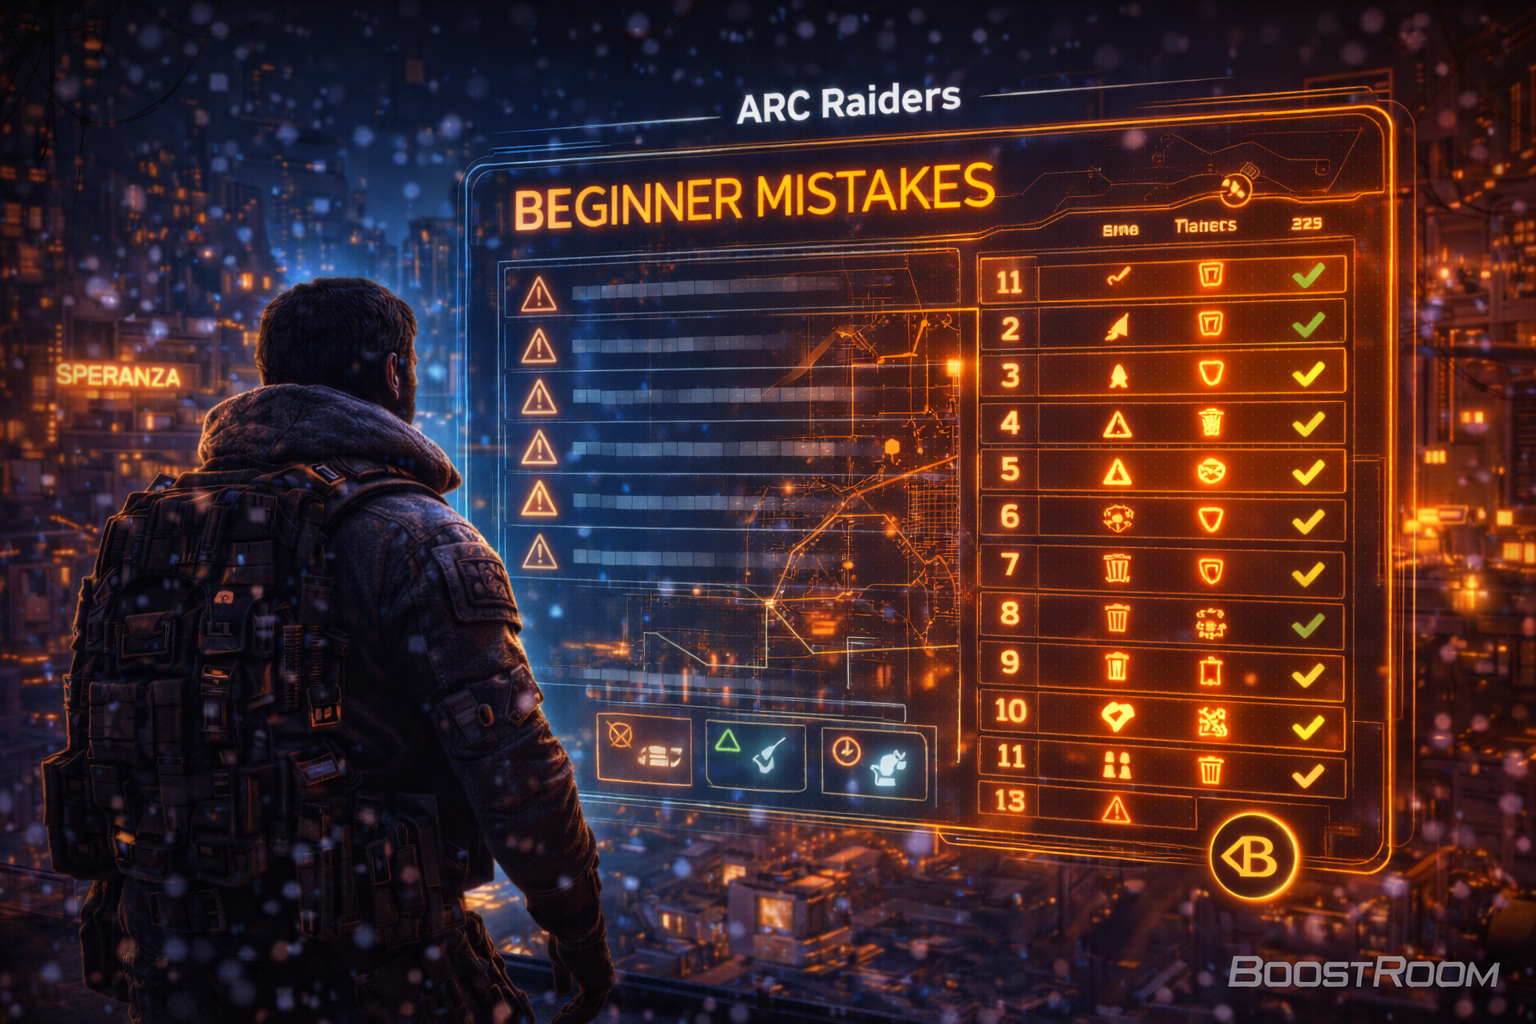
Item Types That Decide Your Fate: What Loot Actually Means
Most loot in ARC Raiders looks like “random junk” until you understand what category it belongs to. Each category has a different “best action.”
Crafting materials (common stacks, workshop fuel)
These are the everyday parts that feed benches and repairs. They are easy to over-hoard, especially once Scrappy starts supplying basics.
Refining inputs (turn junk into custom parts)
Some items are valuable because the Refiner can transform them into parts you can’t comfortably farm on demand.
Gear + weapons (power now, cost later)
Guns, shields, augments, mods—these can win your next raid, but they also cost inventory space and repair materials.
Consumables (profit protector)
Bandages, stimulants, ammo, throwables—these are not “loot,” they’re how you keep loot. If you craft them correctly, they pay for themselves.
Trinkets / valuables (sell-first items)
Many items are basically designed to be converted straight into Coins. If an item’s main use is selling value, it’s money disguised as clutter.
Keys / keycards (value multipliers)
Keys turn one successful run into a jackpot run—because locked rooms often beat random looting. Keys also deserve Safe Pocket priority.
Blueprints and recipes (permanent crafting upgrades)
Recipes found topside expand your crafting options. Their value isn’t in Coins—it’s in unlocking consistent power.
Quest and progression items (the “don’t sell this” list)
A shocking number of silly-looking objects are required for:
- Trader quests
- Scrappy training
- Workshop station upgrades
- Expedition Project steps
This is where most economy mistakes happen: selling something that looked useless but was actually a bottleneck item.
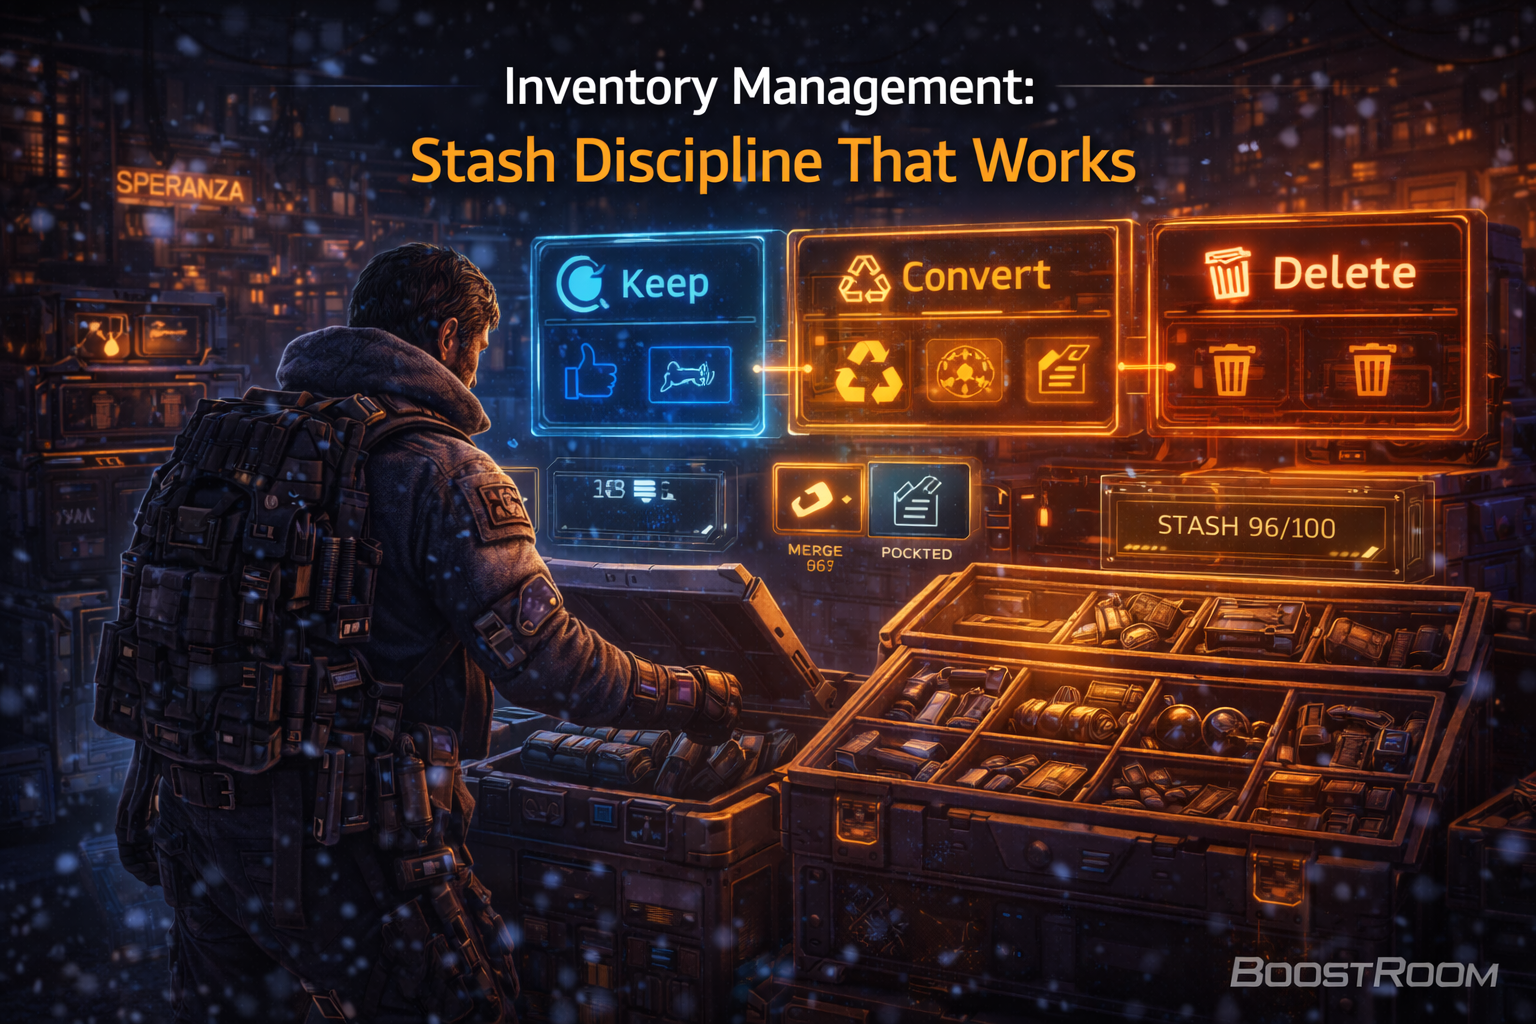
The Sell vs Craft vs Keep Decision Tree (Use This Every Raid)
Here’s a fast decision tree you can run in your head while looting:
Step 1: Is this item needed for a current goal?
Examples of “current goals”:
- A Trader quest step
- A Workshop upgrade you’re actively building toward
- A Scrappy training tier you’re close to completing
- A loadout refill you must have (ammo, meds, specific utility)
If yes → KEEP (and consider Safe Pocket if it’s rare).
Step 2: Is this item a long-term bottleneck or rare drop?
If it’s hard to farm on demand (or locks a major upgrade) → KEEP.
Step 3: Does recycling/refining this item create parts you actually need soon?
If it converts into your next bench upgrade part → RECYCLE/REFINE (and then craft).
Step 4: Is it high value per slot and not used in progression?
If yes → SELL.
Step 5: Is it common, heavy, and easy to re-farm?
If yes → SELL (or leave it behind topside).
This tree is how you stop guessing—and start extracting with purpose.
When Selling Is Correct: Build Coins Without Selling Your Future
Selling is the right choice when it increases your ability to survive and extract over the next several raids.
Sell these kinds of items confidently (most of the time):
- Pure valuables/trinkets that exist mainly to be sold for Coins
- Duplicate weapons you’ll never realistically use (especially if they’re eating stash space)
- Excess common materials once you’ve built a comfortable buffer
- Random household clutter that doesn’t feed your current projects
- Low-tier gear you keep “for later” (later never comes—use or sell)
Why Coins matter more than hoarding
Coins fund the flexibility that makes ARC Raiders fun:
- You can rebuild after losses
- You can buy missing pieces from Traders
- You can pay for economy sinks (like respecs)
- You can stop running “free loadout only” because you’re scared to lose gear
A strong economy player isn’t the one with the biggest stash. It’s the one who can lose three raids in a row and still gear up confidently.
A powerful selling habit: sell in batches, not emotionally
After each session:
- Keep what you need for your next upgrades/quests
- Keep one or two backup kits
- Sell everything else that isn’t part of a plan
This prevents “stash paralysis,” where you own a museum of gear but feel too broke to use any of it.
When Crafting Is Correct: Turn Materials Into Survival (and Profit)
Crafting is correct when it saves you Coins, improves your survival odds, or converts useless materials into real power.
In ARC Raiders, crafting happens in the Workshop, using specialized tables. The core crafting tables are:
- Explosives Station (grenades and mines)
- Gear Bench (shields and augments)
- Gunsmith (weapons)
- Medical Lab (stimulants and bandages)
- Utility Station (utilities like lures and barricades)
- Refiner (create custom parts)
You can also find new recipes while topside, which expands what you can craft.
Crafting wins when it does one of these:
- Lets you run stronger kits without paying Trader prices
- Lets you replace gear faster than you can loot it
- Lets you convert junk into missing upgrade parts
- Lets you keep your stash clean (materials get consumed instead of piling up)
The #1 crafting mistake
Crafting “because you can” instead of crafting “because it fits the plan.”
A good craft is intentional:
- “I’m crafting bandages because my Feats/route will push fights.”
- “I’m crafting a lure because I need safer rotations.”
- “I’m crafting shields because I’m moving into harder zones.”
A bad craft is emotional:
- “I don’t know what to do with materials, so I’ll craft random stuff.”
Field Crafting and Field Recycling: Economy Tools You Can Use Mid-Raid
ARC Raiders isn’t only “craft at base.” You can craft and recycle while topside, which changes how you manage inventory space.
Field crafting
- Lets you combine resources you collect topside to create improvised items on the go.
- You access it from your inventory by selecting the Crafting tab, and it can show what you can build based on your current materials.
Field recycling
- Lets you break down items instantly by selecting Recycle from the item’s details (right-click or open item details).
Why this matters for economy
Field crafting and recycling let you do something huge:
- Convert awkward clutter into useful items
- Convert “dead weight” into parts you actually need
- Free slots so you can carry higher-value loot out
If you’re overloaded mid-raid, the correct play is often:
- Field recycle low-value junk into useful components
- Field craft an item you’ll actually use to survive
- Replace the freed slots with higher-value loot
- Extract
This is how good economy players consistently bring out richer bags without taking extra risk.
When Keeping Is Correct: Protect Bottlenecks, Not Everything
Keeping is correct when an item is part of progression—or when it’s hard to replace.
Keep categories you should respect:
- Quest-required items (Trader quests are a steady source of rewards and progression)
- Workshop upgrade items (these are often the real bottlenecks)
- Scrappy training items (rare household/nature items can block your passive income upgrade)
- Keys and keycards (they multiply the value of future raids)
- Rare crafting components that gate high-tier gear
- Blueprints/recipes (if you don’t already have them learned)
The mindset shift that fixes hoarding
Don’t keep items because they’re “rare.”
Keep items because they’re useful.
A rare weapon you never take out is not an asset—it’s a stash tax.
A weird-looking item that unlocks a station upgrade is a real asset.
Scrappy and Passive Income: The Economy Engine New Players Underuse
Scrappy is not a cute side feature—he’s an economy multiplier.
While you’re out on a raid, Scrappy digs up materials for you, and training him improves what he brings back. Over time, Scrappy reduces how much you need to loot basic materials and lets you focus on higher-value targets.
What Scrappy changes
- Common materials become less precious (because Scrappy can help supply them)
- Your stash can fill faster if you never collect from him
- You can justify selling excess stacks of basics more aggressively
A smart rule once Scrappy is rolling
Keep a buffer, not a mountain:
- Enough common materials to craft your normal kit for several runs
- Not so much that your stash becomes a landfill
When your stash is clogged, you lose money—because you can’t bring back the rare parts you actually needed.
Keys, Locked Rooms, and Why “Keep” Sometimes Means “Safe Pocket Immediately”
Keys and keycards are economy accelerators because they convert risk into guaranteed value—especially when you know the route.
Two key principles:
- Keys are often more valuable than a single bag of random loot
- If you’re carrying a key, your entire run should shift toward safe extraction
A recent change also matters: keys will no longer be removed from the Safe Pocket when using the Unload backpack, which reduces the fear of losing key progress from a UI action mistake.
Locked room strategy that grows Coins fast
- Keep keys safe (Safe Pocket priority)
- Run a route that hits the lock early
- Extract immediately after a successful hit
- Convert results into: sellable valuables + upgrade components
This keeps your variance low and your profit consistent.
Repair, Recycle, Replace: Stop Paying the “Durability Tax” Wrong
Durability exists to create economic choices. The trick is making those choices on purpose.
Three repair rules that keep you rich
Rule 1: Repair when replacement is expensive
If a gear piece is hard to replace or locked behind rare parts, repairs make sense.
Rule 2: Recycle when repair costs rare materials
Sometimes repair costs include scarce components that are better spent crafting fresh gear. There are real cases where recycling a damaged item gives you back a key material, which you can combine with a common piece to craft a replacement—cheaper than repairing.
Rule 3: Replace when the item is common and your stash is full
A full stash is a silent economy loss. Keeping five damaged “maybe later” items is often worse than converting them into value today.
One practical example to remember
Some players have highlighted that repairing certain mid-tier shields can be a resource trap if it consumes scarce circuitry-type parts—while recycling and crafting a new one can be more efficient. Whether you follow that specific example or not, the lesson is universal:
Always compare the repair bill to the craft bill.
Inventory and Stash Management: The Hidden Economy Skill
You can be a great fighter and still be broke because your stash management is weak.
The stash pressure problem
- ARC Raiders has a limited stash capacity
- Many items stack poorly
- Progression systems demand lots of different materials across quests, Scrappy, workshop upgrades, and Expedition preparation
This creates the classic extraction-shooter trap: you start fighting your inventory more than enemies.
The “Merge Stacks” habit
There’s a Merge Stacks option in the stash interface that consolidates partial stacks (ammo, consumables, materials). Using it regularly is one of the fastest ways to reclaim space without selling anything.
A simple stash system that works
Create three mental zones:
- Ready Kits: 1–3 loadouts you actually run
- Project Box: items for your next upgrades/quests (only what’s needed)
- Sale Bin: everything else
If something isn’t for a kit or a project, it goes to the sale bin. That’s how you stay organized without spreadsheets.
The Expedition Project: Why “Keep” Has a Deadline
At level 20, you unlock the Expedition Project, which lets you choose when to reset your progression and start fresh on your own terms. Each Expedition cycle lasts eight weeks:
- Seven weeks of preparation
- One week where finalizing becomes available (and stays available that whole week)
- If you miss the finalization window, you can keep working until the next window
Why this matters for economy
Expedition changes what “keep” means:
- Inventory, stash items, and crafting progress can reset with an Expedition
- But long-term account progress carries over (cosmetics, Raider Tokens, Cred, Raider Deck progress, unlocked maps, and more)
So your stash isn’t meant to become a forever-collection. It’s meant to be used:
- To power up now
- To complete your current cycle goals
- To convert into lasting benefits when you Expedition
If you hoard forever, you’re fighting the system.
Early Game Economy: Get Stable Before You Get Fancy
Early game goal: stop bleeding Coins and build a sustainable kit loop.
Early priorities that make everything easier
- Craft/stock basic meds and ammo (so you don’t “buy panic” every time)
- Keep key progression items (Scrappy + workshop upgrades)
- Sell most valuables quickly to build a Coin cushion
- Use Free Loadouts when you want low-risk farming (they cost nothing but have less loot space)
The early game mistake
Saving every rare gun “for later,” then running free kits for 20 hours because you’re scared to lose the gun.
The correct move is to run your best gear strategically to extract more often. Extraction is the economy.
Mid Game Economy: Upgrade Stations, Then Your Loadouts Explode
Mid game goal: unlock crafting power so you stop relying on Trader luck.
What changes mid game
- You begin unlocking and upgrading multiple crafting tables
- Your Refiner starts mattering because custom parts become bottlenecks
- You stop being limited by “what you find” and start being defined by “what you can craft”
Mid game keep priorities
- Anything that directly upgrades the next station level you’re targeting
- Rare components used in shields, strong weapons, or key utilities
- Keys that unlock high-value rooms
Mid game sell priorities
- Excess basics (Scrappy + normal looting covers them)
- Duplicate mid-tier weapons you don’t actively run
- Pure sell-value items that aren’t part of crafting chains you need
Late Game Economy: Value per Slot, Risk Control, and Consistent Extracts
Late game goal: optimize profit without increasing risk.
At this stage, you should think like this:
- Every bag slot has a price
- Every minute topside adds risk
- Every fight you take should have a reason (quest, key room, or unavoidable)
Late game economy habits
- Route around objectives (key rooms, high-value zones), not random looting
- Use field recycling to convert low-value junk into compact value
- Extract earlier with smaller but higher-value bags
- Sell frequently to avoid stash overflow
Late game isn’t about “more loot.” It’s about better loot and fewer deaths.
BoostRoom: Make Your Economy Feel Easy (Even If You’re New)
If your biggest ARC Raiders pain is “I loot a lot but I’m still broke,” you don’t need a miracle—you need a repeatable system.
BoostRoom helps you build that system:
- Loot priority coaching (what to grab, what to ignore, what to Safe Pocket)
- Route planning for consistent extracts and key-room value runs
- Workshop progression planning so you stop wasting rare parts
- Economy-safe loadouts that protect profit while you learn fights
- Duo/trio coordination so your team extracts more and bleeds less
The goal is simple: extract more, die less, and turn every session into progress—not stash stress.
FAQ
How do I stop being broke in ARC Raiders?
Prioritize extraction, sell valuables consistently, craft essentials instead of panic-buying, and keep only items tied to active upgrades/quests.
What should I always put in my Safe Pocket?
Anything you can’t easily re-farm: keys/keycards, rare upgrade items, and progression blockers (especially if you’re close to completing a tier).
Is it better to recycle or sell?
Recycle when the components help you craft or upgrade something soon. Sell when the item is not part of your current progression path and has strong value per slot.
What is Field Crafting used for?
Field crafting lets you combine materials topside to create improvised items mid-raid, helping you survive and manage inventory space.