Priest Specs Covered on This Page
This page focuses on the two core PvE gearing paths most players search for:
- Shadow Priest (PvE DPS BiS): Raid damage + utility, highly valued for debuffs and sustained pressure.
- Holy Priest (PvE Healer BiS): Raid healing and flexible healing toolkits, scaling strongly with haste and good trinket choices.
If you’re primarily a PvP Priest, your gearing rules change (Resilience becomes a core stat). This page still helps because many PvP pieces overlap early on, and PvE trinkets/weapons sometimes show up in PvP builds—but your true arena “best” setup is a different checklist.
What to Prioritize First (So You Don’t Waste Time)
Before you chase any single piece, lock in your priority order:
Shadow Priest priorities (practical):
- Spell hit (until you’re comfortable for raids)
- Spell damage + haste
- Intellect and Spirit (both matter; Spirit has real value for Shadow and can also support sustain)
- Crit is nice but usually not the first thing you chase
Holy Priest priorities (practical):
- Bonus healing (raw output)
- Spell haste (faster casts, smoother raid healing)
- Mana regen options (Spirit and/or MP5 depending on your gear choices)
- Stamina matters more than people admit (dead healers heal nothing)
Shadow Priest BiS – Phase 5 (Sunwell)
If your goal is the strongest endgame Shadow setup, Phase 5 is where the most powerful upgrades live. This list highlights the key “finish line” pieces and the main alternatives you’ll realistically use.
Head: Cowl of Gul’dan (Illidan Stormrage – Black Temple)
Neck: Sin’dorei Pendant of Conquest (Brutallus – Sunwell Plateau)
Shoulders: Mantle of Absolution (Mother Shahraz – Black Temple)
Back: Tattered Cape of Antonidas (Kalecgos – Sunwell Plateau)
Chest: Sunfire Robe (Tailoring craft) or Fel Conquerer Raiments (M’uru – Sunwell Plateau)
Wrists: Bracers of Absolution (Kalecgos – Sunwell Plateau)
Hands: Handguards of Defiled Worlds (Kil’jaeden – Sunwell Plateau)
Waist: Cord of Absolution (Brutallus – Sunwell Plateau)
Legs: Leggings of Calamity (highly contested) or Pantaloons of Growing Strife (easier alternative)
Feet: Treads of Absolution (Felmyst – Sunwell Plateau)
Rings (pick your best two):
- Ring of Omnipotence (M’uru – Sunwell Plateau)
- Loop of Forged Power (Jewelcrafting)
- Ring of Ancient Knowledge (Black Temple trash)
Weapon: Sunflare (top end, highly contested) with Reign of Misery as a strong alternative
Off-hand: Heart of the Pit (Brutallus – Sunwell Plateau) with Chronicle of Dark Secrets as an alternative if you need hit
Wand: Wand of the Demonsoul (Sunwell trash)
Important note on trinkets for Shadow: Trinkets are often the most “situational” slots in TBC. Many Shadow Priests rotate trinkets depending on fight length, mana comfort, and whether they’re assigned utility-heavy roles. If you’re trying to finish your set efficiently, build around what your guild consistently kills and what you can secure without stalling your whole gearing plan.
Shadow Priest BiS – Phase 3/4 (Black Temple / Hyjal / Zul’Aman)
Phase 3/4 gearing is where Shadow really starts to feel fast and lethal: better haste access, better rings, and stronger raid drops that carry into Sunwell.
Here are the standout best-in-slot targets you’ll see most often in optimized Phase 3/4 lists:
Head: Cowl of the Tempest (from Mount Hyjal)
Neck: Bone Necklace (Teron Gorefiend – Black Temple)
Shoulders: Mantle of Absolution (Mother Shahraz – Black Temple)
Back: Cloak of the Illidari Council (Illidari Council – Black Temple)
Chest: Robes of the Searing Nova (Illidan Stormrage – Black Temple)
Wrists: Bracers of Nimble Thought (crafted)
Hands: Handguards of Absolution (Azgalor – Mount Hyjal)
Waist: Waistwrap of Infinity (Supremus – Black Temple)
Legs: Leggings of the Black Flame (Illidan Stormrage – Black Temple)
Feet: Boots of the Divine Light (Naj’entus – Black Temple)
Rings (two strong picks):
- Ring of Ancient Knowledge (Black Temple trash)
- Band of the Eternal Sage (Zul’Aman timed chest)
Trinkets: This slot stays flexible; prioritize the best raid trinkets your team reliably farms.
Main-hand: Tempest of Chaos (Illidan Stormrage – Black Temple)
Off-hand: Crystal Spire of Karabor (Illidan Stormrage – Black Temple)
Wand: Zul’Aman wand upgrades can carry you until Sunwell.
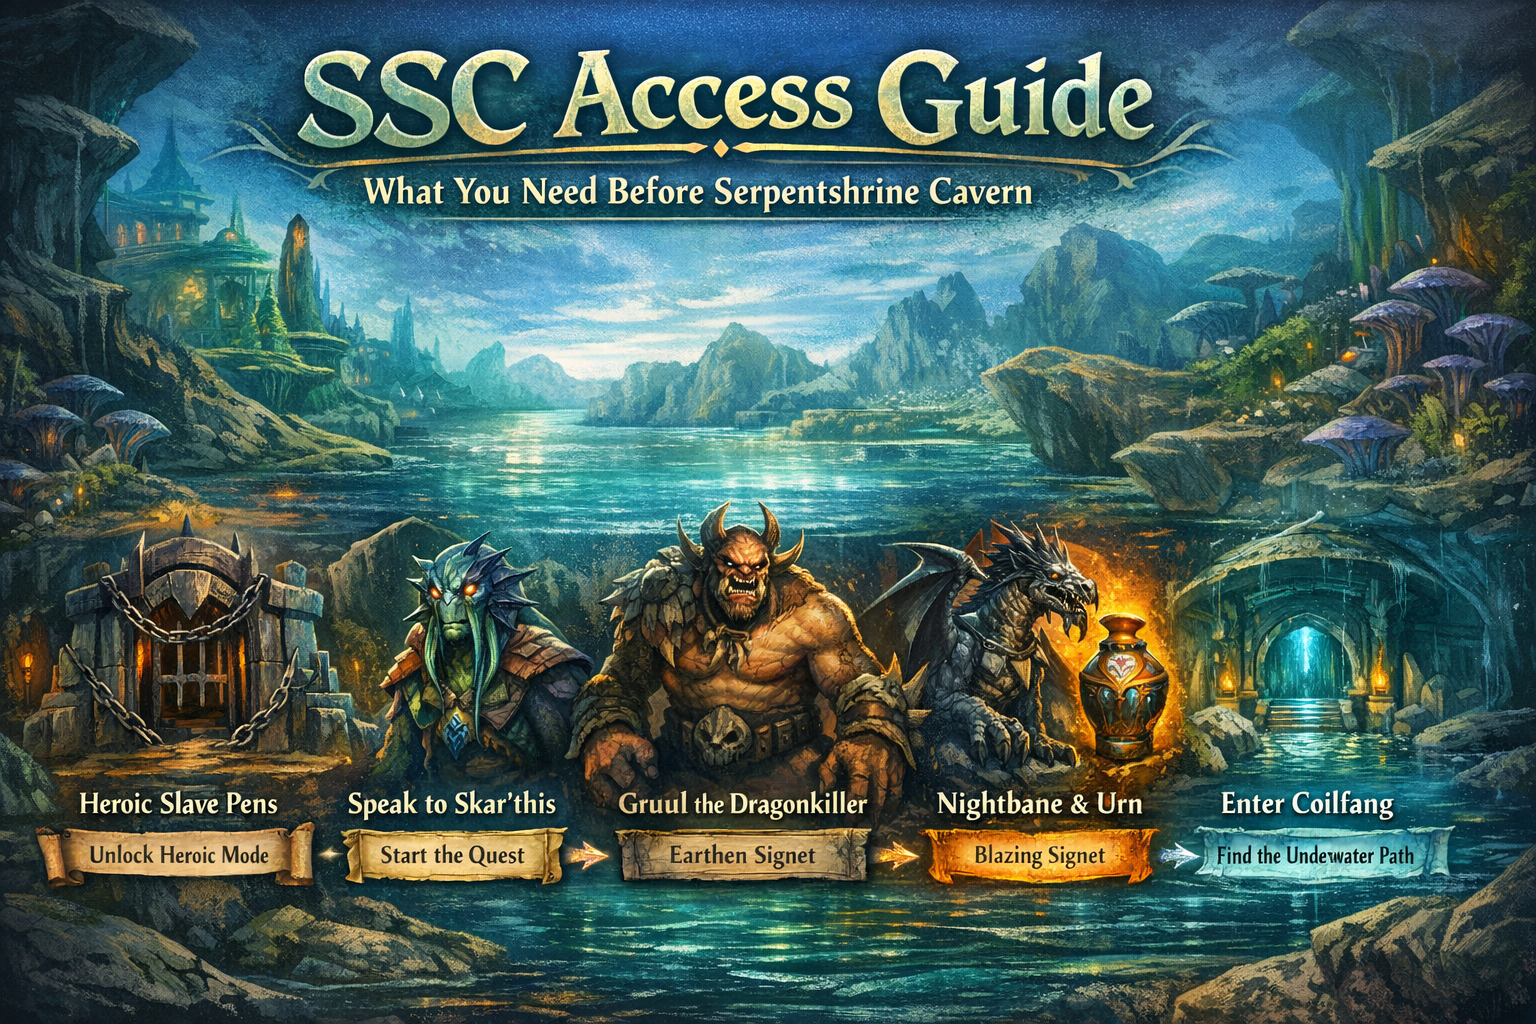
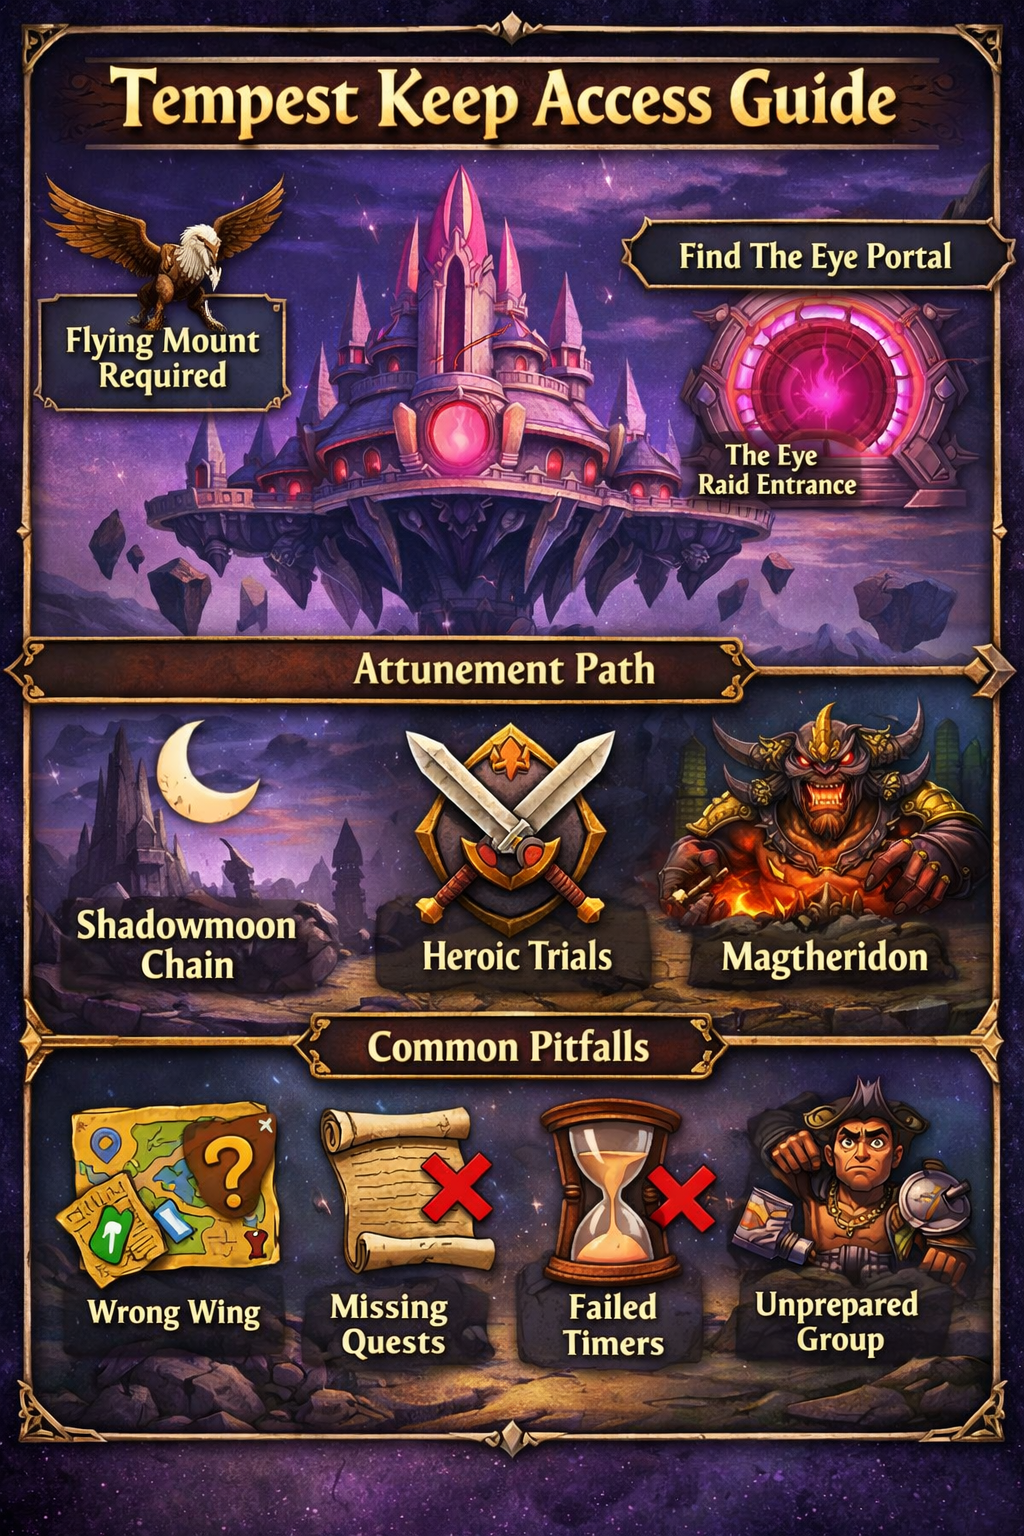
Shadow Priest BiS – Phase 2 (SSC / TK)
Phase 2 is a massive power jump because Serpentshrine Cavern and Tempest Keep introduce several “stick for a while” caster pieces.
Common Phase 2 “best” targets include:
Head: Cowl of the Avatar (Lady Vashj – Serpentshrine Cavern)
Neck: Choker of the Betrayer (Kael’thas Sunstrider – The Eye)
Shoulders: Mantle of the Avatar (Void Reaver – The Eye)
Back: Cloak of the Illidari Council alternatives begin to appear later, but Phase 2 cloaks still matter
Chest: Vestments of the Avatar (Kael’thas Sunstrider – The Eye)
Hands: Gloves of the Avatar (Leotheras the Blind – Serpentshrine Cavern)
Waist: Belt of Blasting (Tailoring craft remains strong)
Legs: Leggings of the Black Flame (not yet) — in Phase 2 you often use a strong mix of raid legs and crafted options
Feet: Phase 2 boots from SSC can become core until BT upgrades
Rings: Strong caster rings appear from SSC/TK bosses and remain relevant into later phases
Wand: Wand of the Forgotten Star (The Eye)
Phase 2 is also where you should start planning your badge strategy and profession crafts so you don’t fall behind later when everyone is chasing the same tokens and high-demand drops.
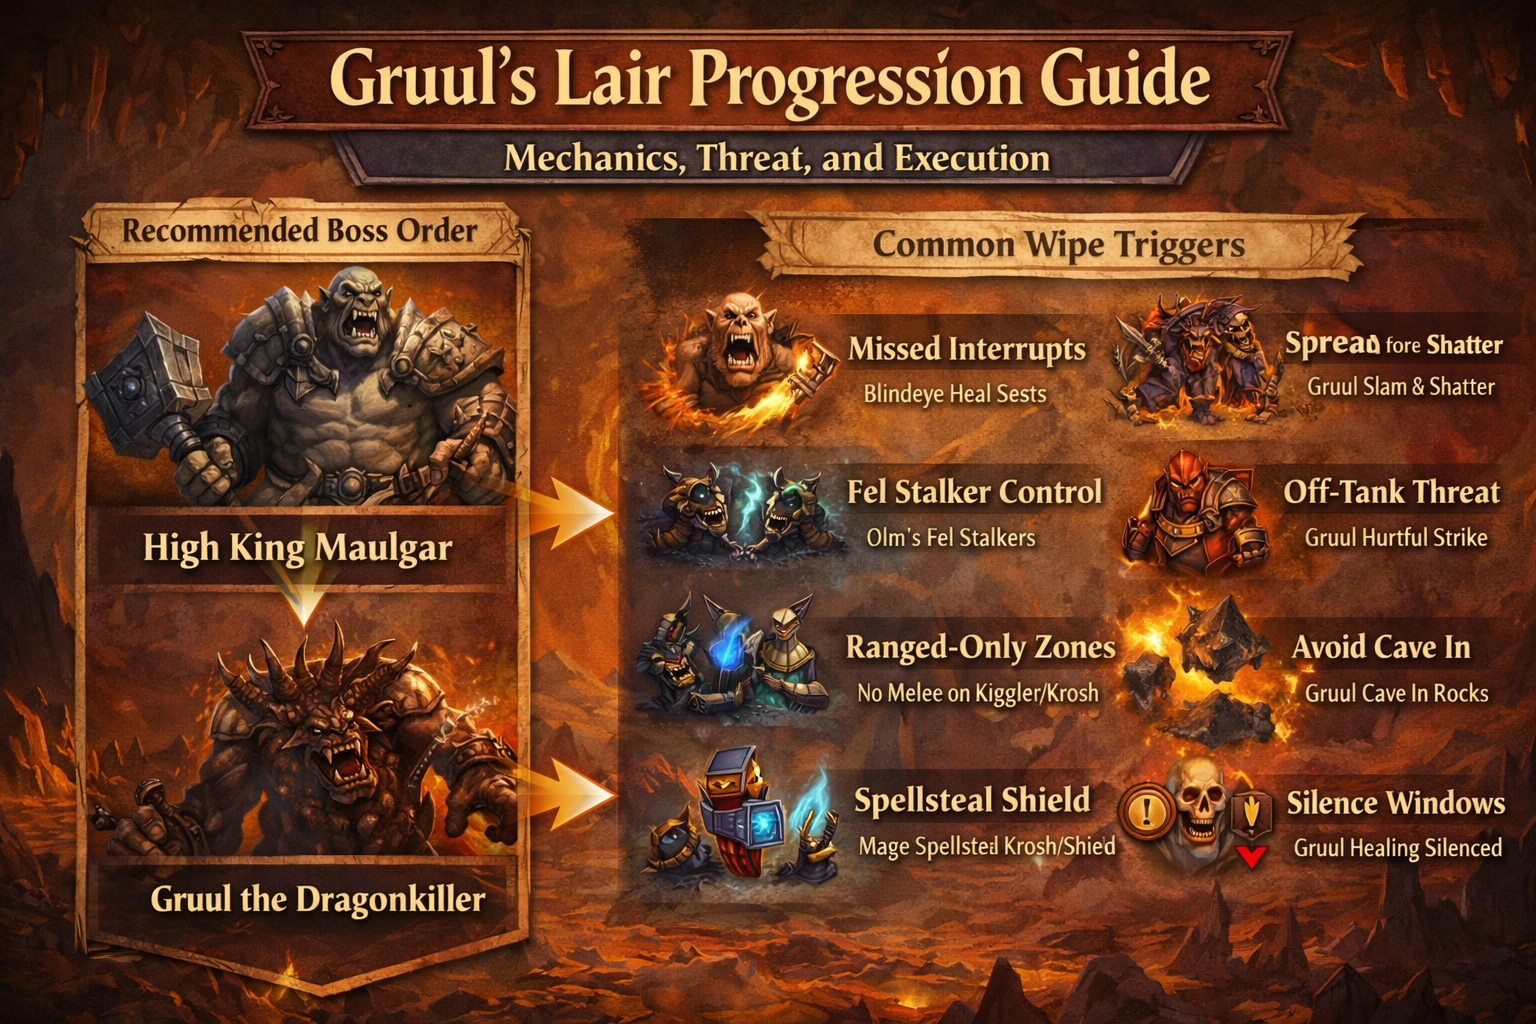
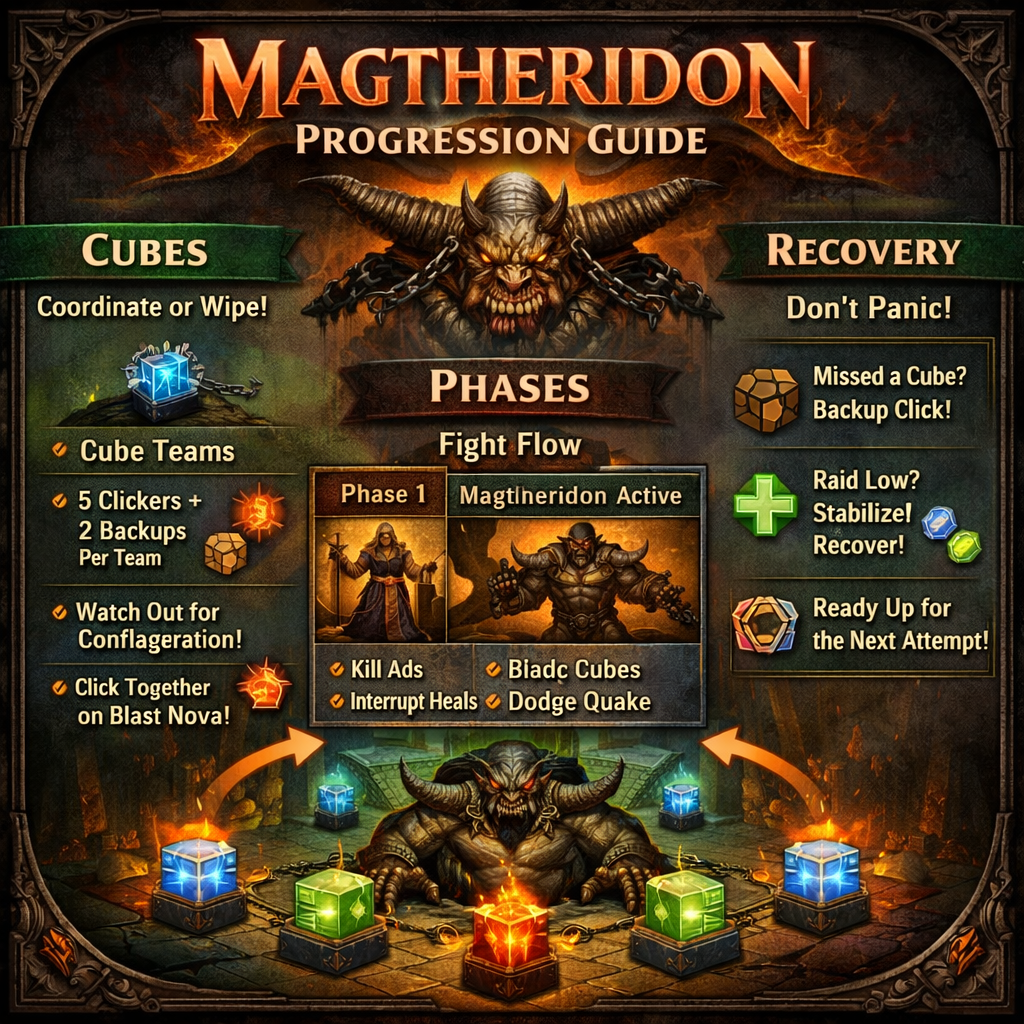
Shadow Priest BiS – Phase 1 (Karazhan / Gruul / Magtheridon)
Phase 1 is where most Shadow Priests set the foundation: crafted spell sets + Karazhan loot + a few “forever useful” pieces.
High-impact Phase 1 targets include:
Head: Spellstrike Hood (crafted)
Shoulders: Mantle of the Malefic (The Curator – Karazhan)
Back: Cloak of the Black Void (crafted)
Chest: Frozen Shadoweave Robe (crafted)
Wrists: Bracers of Havok (crafted)
Hands: Spellfire Gloves (crafted)
Waist: Belt of Blasting (crafted)
Legs: Spellstrike Pants (crafted)
Rings: Ring of Recurrence (Karazhan) and Ring of Unrelenting Storms (Gruul’s Lair) are notable early targets
Trinkets: Quagmirran’s Eye and Shiffar’s Nexus-Horn are strong early options; Eye of Magtheridon can also appear depending on your drops
Weapons: Mindblade (Prince Malchezaar – Karazhan) and Talon of the Tempest (world boss loot) are well-known early weapons
Phase 1 reality check: Crafted gear is a huge part of early Shadow optimization. If you wait for perfect raid drops before crafting anything, you usually gear slower—not faster.
Holy Priest BiS – Phase 5 (Sunwell)
Phase 5 healing is where Holy Priests become incredibly sharp: faster casts, bigger healing stats, and powerful trinket choices that can be swapped fight-to-fight.
Head: Cowl of Light’s Purity (Kil’jaeden – Sunwell Plateau)
Neck: Brooch of Nature’s Mercy (Akil’zon – Zul’Aman)
Shoulders: Shawl of Wonderment (Eredar Twins – Sunwell Plateau) or Mantle of Absolution (Mother Shahraz – Black Temple) when you want to keep a set bonus
Back: Shroud of the Highborne (Illidan Stormrage – Black Temple)
Chest: Robes of Faltered Light (M’uru – Sunwell Plateau)
Wrists: Cuffs of Absolution (Kalecgos – Sunwell Plateau)
Hands: Handguards of the Dawn (Kil’jaeden – Sunwell Plateau)
Waist: Belt of Absolution (Brutallus – Sunwell Plateau)
Legs: Pantaloons of Growing Strife (Kalecgos – Sunwell Plateau)
Feet: Boots of Absolution (Phase 5 tier boots; strong endgame option)
Rings (pick your best two): Ring of Flowing Life (Jewelcrafting) and Blessed Band of Karabor (Black Temple trash)
Trinkets (choose based on fight needs):
- Shifting Naaru Sliver (M’uru – Sunwell Plateau)
- Redeemer’s Alchemist Stone (Alchemy)
- Memento of Tyrande (Illidan Stormrage – Black Temple)
- Darkmoon Card: Blue Dragon (Darkmoon deck)
Weapon: Golden Staff of the Sin’dorei (top end preference for Phase 5)
Off-hand (if using one-hand): Book of Highborne Hymns (Eredar Twins – Sunwell Plateau)
Wand: Wand of Cleansing Light (Sunwell trash)
Why Holy trinkets matter so much: Holy Priests frequently swap trinkets between pulls. A mana-focused trinket can keep you stable on long fights, while a throughput trinket helps you “carry” heavy damage phases. If you only build one trinket setup, you’re leaving performance on the table.
Holy Priest BiS – Phase 2 (SSC / TK)
Phase 2 is where Holy gearing becomes more “raid defined,” with tier pieces and major weapon upgrades.
Head: Cowl of the Avatar (Lady Vashj – Serpentshrine Cavern)
Neck: Lord Sanguinar’s Claim (Kael’thas Sunstrider – The Eye)
Shoulders: Mantle of the Avatar (Void Reaver – The Eye)
Back: Sunshower Light Cloak (Kael’thas Sunstrider – The Eye)
Chest: Vestments of the Avatar (Kael’thas Sunstrider – The Eye)
Wrists: Wraps of Purification (Hydross the Unstable – Serpentshrine Cavern)
Hands: Gloves of the Avatar (Leotheras the Blind – Serpentshrine Cavern)
Waist: Belt of the Long Road (crafted via Tailoring; does not require Tailoring to equip)
Legs: Breeches of the Avatar (Fathom-Lord Karathress – Serpentshrine Cavern)
Feet: Soul-Strider Boots (Fathom-Lord Karathress – Serpentshrine Cavern)
Rings: Coral Band of the Revived (Lady Vashj – Serpentshrine Cavern) + Violet Signet of the Grand Restorer (Violet Eye exalted)
Trinkets: Earring of Soulful Meditation (The Lurker Below – Serpentshrine Cavern) is a major mana piece; Darkmoon Card: Blue Dragon remains valuable
Main-hand: Lightfathom Scepter (Lady Vashj – Serpentshrine Cavern)
Off-hand: Windcaller’s Orb (Cenarion Expedition – Exalted)
Wand: Luminescent Rod of the Naaru (Morogrim Tidewalker – Serpentshrine Cavern)
Holy Priest BiS – Phase 1 (Karazhan / Gruul / Magtheridon)
Phase 1 Holy gearing has two major themes: strong Karazhan drops and crafting sets that hold their value.
Head: Light-Collar of the Incarnate (Prince Malchezaar – Karazhan)
Neck: Teeth of Gruul (Gruul – Gruul’s Lair) or Shining Chain of the Afterworld (Netherspite – Karazhan)
Shoulders: Primal Mooncloth Shoulders (Tailoring)
Back: Stainless Cloak of the Pure Hearted (Prince Malchezaar – Karazhan) is a strong option
Chest: Primal Mooncloth Robe (Tailoring)
Wrists: Bands of the Benevolent (Heroic Sethekk Halls) or Bands of Indwelling (Maiden of Virtue – Karazhan)
Hands: Gloves of Saintly Blessings (Attumen – Karazhan) or Handwraps of the Incarnate (The Curator – Karazhan)
Waist: Primal Mooncloth Belt (Tailoring)
Legs: Gilded Trousers of Benediction (Doomwalker) with Pantaloons of Repentance (Netherspite – Karazhan) as a strong alternative
Feet: Boots of the Incorrupt (Shade of Aran – Karazhan)
Rings: Violet Signet of the Grand Restorer (Violet Eye – Exalted) + Naaru Lightwarden’s Band (Magtheridon’s Lair)
Trinkets: Essence of the Martyr (Badges), Darkmoon Card: Blue Dragon, Scarab of the Infinite Cycle (Black Morass), Eye of Gruul, and Alchemist’s Stone (Alchemy) depending on your needs
Main-hand: Light’s Justice (Prince Malchezaar – Karazhan)
Off-hand: Windcaller’s Orb (Cenarion Expedition – Exalted)
Wand: Blue Diamond Witchwand (Opera Event – Karazhan)
Holy Priest BiS – Phase 3/4 (Key Upgrades to Target)
Phase 3/4 can feel chaotic because you’re mixing Hyjal, Black Temple, Zul’Aman, and badge gear. Instead of getting lost, focus on the high-impact upgrades that show up repeatedly in optimized lists:
- Brooch of Nature’s Mercy (Akil’zon – Zul’Aman) stays extremely valuable as a healing neck
- Shroud of the Highborne (Illidan – Black Temple) is a top cloak that continues into Phase 5
- Blessed Band of Karabor (Black Temple trash) is a highly desirable healing ring
- Achromic Trousers of the Naaru (Badge gear) stand out for their major haste value
- Scepter of Purification (Archimonde – Mount Hyjal) is a premium healing weapon target
If you gear by chasing these “anchor upgrades,” your healing power climbs fast even if a few specific slots refuse to drop.
Gems: Simple Rules That Work for Both Shadow and Holy
TBC gemming is easiest when you follow three rules:
- Use your best gem quality on the slots you’ll keep longest.
- Match sockets only when the bonus is actually good.
- Don’t overthink early gear. Save perfection for pieces that won’t be replaced next reset.
Shadow gem mindset:
- Red sockets usually favor spell power gems (examples you’ll see in endgame lists include Runed Crimson Spinel).
- Yellow sockets often become haste/spell power mixes when the bonus is worth it (examples include Reckless Pyrestone).
- Blue sockets are typically used when you need a stat mix or want a strong socket bonus (examples include purple hybrid gems).
Holy gem mindset:
- If you’re building for speed, haste gems show up frequently (examples include Quick Lionseye).
- If you’re building for raw healing, you’ll often lean on healing-focused reds and efficient hybrids.
- Many Holy setups use an Insightful meta because it supports mana stability while you push throughput.
Enchants: What Matters Most (Without Overcomplicating It)
Instead of memorizing every enchant, remember what you’re trying to achieve.
Shadow enchants: prioritize spell damage and haste value where possible, then stabilize with practical upgrades on gloves/boots/cloak depending on your build.
Holy enchants: prioritize healing power and mana stability first, then add haste-oriented options once your mana isn’t collapsing mid-fight.
If you’re ever unsure, default to:
- Shadow = more damage/haste
- Holy = more healing/mana stability
- …and adjust once your logs and real fights show what you’re lacking.
Fast Gearing Roadmap (Shadow and Holy)
Use this as a “do this first” checklist when you hit 70 or when you’re returning late to the expansion.
Step 1: Lock in your professions (or your crafting plan)
- Shadow benefits heavily from caster crafts early on.
- Holy benefits from strong crafted healing sets and profession trinkets depending on your setup.
Step 2: Farm reputation items that stay relevant
Some reputation rewards and exalted items remain useful long after you first unlock them (especially certain off-hands and rings).
Step 3: Build a badge plan
Badges can fill awkward slots and prevent you from being stuck in “almost geared” limbo.
Step 4: Target the “anchor upgrades”
Examples from this page:
- Holy: Brooch of Nature’s Mercy, Shroud of the Highborne, key haste legs
- Shadow: strong crafted bracers, endgame wand upgrades, and reliable raid weapons
BoostRoom: Gear Your Priest Faster Without the Grind
If you want your Priest to feel “raid-ready” quickly (or you’re tired of wasting entire evenings on slow groups), BoostRoom is built for exactly that.
With BoostRoom you can:
- Speed up your gearing path with efficient dungeon runs and targeted farming
- Reduce downtime on reputation and badge progression
- Get help with the biggest time sinks that block upgrades (group coordination, repeated runs, and scheduling)
Whether you’re pushing a Shadow Priest DPS build or optimizing Holy healing throughput, BoostRoom helps you reach the fun part faster: strong gear, smooth raids, and confident performance.
FAQ
How many BiS lists do I need as a Priest in TBC?
At minimum: one for your main role (Shadow or Holy). Many players also maintain a “mana/regen” variant (healers) or a “hit-stable” variant (Shadow) depending on what their raid needs.
Is tailoring worth it for Priests in TBC Classic?
Tailoring is extremely common for Priests because crafted caster/healing pieces can be powerful and remain useful for a long time. Even if you don’t craft everything yourself, having access to crafts early can accelerate gearing.
Why do Holy Priests swap trinkets so often?
Because trinkets solve different problems. Some help you last longer (mana), others help you push throughput (healing output), and the “best” option changes depending on fight length and damage patterns.