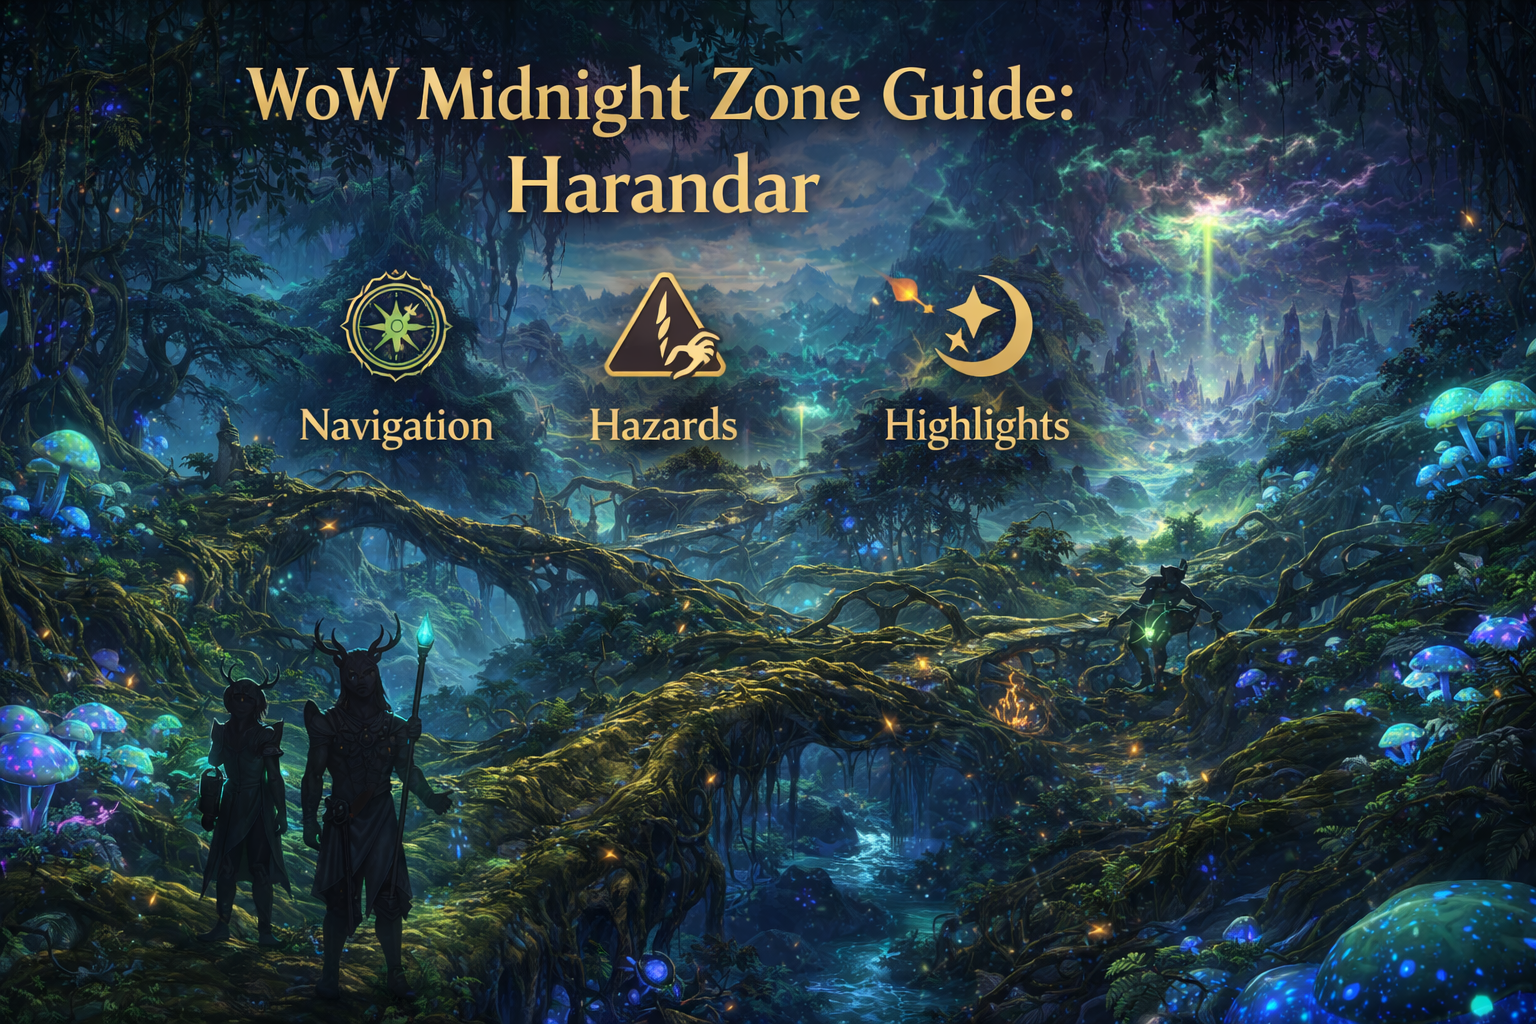
Harandar contains the Rift of Aln, described as a primordial wound where the boundary between dreams and reality grows thin—so thin that echoes of the Goddess’ anguish can drive haranir mad, and half-formed creatures can emerge. Translation: Harandar isn’t only “nature zone.” It’s “nature zone with reality glitches.” Your safest assumption is that some areas will feel normal and others will feel unstable—by design.
If you treat Harandar like a straightforward forest, you’ll waste time. If you treat it like a layered jungle-cavern with dream-pressure pockets, you’ll move faster and die less.

Navigation Basics: How to Not Get Lost Under the World Trees
Most players’ first problem in Harandar is not combat—it’s orientation. Bioluminescent jungles can look samey at first glance, and massive root systems can hide the obvious “main road.” Use these habits to stay locked-in.
Build a 3-anchor mental map (do this immediately)
Pick three landmarks that you can always route back to mentally:
- A main settlement / quest hub (where your campaign and renown activity repeatedly pulls you)
- A Rift-adjacent boundary (the “this is getting weird” zone edge you recognize instantly)
- A “high root ridge” route (a long, elevated path you can use like a highway)
The moment you have those three anchors, Harandar stops feeling like a maze.
Read the zone in layers, not as a flat map
Harandar’s roots create “levels”:
- Ground layer: dense fungi, short sightlines, lots of combat pockets
- Mid-layer roots: natural bridges and safer straight-line travel
- High-layer spines: long routes, strong visibility, ideal for scanning objectives
When you’re moving between objectives, spend more time on the mid/high layers and drop down only when you’re ready to clear a cluster. That single change cuts travel time and reduces accidental pulls.
Use a “loop first, spoke second” route mindset
Instead of constantly going hub → objective → hub, build loops:
- Make one medium loop that touches 4–6 objective clusters.
- Complete everything on that loop.
- Return to hub once.
If you keep moving like spokes on a wheel (out and back repeatedly), Harandar will feel slow.
Treat bioluminescence like signage
In many glowing zones, brighter areas are designed to be “main routes,” while dimmer pockets hide secrets, rares, and side objectives. You don’t need exact coordinates to exploit this:
- If you’re speed-leveling, follow the brighter “arteries.”
- If you’re exploring, intentionally drift into dimmer pockets for hidden content.
When in doubt, climb
If you’re lost, don’t wander—go up. High roots give you instant context: you’ll see which direction the terrain opens, where the Rift-like effects intensify, and which areas are “dead ends.”
Rootways: The Fastest Travel Tool (and the Biggest Trap)
The rootways are the defining Harandar navigation feature, and they’re also where players lose the most time by using them wrong.
What the rootways represent (in plain player terms)
Lore-wise, they’re secret pathways the haranir use to move around the world and observe Azeroth without openly intervening. In zone design terms, rootways are likely to function as:
- shortcuts that bypass vertical terrain
- hidden connectors between distant sub-areas
- “safe-ish” routes that avoid dense combat pockets
- discovery content (you find them, learn them, then suddenly everything is faster)
How to use rootways efficiently
Rootway Rule #1: Use them to cross the zone, not to micro-move.
Rootways shine when you’re traveling far. If you’re only going from one nearby objective to the next, staying on normal terrain is usually quicker and less disorienting.
Rootway Rule #2: Enter with a destination in mind.
The fastest rootway users are decisive: “I’m using this to reach my next hub / Rift boundary / activity site.” If you enter rootways “just to see,” you’ll end up backtracking.
Rootway Rule #3: Mark the exit, not the entrance.
Everyone remembers where they entered. The time saver is remembering where you come out. The moment you pop out somewhere useful, mentally tag it:
- “This exit is my shortcut to the Rift edge.”
- “This exit drops me above a dense quest cluster.”
- “This exit is the fastest line to my activity area.”
Rootway Rule #4: Use them to control difficulty spikes.
Harandar’s danger level isn’t uniform. Rootways let you route around the roughest pockets when you’re undergeared, then route through them later when you want more challenge or better farming.
Common rootway trap: ‘I’ll just take every tunnel I see’
Don’t. Pick one connector, learn it, then add one more. Two reliable rootway connectors beat ten half-remembered ones.
Harandar Hazards: What the Zone Punishes and How to Adapt
Harandar’s hazards are less “stand in fire” and more “you didn’t respect the environment.” Some hazards are mechanical. Others are psychological—confusion, misreads, and panic pulls. Here’s how to handle both.
Hazard Type 1: Low visibility and short sightlines
Bioluminescent growth can be gorgeous and still hide threats. You’ll often fight in pockets where you can’t see what’s 15 yards away.
How to adapt:
- Pull smaller than you think you should until you learn the local mob density.
- Rotate your camera before you commit to a fight, especially near fungus walls and root arches.
- If you’re solo, keep an escape path open; don’t wedge yourself into a cul-de-sac of roots.
Hazard Type 2: Terrain that tricks your pathing
Root bridges and uneven ground can make you feel like you’re “going straight,” but you’re actually being funneled into extra packs or cliff edges.
How to adapt:
- Favor mid-layer root bridges for travel; drop down deliberately for combat.
- If you’re moving quickly, take high routes and jump down—don’t weave through ground clutter.
- When you miss an objective marker and it “should be right here,” look up and look down before you assume it bugged.
Hazard Type 3: Rift pressure and reality-thin pockets
The Rift of Aln is explicitly described as a place where the barrier between dreams and reality grows thin, and where echoes of anguish can overwhelm most haranir. Even spoiler-light, that tells you what to expect: unstable-feeling encounters, “wrongness,” and threats that don’t behave like normal jungle wildlife.
How to adapt:
- Treat Rift-adjacent areas like “end of zone” content even if you can enter them early.
- Use defensives earlier than usual; don’t wait for panic.
- When something looks half-formed or unnatural, assume it has a mechanic that escalates (adds, pulses, or sudden damage spikes).
Hazard Type 4: Ambush rhythm (you’re the prey, too)
Harandar is where Midnight starts training you for the expansion’s broader theme: threats that strike when you’re not ready. Even outside of the Prey system, the zone’s framing suggests you should expect interruptions.
How to adapt:
- Keep one “oh no” tool off cooldown when you’re moving through dense areas (a defensive, a movement skill, or a crowd control).
- Don’t chain-pull mindlessly while traveling. Travel is where ambushes happen.
- If you’re in warmode or playing during busy times, avoid fighting on narrow root bridges where you can’t reposition.
Hazard Type 5: Overconfidence in ‘pretty safe zones’
Harandar’s harmony-with-nature tone can lull you into thinking it’s friendly. It’s not. It’s watchful, ancient, and full of things that survived by being dangerous.
How to adapt:
- If the zone gets quieter, slow down—quiet areas often hide rares, elites, or scripted moments.
- If you see a too-perfect clearing, assume it’s an encounter space.
Highlights You Shouldn’t Miss: Harandar’s Best Moments Without Spoilers
Even if you’re rushing the campaign, Harandar is worth experiencing deliberately at least once. These highlights are “safe” to seek out without ruining story beats.
The bioluminescent canopy runs
There’s a specific type of Harandar beauty: traveling along a high root spine with glowing fungi below you like city lights. Do one long travel stretch at a walking pace (yes, really) just to absorb it. This zone is designed to be remembered.
Rift boundary contrast
Find the point where Harandar’s “harmony” starts to break down into Rift influence. That visual and audio shift is one of the best examples of Midnight’s zone storytelling—no cutscene needed.
Shul’ka presence
Harandar’s defenders against the horrors within the Rift are the Shul’ka, described as mystical warriors who silence their connection to the goddess so they can safely traverse the Rift and fight what emerges. Any time you see Shul’ka-themed spaces, slow down. Their design is one of Harandar’s strongest identity markers and often signals important content nearby.
Elder council and haranir cultural spaces
The haranir are described as ancient guardians of the rootways led by a council of elders. Zones like this usually tuck cultural spaces slightly off the main road—quiet areas with unique set dressing and NPC flavor. If you want Harandar to feel like a real homeland, these spaces are where that lands.
Photo spot advice
Harandar screenshots pop when you do two things:
- frame a character silhouette on a root bridge with glowing jungle below
- include at least one strong light source behind you (so your armor reads clearly)
Legends of the Haranir: Harandar’s Signature World Activity
Harandar has a zone-specific activity that’s perfect for players who like lore and efficient “bite-sized” gameplay: Legends of the Haranir.
What it is:
- You step into the forgotten past of the Hara’ti Tribe using magical paintings.
- Each short adventure reveals more of the haranir’s history.
Why it matters for your zone routine:
- It’s a clean “intermission activity” between campaign chapters.
- It gives Harandar a repeatable identity beyond standard quests.
- It’s easy to fit into short sessions (log in, do a painting run, log out feeling like you progressed).
How to run it without derailing your campaign:
- Do one Legends journey after you finish a major Harandar chapter cluster.
- If you’re on a long play session, do Legends as a mental reset after a hard Rift-adjacent stretch.
- If you’re farming renown or collectibles, use Legends as your “start here” warm-up, then move into open-world loops.
Abundance in Harandar: How to Fold a Cross-Zone Event Into Your Route
Abundance is a fast-paced, professions-themed public event available across all Midnight zones. Even though it’s thematically tied to the Loa of Abundance and centered in Zul’Aman, it can appear in Harandar—meaning it can quietly become part of your Harandar progression if you route intelligently.
Best way to use Abundance in Harandar:
- If Abundance is active, do it first. It’s time-boxed and high value per minute.
- After the event ends, stay in the same sub-area and clear nearby objectives (quests, rares, gathering, or a Legends run if you’re close to it).
- Don’t fly back to a hub immediately—Abundance usually leaves you in a resource-dense area that’s perfect for chaining.
If you like crafting, Abundance is especially good in Harandar because the zone’s terrain encourages short, efficient loops: up a root, down into a cluster, back up to the next cluster.
Progression and Rewards: Hara’ti Renown and Haranir Trust
Harandar’s progression story has two layers that matter for your long-term account:
1) Earning the trust of the haranir (allied race momentum)
Blizzard has stated that you unlock the haranir as a new allied race by playing through the Midnight campaign and earning their trust, exploring the wilds of their home in Harandar along the way. Haranir can join either faction and have a defined class list, plus customization like bioluminescent paint patterns.
Practical takeaway for players:
- Don’t treat Harandar as “optional side path” if you care about unlocking the haranir sooner.
- When the campaign offers Harandar as one of the three “Choose Your Path” routes, consider doing it earlier if allied race progress matters to you.
2) The Hara’ti renown track (cosmetics, mounts, and house decor)
The Hara’ti are described in coverage as Harandar’s initial renown faction, originally introduced with Orweyna in The War Within, and they offer nature-themed rewards that are very “Harandar-coded.”
Notable renown highlights that shape your goals:
- Mounts: Fierce Grimlynx (Renown 16) and Cerulean Sporeglider (Renown 19)
- Battle pet: Munchy (Renown 12)
- Weapons: an arsenal purchase unlock at Renown 17 with many weapon transmogs
- Housing decor examples: Ward of the Shul’ka, Haranir Pennant, Rutaani Birdfeeder, Rootbound Vat
- Currencies and crafting: purchases use Voidlight Marl, and crafting recipes may require Artisan Alchemist’s Moxie
How to chase Hara’ti renown without burning out:
- Build a weekly rhythm instead of a grind binge.
- Mix “cozy” (Legends of the Haranir) with “active” (open-world loops, elites, events) so your sessions don’t all feel the same.
- Decide early what you want first: mount milestones, pet milestones, transmog arsenal, or housing decor. Your motivation stays higher when your goals are concrete.
Group Content in and Around Harandar: Dungeon + Raid Context
Harandar isn’t only an outdoor zone—it’s part of Midnight’s endgame pipeline.
The Blinding Vale (dungeon)
Blizzard’s dungeon list for Midnight includes The Blinding Vale. While not every official list spells out exact geography line-by-line, multiple community sources and early coverage connect its visuals and theme (bioluminescent growth, hazy vale energy) strongly with Harandar’s aesthetic. The smart, spoiler-light way to approach it is simple:
- Run it after you’ve spent real time in Harandar so the environment feels meaningful.
- Treat it like a “zone episode,” not a random queue.
- Expect mechanics that reward awareness and positioning (because Harandar’s terrain and “visibility pressure” trains you for exactly that).
The Dreamrift (single-boss raid encounter)
Midnight Season 1 includes The Dreamrift, described as stepping into the permeable veil between primordial dreams and brutal reality. You join the Shul’ka in hunting an “undreamt god” that never should have been, while dealing with half-birthed abominations that lash out against existence itself.
Why this matters for a Harandar guide:
- It connects directly to Harandar’s “dream vs reality” identity.
- It reinforces that Shul’ka aren’t just flavor NPCs—they’re part of the expansion’s major threats and answers.
- It signals that the skills Harandar teaches (focus, awareness, managing “weirdness”) are endgame-relevant, not just leveling flavor.
Recommended Routes: 30-Minute, 60-Minute, and Completionist Loops
Harandar is easiest when you play it in loops. Here are three you can repeat without needing a checklist addon.
30-minute loop (daily maintenance)
- Start at your Harandar hub and pick up any available tasks.
- Do one Legends of the Haranir painting run.
- Clear one nearby objective cluster (quests, world tasks, or a small farm pocket).
- Return to hub once, then log out or pivot to another zone.
This is ideal for consistency and renown momentum.
60-minute loop (progress + rewards)
- If Abundance is active in Harandar, do it first.
- Do a mid-layer root travel circuit: pick 4–6 objectives in the same region and clear them in one sweep.
- Drop to ground layer only when you’re ready to clear; avoid weaving between clusters on foot.
- Finish with one Rift-edge pass (not deep dive—just enough to keep your familiarity and pick up any visible bonus content).
This is ideal for “I want to feel like I accomplished something.”
Completionist loop (highlights + exploration)
- Spend 10 minutes on high roots and deliberately scout: mark exits, identify one new rootway connector, and locate one cultural space.
- Do Legends once.
- Do a Rift boundary walk (slow pace, screenshots, and a careful objective sweep).
- End by exploring one dim pocket that you normally would have skipped.
This is ideal for players who want Harandar to feel like a place, not a treadmill.
Common Harandar Mistakes (and Easy Fixes)
Mistake: Ground-layer wandering
Fix: Travel on roots; fight on ground. Use verticality as your speed tool.
Mistake: Treating rootways like a novelty ride
Fix: Only enter when you have a destination. Learn one connector at a time.
Mistake: Going Rift-deep too early
Fix: Skirt the boundary first, build familiarity, then push deeper when your gear and confidence are stable.
Mistake: Ignoring Legends of the Haranir
Fix: Run it once per session or once per chapter. It’s designed as Harandar’s identity activity.
Mistake: Renown grind burnout
Fix: Set a specific reward goal (mount at 16, pet at 12, arsenal at 17, mount at 19). Goals keep you consistent.
BoostRoom: Make Harandar Progress Faster Without Killing the Vibe
Harandar is amazing when you’re in the zone—literally and mentally. It’s less amazing when you’re short on time, stuck between goals, or trying to farm renown and rewards on a schedule that real life doesn’t respect.
BoostRoom helps you keep Harandar fun and productive by supporting the parts that often turn into time sinks:
- Renown progress planning so you hit Hara’ti milestones (mounts, weapons, decor) sooner
- Dungeon readiness and clean clears when you want Blinding Vale progress without group-finder chaos
- Route coaching so you learn efficient root travel lines and stop wasting time on ground-layer wandering
- Campaign momentum support so your allied race unlock progress stays steady instead of stalling
BoostRoom is a third-party service and is not affiliated with Blizzard Entertainment.
FAQ
Q: Where is Harandar in Midnight, conceptually?
A: It’s described as a dangerous fungal jungle aglow with bioluminescence, nestled among (and beneath) the roots of the World Trees—home to the haranir and the rootways they guard.
Q: What are the rootways, and why should I care?
A: The rootways are the haranir’s secret travel network. In gameplay terms, they’re your best shortcut tool once you learn them—especially for crossing the zone efficiently and avoiding dense danger pockets.
Q: What is the Rift of Aln, and should I avoid it?
A: The Rift of Aln is described as a primordial wound where dreams and reality grow thin, with dangerous creatures emerging from within. You don’t need to “avoid” it forever, but you should respect it—treat Rift-adjacent areas as higher-pressure content until you’re comfortable.
Q: What is Legends of the Haranir?
A: It’s Harandar’s signature world activity where you use magical paintings to step into bite-sized, lore-rich journeys that reveal more of haranir history.
Q: Is Harandar tied to a raid?
A: Yes. Midnight’s Season 1 includes The Dreamrift, a single-boss raid encounter tied to the veil between dreams and reality and involving the Shul’ka.


