What the Prey System Is in WoW Midnight
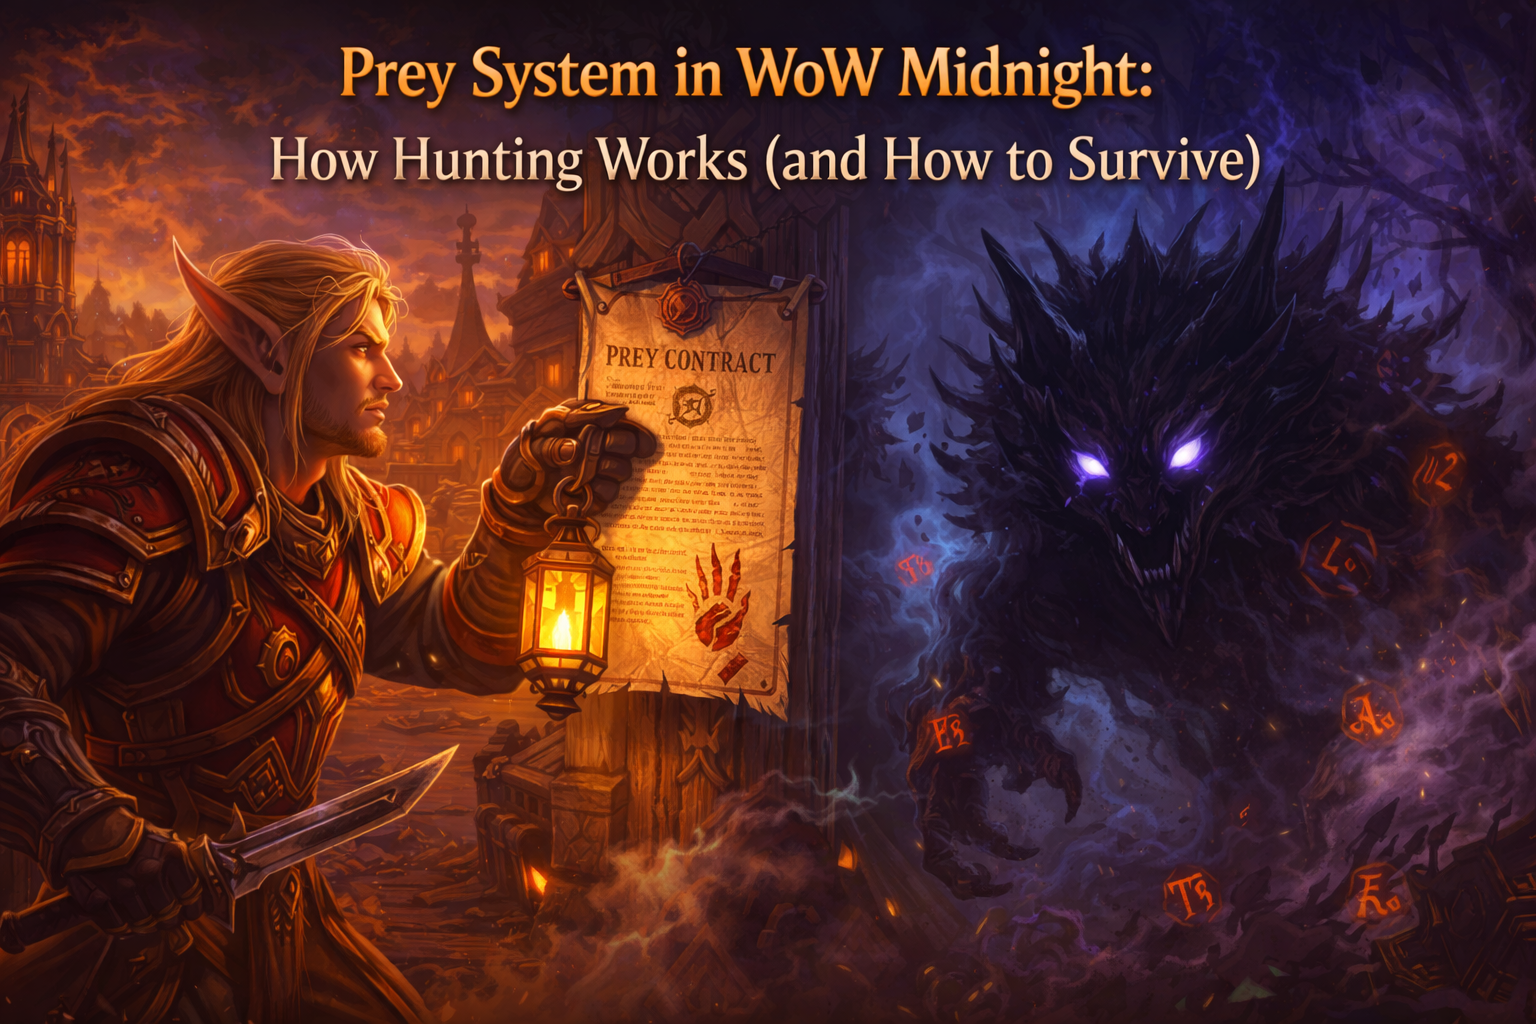
Prey is an optional, opt-in hunting system built to make the Midnight open world more thrilling for players who want extra challenge without forcing it on everyone. Once you enable Prey and select a target, the system overlays your normal gameplay: you can keep questing, gathering, exploring, and doing world objectives — but now the world can bite back.
The central idea is simple and very “WoW”:
- You accept a contract to hunt a specific target.
- You go about your normal activities in the zone.
- Your target can show up unpredictably and try to destroy your plans.
- As you progress, you unlock three difficulty tiers: Normal, Hard, and Nightmare.
- Higher difficulties introduce Torments (extra abilities/conditions) and a more demanding final confrontation.
If you love the feeling of being under threat — that “classic WoW danger” where pulling wrong can punish you — Prey is designed to bring that feeling back in a modern, controlled way.
How to Start Prey in Midnight (Where to Go and What to Click)
Prey is not automatically active. You choose it.
To enable the system, you start in Silvermoon City by speaking with Magister Astalor Bloodsworn in Murder Row. From there, you:
- Enable Prey (opt-in).
- Choose a contract (your hunt).
- Select your target and set your initial difficulty.
Think of this like signing up for a dangerous side activity that runs in the background while you do the rest of your outdoor gameplay. You’re not “entering a mode” that locks you into a single instance — you’re activating a risk layer on the open world.
The Core Prey Loop (What You’ll Actually Do During a Hunt)
A Prey hunt is built around a loop that alternates between normal open-world play and sudden high-pressure moments.
Here’s the loop in plain terms:
1) Choose your hunt
You pick the target (and depending on the contract structure, you’ll be directed into relevant zone activity).
2) Keep playing normally
You can travel through the Midnight zones as usual. The system is designed so you don’t have to stop doing “regular WoW things” to progress.
3) Engage with Prey-specific mechanics
As you hunt, you’ll encounter Prey-related mechanics and Prey-themed world quests that support the hunt and give the activity its own identity rather than feeling like “random elite attacks.”
4) Get ambushed (unpredictably)
Prey is meant to be unpredictable. The target might appear while you’re in the middle of something else, forcing you to react. You won’t always get the same trigger timing, and the system is intentionally designed so you can’t fully “script” when the encounter happens.
5) Survive multiple encounters, then finish the hunt
You fend off the target in the open world and eventually reach a final encounter that ends the contract. In Normal, this is largely outdoor-world style. In Hard and Nightmare, the final encounter is treated more like a contained skill check with stricter rules around who can participate.
6) Collect rewards and progress
Prey rewards include power progression and collection rewards (cosmetics and more), and it contributes toward weekly progression systems.
That’s the experience: a roaming adventure with sudden “oh no” moments, capped by a final fight that proves you can finish what you started.
Unpredictable Detection and Ambushes (Why Prey Feels So Different)
The signature feature of Prey is that how and when you detect your target is unpredictable, and the system is built to keep you guessing.
This has two big consequences:
First, you can’t fully plan your perfect pull.
If you always fight on your terms — fully topped off, cooldowns ready, safe terrain — you’ll need to adjust. Prey is designed to interrupt your comfort.
Second, survival becomes a skill, not a stat check.
A big part of succeeding is learning how to:
- keep your resources stable while doing normal activities,
- avoid risky pulls when you’re vulnerable,
- and recover quickly after surprise pressure.
If you’ve ever wanted the open world to feel less like a theme park and more like an adventure with real teeth, this is exactly what Prey is aiming for.
Prey Difficulties Explained: Normal, Hard, and Nightmare
Prey has three difficulties you unlock as you progress. Each tier isn’t just “more HP” — it changes the rules of the hunt.
Normal Difficulty
- Designed as the entry tier.
- The hunt is in the open world.
- Other players can help you in the world when the target appears (even outside your group), making it more community-friendly.
- Great for learning the system, practicing your reactions, and farming early rewards without intense pressure.
Hard Difficulty
- Introduces Torments — extra abilities/conditions that make both the hunt and the final fight significantly harder.
- The final encounter is restricted to your party (no “deathballing” with a crowd).
- Best for players who want real challenge while still having the option to bring a small group.
Nightmare Difficulty
- The top-tier challenge.
- Torments and rules become more punishing.
- Built with the “integrity of challenge” in mind: you’re meant to overcome something demanding rather than overwhelm it with numbers.
- Ideal if you want your open-world play to feel genuinely dangerous and you enjoy high-stakes encounters.
A smart approach is to treat difficulty like a ladder:
- Normal to learn the flow and triggers.
- Hard to master Torments and final-fight discipline.
- Nightmare once you can reliably stabilize under pressure.
Torments: What They Are and Why They’re the Real Threat
Torments are the system’s way of making Prey feel like more than a single elite mob. On higher difficulties, your prey gains extra abilities/conditions that make the hunt harder — and those effects aren’t just “during the boss fight.” They can influence how dangerous everyday open-world combat feels while the hunt is active.
A key design point: Torments are intended to be opt-in and primarily personal, so other players aren’t punished just because you activated Prey. Friends who aren’t participating shouldn’t “catch stray” negative effects unless they choose to engage and help you with your fight.
What Torments mean for you as a player:
- You can’t treat random mobs as harmless while Prey is active.
- You need to respect positioning, crowd control, and survival tools more.
- The system rewards players who can keep a steady pace instead of spiking between “fine” and “dead.”
Examples you might see across Torment styles (the specific list can vary by target and tuning):
- Fear or disruption-style pressure that breaks your rhythm.
- Fixation-style threats that force movement and kiting.
- Hazard-style effects that punish standing still or sloppy pulls.
The practical takeaway: Torments punish autopilot. If you want to survive Prey, you must play intentionally.
Final Encounters: Why Hard and Nightmare Are Not “Zergable”
Normal hunts are social-friendly: random players nearby can help. That’s great for accessibility.
But in Hard and Nightmare, the final part of the hunt is deliberately restricted so it can’t be trivialized by a pile of strangers. The design goal is that the final encounter should feel like a real “contract completed” moment — you earned it.
What this means in practice:
- If you want help on Hard/Nightmare, build a small party (up to five).
- If you’re struggling solo, bringing one strong friend can make a big difference, but you still need to play well.
- Because the final encounter is more controlled, you should plan it like a mini-boss fight rather than another open-world elite.
Treat Hard/Nightmare finals like a “personal trial”: prep your cooldowns, know your escape tools, and pick a time when you can focus.
Rewards and Progression: Why Prey Is Worth Doing
Prey isn’t just danger for danger’s sake — it’s designed with meaningful rewards.
Key reward categories you should expect from Prey progression:
- Weekly progression credit (including Great Vault contribution for open-world-style rows).
- Power rewards scaled to the system’s intended progression.
- Collectibles such as cosmetics and mounts.
- In broader coverage and previews of the system, housing-focused rewards are also part of the reward conversation, making Prey relevant to decorators and collectors.
If you’re a player who loves a feature that rewards you even when you’re not pushing raids or Mythic+, Prey is built to be that “mid-core thrill lane” that still pays off.
How Hunting Works (The Practical “I Just Want the Steps” Version)
If you want a fast checklist you can follow:
- Go to Silvermoon City → Murder Row.
- Speak to Magister Astalor Bloodsworn.
- Enable Prey (opt-in).
- Choose a contract and select your target.
- Choose a difficulty you can realistically handle.
- Go play normally in the zones:
- do world quests,
- gather,
- explore,
- complete objectives.
- Expect unpredictable ambushes while you’re occupied.
- Survive the open-world pressure.
- Complete the final encounter to finish the hunt.
- Collect rewards and decide whether to:
- pick a new target,
- raise difficulty,
- or pause Prey and return later.
How to Survive Prey: The Survival Mindset That Saves You
“Survive” in Prey is less about having perfect gear and more about managing risk.
Your goal is to stop dying to preventable situations:
- being ambushed during an unsafe pull,
- having no defensives available,
- being low on resources in a bad spot,
- or losing control of the fight when Torments add chaos.
A winning survival mindset looks like this:
- Keep your character “stable” (health, resources, cooldown availability).
- Avoid fighting on the edge of your limits while a hunt is active.
- Always have an exit plan (movement, CC, reset tools).
- Treat every combat as “might become a boss fight.”
If you do that, your success rate rises massively even before your gear improves.
Prey Survival Prep Checklist (Do This Before You Leave the City)
Before you start a hunt, prep like you’re about to do a hard solo challenge.
Defensive toolkit
- Know which cooldowns are “minor” vs “major.”
- Put your major defensive somewhere easy to hit without thinking.
- Make sure you have at least one “panic button” you can press instantly.
Sustain and recovery
- Bring reliable healing options (class heals, defensives that heal, or external support if grouped).
- Don’t rely on “I’ll just kill it faster” as your plan.
Mobility
- Have a movement burst available when you start your outdoor route.
- If your class has a movement ability with two charges, don’t burn both casually.
Crowd control and interrupts
- Prey pressure often feels deadly when you let casts go through.
- Treat interrupts like defensives: using one at the right moment can prevent more damage than a heal.
UI clarity
- Turn on readable enemy cast bars and nameplates.
- Reduce visual clutter if you struggle to see ground effects.
- If you use audio cues, make sure you can actually hear them.
This prep takes a minute, and it prevents the “why did I die?” moments that make Prey feel unfair.
Open-World Survival Tactics (How Not to Get Deleted Mid-Quest)
Because Prey is an overlay, you must protect yourself while doing normal activities.
Stop taking risky pulls
If you normally chain-pull and ignore mechanics, don’t do that during a hunt. Prey punishes risky behavior by adding chaos at the worst time.
Fight in good terrain
When possible:
- fight in open areas where you can kite,
- avoid cramped ledges or tight corridors,
- and avoid spots where extra mobs will add accidentally.
Don’t start fights at low resources
If you’re a mana user, don’t start a pull at low mana during a hunt. If you’re energy/rage-based, avoid pulling without your important opener tools.
Build “cooldown rhythm”
A survival-friendly rhythm looks like:
- Use a small defensive early if you get pressured.
- Save your major defensive for the moment the fight becomes dangerous (like a surprise ambush).
- Don’t overlap everything unless you must.
Respect your “combat windows”
Some Prey coverage indicates that the target is most likely to strike when you’re already in combat. So treat “I’m in combat” as “I might be about to be tested.”
Hard and Nightmare Survival Tactics (Torment-Proofing Your Play)
Higher difficulties introduce Torments and stricter final-fight rules, so you must level up your decision-making.
Plan your final encounter
When you’re ready to finish:
- pick a time you can focus,
- avoid being rushed,
- and don’t start the final fight with cooldowns on cooldown.
Learn your “reset options”
Some classes can hard-reset fights better than others. Even if you can’t fully reset:
- you can still create space,
- stop line-of-sight danger,
- and regain control.
Kite with purpose
Kiting isn’t “run away in panic.” It’s:
- reposition to avoid hazards,
- drag enemies out of dangerous zones,
- and buy time for cooldowns to come back.
Don’t underestimate small enemies
Torments and pressure effects can make ordinary mobs dangerous. If you’re already strained, don’t pull extras “because it’s faster.”
Role-Based Tips: Tanks, Healers, and DPS
Prey is designed for solo and small-group play, so every role has a slightly different survival priority.
Tanks
- Your advantage is durability, but don’t let that turn into arrogance.
- Use your mitigation proactively; Torment pressure punishes delayed reactions.
- Pull smaller during hunts — you don’t need big packs to be efficient.
Healers (or hybrid healers)
- Your survival is about tempo: stabilize early so you don’t get overwhelmed.
- Keep movement tools ready; healer deaths often come from being forced to move while stressed.
- Treat interrupts and CC as “healing,” because stopping damage is stronger than reacting to it.
DPS
- Most DPS deaths happen when they greed damage during danger.
- Learn the moment to stop DPS and start surviving:
- kite,
- interrupt,
- defensive,
- then resume damage.
- Save burst for the moments that matter (when the prey is active and you can safely commit).
When to Bring Friends (And How Grouping Interacts With Prey)
Prey is opt-in by design, and it’s built so your decision doesn’t ruin someone else’s gameplay.
A practical grouping approach:
- Normal: great for spontaneous help in the open world. If someone tosses a spell to help, that’s part of the fun.
- Hard/Nightmare: plan a party if you want help. The final fight is restricted so you can’t simply summon a crowd.
If you’re learning:
- Start solo on Normal to understand your class’s survival rhythm.
- Bring a friend for Hard if you want a safer learning step.
- Treat Nightmare as the “prove it” tier once you can consistently manage Torments.
Common Prey Mistakes (And How to Fix Them Fast)
Mistake: Starting Prey when you’re already tired or distracted
Fix: Do hunts when you can focus. Hard/Nightmare especially punishes sloppy play.
Mistake: Chaining pulls like Prey isn’t active
Fix: Reduce pull size. Efficiency is staying alive and finishing contracts, not speedrunning death.
Mistake: Using defensives too late
Fix: Use small defensives earlier so you don’t enter panic mode. Save major defensives for the moment the hunt spikes.
Mistake: Ignoring interrupts and CC
Fix: Make interrupt and one CC easy to press. This alone can double your survival.
Mistake: Treating the final encounter like “just another elite”
Fix: Prep it like a mini-boss. Cooldowns up, attention on, no distractions.
How to Farm Prey Efficiently Without Burning Out
Prey is designed to layer onto normal gameplay. The best way to progress is to stack it with what you already do.
Efficient progression habits:
- Activate a hunt before a world-quest session so your routine also progresses Prey.
- Use Normal for steady farming if you only want progress and rewards.
- Use Hard/Nightmare when you specifically want challenge, mastery, or top-end goals.
- Don’t try to do every target immediately. Pick a small rotation of targets you enjoy.
If you’re a collector:
- Focus on reward categories you care about (cosmetics, mounts, and any housing-related rewards you’re chasing).
- Build a weekly routine that lines up with your broader goals so Prey feels like bonus value, not extra chores.
How BoostRoom Helps You Progress Prey Faster (And Safer)
Prey is fun — but it can be time-consuming to climb the difficulty ladder, learn Torments, and consistently finish final encounters (especially if your schedule is tight or you hate pugging).
BoostRoom helps you get more out of Prey with practical support like:
- Prey difficulty progression help (Normal → Hard → Nightmare) so you don’t stall out at the “learning wall.”
- Small-group completion support for Hard/Nightmare finals, where party limits matter and strategy matters.
- Survival coaching tailored to your class: defensive timing, interrupt priority, and “what to do when ambushed.”
- Weekly planning so Prey progress fits smoothly alongside your other goals (gear progression, collectibles, housing rewards, and general outdoor progress).
BoostRoom’s focus is simple: help you finish contracts consistently, earn rewards efficiently, and keep the system fun instead of frustrating — while you stay in control of your account and your play.
FAQ
What is the Prey system in WoW Midnight?
It’s an optional hunting system where you accept a contract to pursue a powerful target across the Midnight zones — and the target can ambush you unpredictably while you play normally.
Where do I start Prey?
You enable Prey by speaking with Magister Astalor Bloodsworn in Murder Row in Silvermoon City, then selecting a contract and target.
Can other players help me during Prey?
In Normal difficulty, other players can assist you in the open world. In Hard and Nightmare, the final encounter is restricted to your party to preserve challenge integrity.
What are Torments?
Torments are additional abilities/conditions added in higher difficulties that make the hunt and final fight harder. They’re designed to primarily affect the player who opted into Prey.
Is Prey meant for solo players?
Yes — it’s built as a solo-friendly challenge layer for open-world gameplay, with options to bring a small party, especially for harder tiers.
Does Prey contribute to weekly progression rewards?
Prey contributes to weekly progression systems, including Great Vault-related credit for outdoor activity categories, depending on current tuning and difficulty participation.
What’s the best difficulty to start with?
Start with Normal until you understand the ambush rhythm and your survival toolkit. Move to Hard once you’re comfortable managing Torments and completing the final encounter cleanly.
How do I survive getting ambushed mid-quest?
Keep defensives available, avoid risky pulls while the hunt is active, fight in open terrain when possible, and treat interrupts/CC as core survival tools.
How can BoostRoom help with Prey?
BoostRoom helps you complete Prey hunts more consistently through small-group support, class-focused survival coaching, and efficient progression planning across difficulties.
