Route
Pre-Raid BiS Strategy = Build the best character you can for your next raid night, not for a theoretical perfect spreadsheet.
The fastest, least stressful path is a pipeline: deterministic upgrades first → targeted dungeon farming → heroics for badges → finish key/attunement work → stop when you’re raid-ready.

Route: Step 1 — Define “Raid-Ready” for Your Role (Not “Perfect”)
Burnout starts when your goal is unclear. Fix it by defining success with a short checklist.
Your raid-ready goal is:
- Your gear stats match your role (no wrong-stat items propping up item level).
- You can survive/perform consistently in Heroics (or at least in the easier ones).
- You have your key access tasks done (Karazhan chain and any needed dungeon access).
- You have basic enchants/gems and a consumable plan.
Your goal is NOT:
- Every slot labeled “BiS” on a website.
- Every rare dungeon drop.
- Farming one dungeon until you hate it.
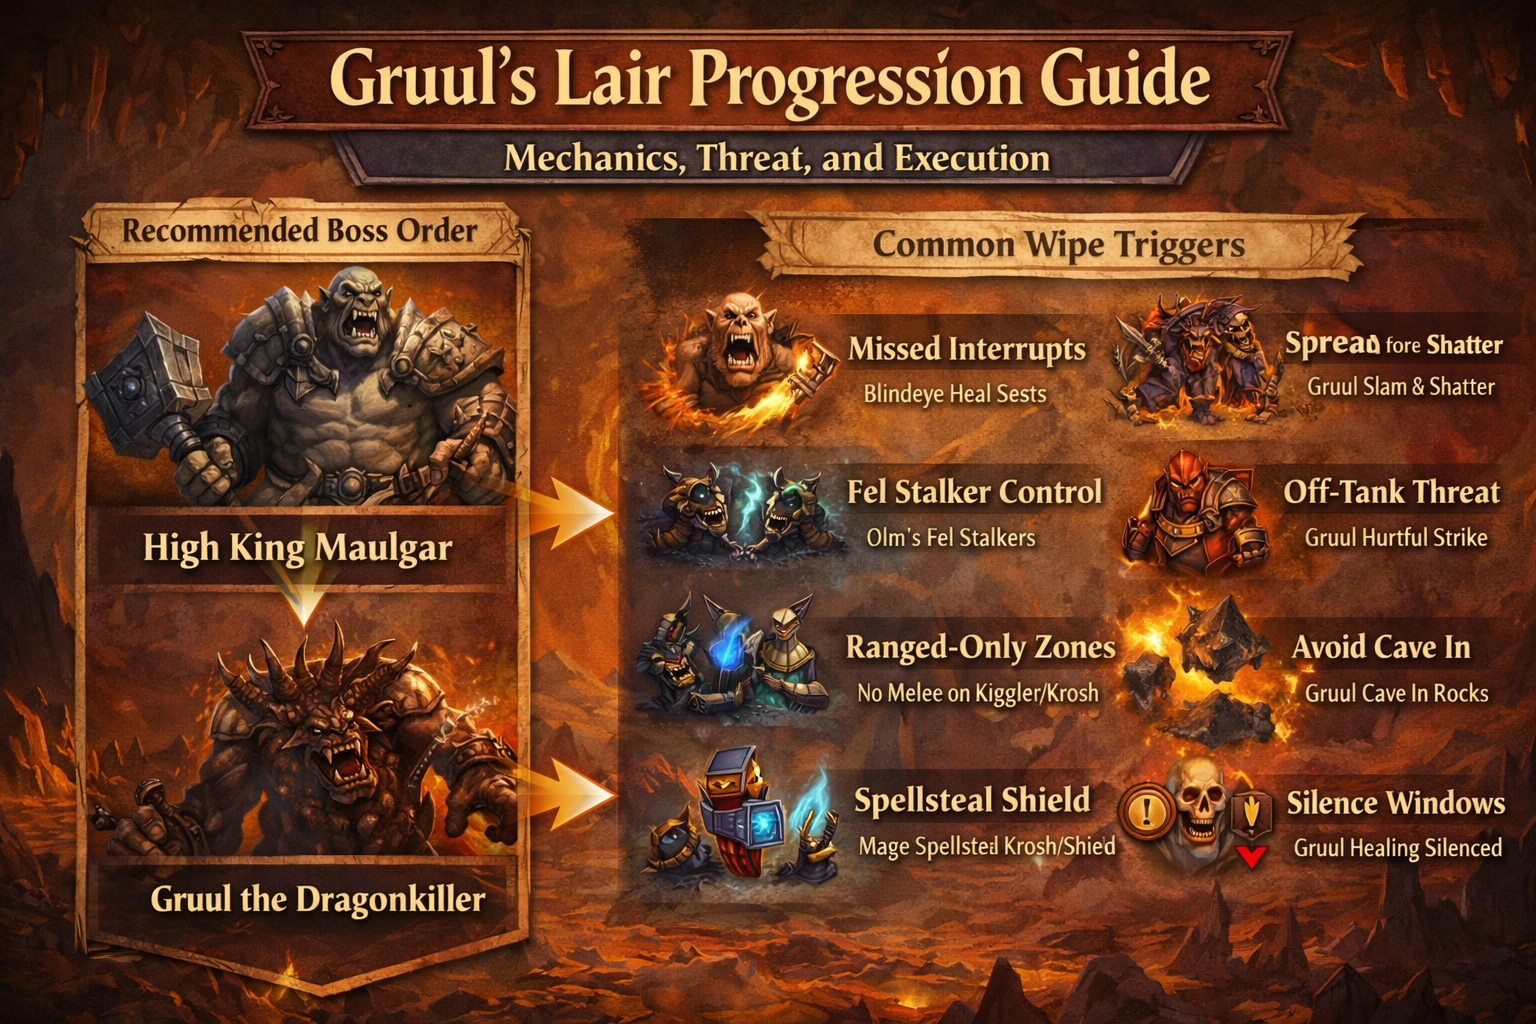
If you’re joining Karazhan, Gruul, Magtheridon, or early progression groups, you need competence and stability, not perfection.
Route: Step 2 — Build a “Core Set” Using Deterministic Gear
The secret to pre-raid BiS without burnout is this:
Start with upgrades you can control.
Crafts, reputation rewards, quest rewards, and badges reduce the “RNG torture” part of gearing. They also smooth your group experience—fewer wipes, fewer failed runs, and faster invitations.
Your deterministic upgrade pillars:
- Crafted gear: choose 1–3 crafts that replace your worst slots and last into early raids.
- Reputation rewards: aim for key thresholds (and any high-value rewards along the way).
- Dungeon quest rewards: one run with stacked quests can be worth multiple boss drops.
- Badges of Justice: a steady currency track that keeps paying even when loot doesn’t drop.
This is how you avoid the classic trap of running 30 dungeons for one item that never appears.
Route: Step 3 — Unlock Heroics Efficiently (Keys First, Then Farm)
Heroics are your bridge from “fresh 70 blues” to “raid-ready” because they provide:
- consistent upgrades,
- Badges of Justice,
- and repetition that teaches correct endgame play.
The key mindset: hit your key requirement, buy the key, move on.
Don’t overgrind reputations early unless you’re chasing a specific must-have reward.
A common efficient unlock order that pairs well with early gearing:
- Cenarion Expedition (Coilfang)
- The Sha’tar (Tempest Keep 5-mans)
- Honor Hold / Thrallmar (Hellfire)
- Lower City (Auchindoun)
- Keepers of Time (Caverns of Time)
Even if your server’s key requirements differ by phase or ruleset, the same principle works: get access early, then let your normal play raise the reps naturally later.
Route: Step 4 — Farm Dungeons Like a Pro (Targeted Sessions, Not Endless Spam)
This is the core “no burnout” switch:
You will not farm “everything.” You will farm what matters most.
Build your week using targeted sessions:
- Short session (45–60 minutes): 1 fast dungeon + turn-ins + maintenance.
- Medium session (90 minutes): 2 dungeons in the same zone cluster (less travel).
- Long session (2–3 hours): 3–4 dungeons with a stable group, no constant replacements.
Use zone clustering to cut travel time:
- Tempest Keep day: Mechanar + Botanica
- Coilfang day: Slave Pens + Underbog + Steamvault
- Auchindoun day: Mana-Tombs / Sethekk / Shadow Lab
- Caverns of Time day: Old Hillsbrad + Black Morass
- Hellfire day: Ramparts + Blood Furnace + (planned) Shattered Halls
Quest stacking is mandatory for efficiency.
If you can do “one run, many turn-ins,” every run feels rewarding—even when loot RNG is cold.
Route: Step 5 — Pick a “Chase List” That Won’t Ruin Your Week
Chasing rare drops is fine—in small doses.
Your anti-burnout chase system:
- Pick 3 chase items max per week (not 12).
- Cap yourself at 2–4 attempts per item per week depending on your time.
- If it doesn’t drop, you still progressed through rep, badges, gold, and quest rewards.
This keeps the game fun and ensures you never end a week feeling like it was “wasted.”
Route: The 10-Day Pre-Raid BiS Template (Simple and Effective)
If you want a practical schedule that avoids chaos, follow this template:
Days 1–3: Deterministic Core
- Replace worst greens with dungeon blues and 1–2 crafts.
- Start key reputations and buy your first Heroic keys as soon as you qualify.
- Begin Karazhan key chain prerequisites so you don’t get blocked later.
Days 4–7: Heroics + Badges
- Farm your safest Heroics daily (fast clears, low wipe risk).
- Spend badges only on power spikes (trinkets / big slots), not tiny upgrades.
- Add 1–2 targeted dungeons for your weekly chase list.
Days 8–10: Kara Prep Finish
- Complete Karazhan key chain steps if your ruleset uses them.
- Lock in enchants/gems and consumables.
- Stop farming “tiny upgrades” and start raiding.
That last step matters: raiding is part of gearing—and often the most enjoyable part.
Loot
Pre-Raid BiS lists are useful—but only if you use them correctly. The goal is to turn “BiS” from a stressful checklist into a calm decision system.
Loot: The Most Important Truth About Pre-Raid BiS
Many guides include multiple options per slot because:
- some items are rare,
- some are expensive,
- some require long chains,
- and some depend on hit/defense requirements.
BiS is not one item. It’s the best item for your current situation.
A slightly “worse” item that you can actually obtain this week is better than a theoretical item you’ll never see.
Loot: Slot Priority (What Upgrades Matter Most)
If you want the biggest power spikes early, prioritize slots like this:
Top priority (usually biggest impact):
- Weapon (or main-hand/off-hand combination)
- Trinkets
- Chest / Helm / Legs
Mid priority:
- Shoulders / Gloves / Belt / Boots
Lower priority (still important, but often smaller jumps):
- Rings / Neck / Cloak (unless your current ones are truly terrible)
This priority prevents a common burnout pattern: farming a minor bracer upgrade while your weapon is still a leveling stick.
Loot: The “Threshold First” Rule (Stats That Change Everything)
Some stats act like gates. Hit them and the game gets easier immediately.
Tanks: crit immunity planning
A widely referenced tank benchmark for level 70 raid bosses is achieving crit immunity via defense skill and/or resilience-based crit reduction approaches. Many tanks plan around 490 defense skill as a common milestone for raid-boss crit immunity planning, then build stamina/avoidance/threat around it. If you’re below your stability threshold, your BiS strategy should shift to safer dungeons, heavier CC, and deterministic defensive upgrades.
DPS: hit planning
- Melee and hunters typically plan toward a hit target so their key abilities land consistently.
- Casters plan toward spell hit targets, with talent/debuff reductions changing how much gear hit they need.
You don’t need to “solve caps perfectly” in week one—but you should be moving toward them with intention. Random wrong-stat items delay your hit plan and slow everything.
Healers: mana stability
Healer BiS is not only about +healing. Early on, mana stability (mp5, spirit where relevant, efficient casting) is what prevents wipes and makes longer dungeons feel easy.
Loot: Deterministic Loot Buckets (Your No-RNG Backbone)
Build your pre-raid set from three loot buckets:
Bucket A — Guaranteed or near-guaranteed
- Crafted gear
- Reputation vendor rewards
- Quest rewards
- Badges of Justice purchases
Bucket B — “Reasonable RNG” (you can farm without suffering)
- Frequent dungeon drops in fast instances
- Items with multiple alternative sources
- Dungeons you enjoy or can clear quickly
Bucket C — “Burnout Risk” (rare drops, long runs, high competition)
- Low-drop-rate trinkets/weapons with heavy competition
- Long dungeons you dislike
- Farms that require constant group rebuilding
The strategy: Fill most of your set with Bucket A + B.
Reserve Bucket C for your limited weekly chase list.
Loot: Badge of Justice as Your Anti-RNG System
Badges are the cleanest “no burnout” gearing mechanic because:
- they accumulate steadily,
- they reward consistent clears,
- and they let you buy upgrades even when loot doesn’t drop.
How to use badges correctly:
- Treat badges as insurance, not as a reason to spam punishing content.
- Farm badges in Heroics you can clear consistently.
- Spend badges on pieces that:
- replace a weak green/blue,
- last into raids,
- or hit a threshold (defense, hit, regen).
A simple badge spending plan that avoids regret:
- First purchase: a clear power spike (often a trinket, major slot, or high-efficiency piece for your role).
- Second purchase: stabilize your weakest “gate” stat (hit/defense/mana).
- Third purchase: a slot you won’t replace quickly in Karazhan (ring/neck/cloak can be great here if your current versions are awful).
Remember: the “best” badge item is the one you equip immediately and feel instantly.
Loot: Crafting Without Going Broke (The Smart Use of Professions)
Crafting is a shortcut when used sparingly.
Craft 1–3 pieces that do at least two of these:
- Replace a very weak slot
- Last into early raids
- Support a threshold (hit/defense/regen)
- Save you multiple nights of RNG farming
Avoid crafting traps:
- Expensive pieces you’ll replace after two Karazhan drops
- Vanity crafts mid-progression
- Craft detours that consume time better spent unlocking Heroics and badges
Crafting is best when it reduces dungeon dependence, not when it becomes a second job.
Loot: Reputation Rewards (Predictable Upgrades You Can Plan Around)
Reputation rewards are underrated because they’re predictable. You can decide:
- “I’m two evenings away from this upgrade,” then do it.
The key is not to grind reputations endlessly—just to:
- unlock Heroics via keys,
- pick up a few high-impact rewards,
- then let the rest come naturally as you play.
This is one of the cleanest ways to keep gearing from feeling like a treadmill.
Extraction
If Route is “what you do” and Loot is “what you want,” Extraction is “how you end each session richer, stronger, and more organized.” Extraction is where burnout prevention becomes real.
Extraction: The 7-Minute End-of-Session Routine
Do this after every dungeon block (even if it’s only one run):
- Turn in any completed dungeon quests immediately.
- Vendor trash, repair, and restock.
- Bank or mail materials you’ll sell later (don’t clog bags).
- Review upgrades with your slot priority (weapon/trinket/chest/helm/legs first).
- Update your chase list (if an item dropped for someone else, replace it with a new target).
- Set hearthstone based on tomorrow’s plan (Shattrath by default).
- Write one sentence for next login:
- “Next: Mechanar + Botanica, then buy key,” or “Next: Shadow Lab fragment run.”
That one sentence prevents the “log in and wander” problem that drains time and motivation.
Extraction: The “Bad RNG Doesn’t Matter” Proof
Even on a night with zero drops, you can still extract value if you planned correctly:
- rep gained,
- badges earned,
- gold from quests at 70,
- enchanting materials from unwanted items,
- and progress toward attunement/key requirements.
This mindset is the biggest burnout shield in TBC Classic.
Extraction: Group Stability Is a Real Gearing Stat
Most gearing time is lost between runs, not inside them.
If a group clears one dungeon smoothly:
- chain 2–3 dungeons together,
- avoid swapping players constantly,
- keep the momentum.
Stable groups produce more loot, more badges, and less stress—even if the individual players aren’t “perfect.”
Extraction: The Attunement/Key Blocker Prevention Checklist
A major source of burnout is getting stuck at a door or prerequisite step after you’ve already “done the work.”
Before a big progression night (Karazhan key steps, Arcatraz access, Shattered Halls planning), check:
- Can your group physically enter the dungeon?
- Do you have the required quest steps active?
- Is your quest log clear enough for follow-ups?
- Do you have a plan for wipes (consumables, repair, time)?
Solving blockers ahead of time turns “frustrating” nights into “productive” nights.
Practical Rules
- Set a raid-ready goal and stop chasing perfection.
- Build your core set with deterministic upgrades first (crafts, rep, badges, quests).
- Use a slot priority: weapon/trinkets/chest/helm/legs before minor slots.
- Hit thresholds before chasing tiny stat upgrades (tanks: stability; DPS: hit plan; healers: mana plan).
- Don’t farm what you hate. Efficiency collapses when motivation collapses.
- Run dungeons in zone clusters to reduce travel waste.
- Always stack dungeon quests before you enter.
- Make a weekly chase list: 3 items max, 2–4 attempts per item.
- If an item doesn’t drop, you still “win” via badges/rep/gold—track that progress.
- Stop after repeated wipe loops; pivot to easier content and salvage the night.
- Spend badges on power spikes, not tiny upgrades.
- Keep your group stable when it’s working—group rebuilding is the hidden time sink.
- End every session with a one-sentence plan for your next login.
- When you feel close to burnout, switch goals for one night: do a different dungeon cluster, do rep quests, or focus on a deterministic upgrade.
- Once you’re raid-ready, raid. Pre-raid BiS is a bridge, not a permanent home.
BoostRoom Promo
If you want pre-raid BiS progress without the grind spiral, BoostRoom is built to keep gearing efficient and enjoyable.
BoostRoom helps you:
- choose the highest-value upgrades for your role (so you stop farming low-return content),
- build a realistic BiS plan with smart alternatives (so RNG can’t block you),
- unlock Heroics efficiently through reputation routing and key readiness,
- run dungeon quest stacking properly for “one run, many turn-ins” value,
- farm badges through low-risk fast-clears so progress stays steady,
- and finish key progression steps (like Karazhan access tasks) without getting stuck on doors, prerequisites, or wasted sessions.
The result is simple: you spend less time repeating the same run for one item, and more time actually playing the endgame you’re gearing for.
FAQ
What does “Pre-Raid BiS” really mean in TBC Classic?
It means the best gear you can reasonably obtain before raiding—typically from dungeons, heroics, reputations, professions, and badge vendors. It’s a preparation phase, not a requirement to be perfect.
Do I need full BiS to get invited to Karazhan?
No. You need correct stats for your role, basic enchants/gems, and enough stability to perform. Many groups value prepared players more than perfect item lists.
How do I avoid burnout while farming rare dungeon drops?
Use a chase list: pick 3 items max per week and cap your attempts. Fill the rest of your set with deterministic upgrades so you’re always progressing.
What should I prioritize first as a fresh 70?
Weapon and trinkets usually create the biggest performance jumps. After that, upgrade high-stat slots like chest/helm/legs, then fill in the rest.
Are badges worth farming early?
Yes. Badges provide predictable upgrades and protect you from bad loot luck. Farming badges in fast, low-risk Heroics is one of the best no-burnout strategies.
Should I craft gear, or just farm dungeons?
Craft a few targeted pieces if they replace weak slots and last into raids. Avoid crafting everything—use it to reduce RNG dependence, not to create a new grind.
What’s the biggest mistake people make with pre-raid BiS lists?
Treating the list as a mandatory checklist instead of a guidance tool with alternatives. Real progression uses flexible options based on time, drop rates, and your current stats.
How do I know when to stop farming and start raiding?
When you can clear easier Heroics consistently, have your key/access requirements handled, and your gear matches your role’s needs. At that point, raiding becomes the best next upgrade source.
I’m gearing as a tank—what’s the fastest way to reduce wipes?
Prioritize stability first (crit immunity planning, mitigation, stamina), use more CC early, and farm deterministic defensive upgrades so you don’t rely on one rare drop.
What’s the easiest way to keep gearing fun?
Rotate goals: one night badges, one night key progression, one night targeted dungeon farm, one night rep rewards. Variety keeps motivation high while progress stays steady.