What is Manaforge Omega Raid Loot Table – What Every Boss Drops 💰
In World of Warcraft Patch 11.2, the newly introduced Manaforge Omega raid brings not just thrilling boss mechanics and high-stakes encounters, but also a loot table that has raiders scrambling to secure their best-in-slot upgrades. Whether you’re after weapons, trinkets, or powerful tier set pieces, the loot drops from each boss in Manaforge Omega are designed to enhance your character’s progression across all roles—DPS, Healer, and Tank.
This article gives you a full breakdown of what each boss drops, how loot works in this raid, and what you should aim for based on your class and specialization.
Loot System in Manaforge Omega – How It Works
The raid follows the traditional personal loot system, but in 11.2, there's also a revamped token and upgrade path involved. Defeating bosses gives you a mix of:
- Raid gear with scaling ilvl based on difficulty (LFR, Normal, Heroic, Mythic)
- Tier set tokens for the new Class Tier Sets
- Unique trinkets and special-effect weapons
- Crafting reagents for profession upgrades
- Catalyst currency to transform raid drops into tier set pieces
The more bosses you down, the more powerful your chances at targeted loot become—especially on higher difficulties.
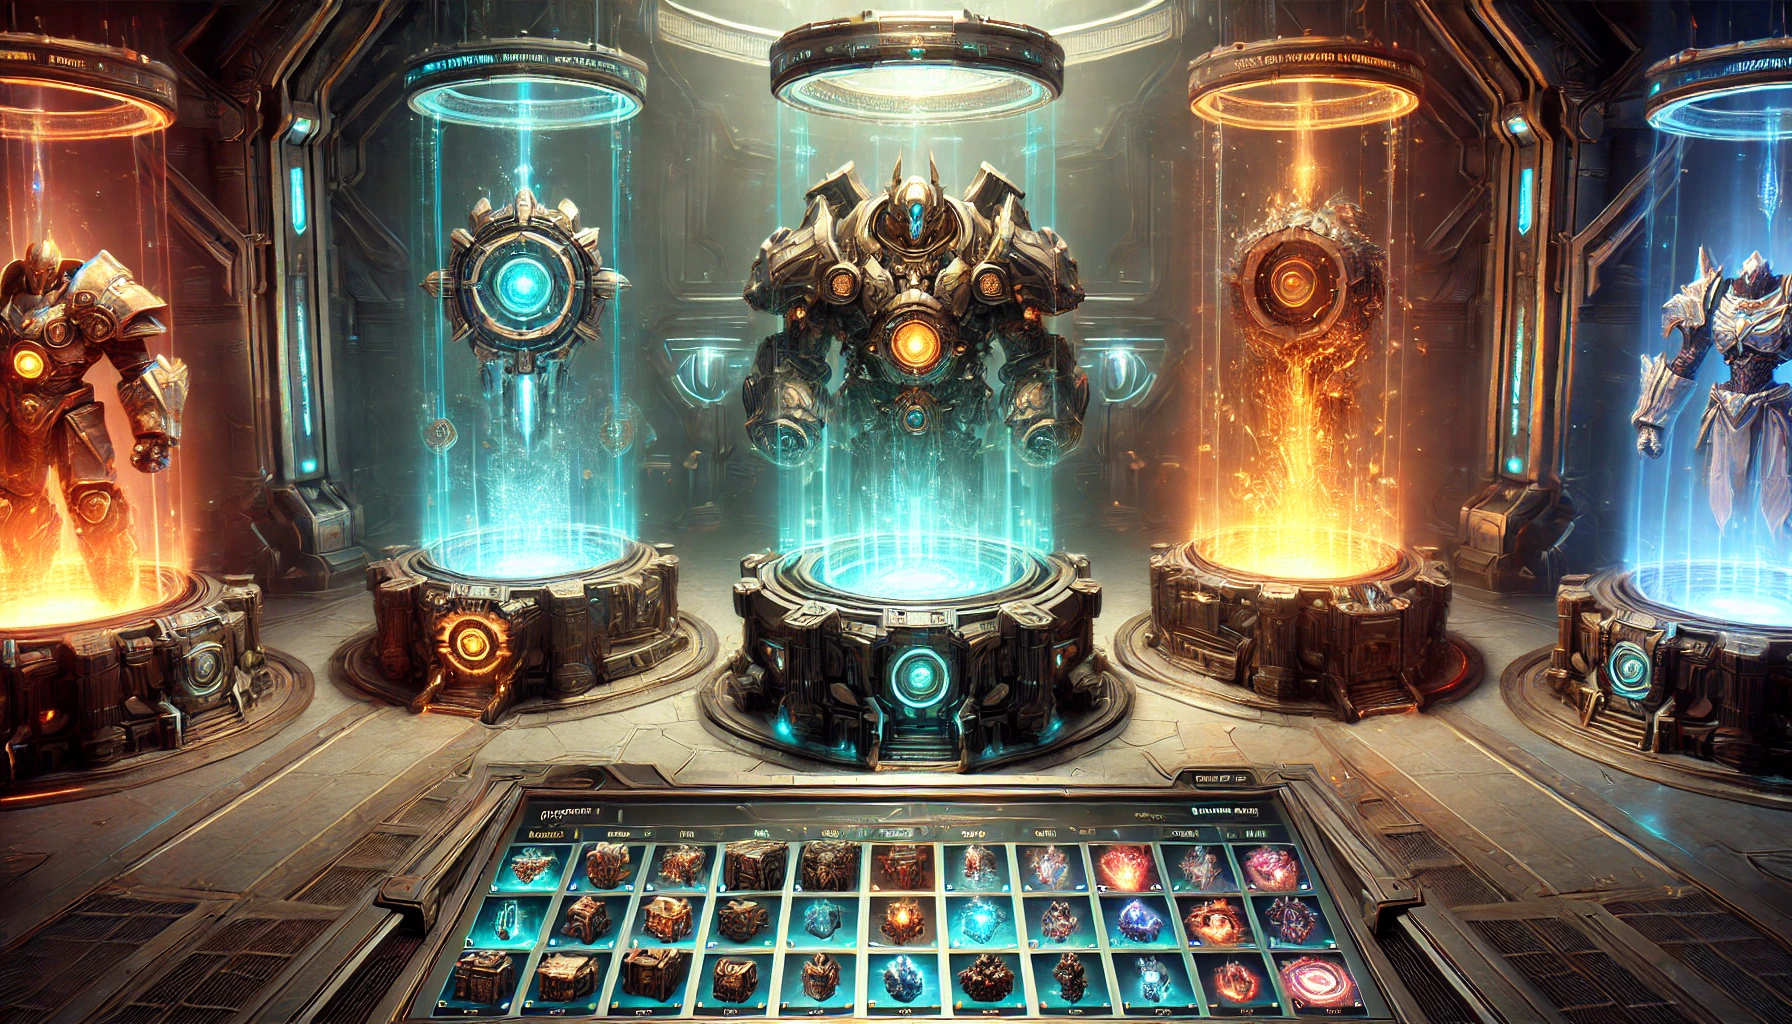
Manaforge Omega Boss Loot Table Breakdown 🔍
1. Fluxbinder K’tharok
The opener of the raid and master of magnetic energy.
- Magnetized Coreplate (Plate Chest)
- Flux-Resonant Staff (Caster Weapon)
- Static Pulse Charm (Trinket – Haste proc)
- Tier Token: Shoulder (All armor types)
Great first boss loot—especially for Mages, Shamans, and Paladins.
2. Arcspike Construct
Boss that uses lightning fields and overload mechanics.
- Charged Greaves of Precision (Mail Legs)
- Conductive Channeler’s Ring (Vers/Crit)
- Arc-Infused Blade (1H Sword – Tank/DPS)
- Tier Token: Hands
An excellent drop source for Elemental Shaman and Outlaw Rogue players.
3. The Null Aetherius
A boss built from fragmented mana essence—strong arcane damage dealer.
- Aether-Plated Cloak (Back slot with high Intellect)
- Null-Linked Band (Intellect ring with proc)
- Spell-Eater’s Shard (Tank trinket – absorbs magic)
- Tier Token: Helm
Casters and tank mains should prioritize this boss.
4. Void-Lashed Council
A multi-phase council fight with multiple loot variations.
- Council’s Chain of Unification (Neck – All roles)
- Void-Engraved Girdle (Belt – Leather)
- Ritualist’s Scepter (Main-hand Mace – Healers)
- Tier Token: Chest
Strong for Restoration Druids, Holy Priests, and all leather wearers.
5. Omnikron – The Tri-Core Defender
Three-headed guardian construct that rotates abilities.
- Tri-Core Greathelm (Plate Headpiece)
- Omnikron’s Defensive Prism (Tank Trinket – DR on cooldown use)
- Triple-Bound Warbow (Agility Ranged Weapon)
- Tier Token: Legs
Perfect for Hunters and Protection Warriors alike.
6. Surging Engine X99
A mid-raid DPS race boss with powerful fire-based mechanics.
- Burning Geargrinder Gloves (Mail Hands)
- Flame-Forged Blade of Destruction (2H Weapon – Strength)
- Overheated Servo Core (DPS trinket – burst proc)
- Tier Token: Feet
Melee classes like Retribution Paladin or Fury Warrior love this fight’s loot.
7. Nullform Overseer Zhaal
Raid’s penultimate encounter—high shadow/magic burst.
- Void-Enriched Grips (Cloth Gloves)
- Overseer’s Band of Domination (Crit/Mastery ring)
- Eye of the Void Tracer (Trinket – Chance to proc shadow missiles)
- Tier Token: Bracers
Best-in-slot options for Shadow Priests and Warlocks.
8. Omega Core Itself (Final Boss)
The source of Manaforge’s power—pulsing with energy and risk.
- Core-Forged Greatcloak (Back with a reactive shield)
- Unstable Core Engine (Mythic-exclusive Trinket – All roles, on-use power)
- Mana-Eroded Crown (Unique Tier Helm)
- Final Omega Shard (Crafting item for legendary upgrade)
Every raider wants something off this final boss. The trinket and helm are among the most wanted raid pieces in 11.2.
Tier Set Bonuses – Worth the Farm 🎯
Every armor type (Cloth, Leather, Mail, Plate) has its own Class Tier Set in Manaforge Omega. These are gained via:
- Tier Tokens from bosses listed above
- Catalyst system after a few weeks
- World drop alternatives (converted using flux currency)
Set bonuses are tailored to boost your primary spec’s role. Healers get stronger AoE tools, DPS classes gain burst or DoT enhancements, and tanks get survival boosts or team utility.
Loot Tips for Efficient Farming 🧠
- Set a raid schedule to hit multiple bosses every week, even on Normal/Heroic.
- Use group loot settings wisely on Mythic to target BiS.
- Prioritize bosses that drop your Tier Tokens to complete your set early.
- Bonus rolls may return in 11.2—spend them wisely!
Conclusion – Chase the Gear, Master the Forge ⚙️
Whether you're hunting for trinkets, weapons, or the game-changing tier sets, the Manaforge Omega raid loot table is loaded with must-have rewards for every class and role. Each boss offers something valuable, and every drop inches you closer to optimal performance in both PvE and PvP content.
Don’t want to grind endlessly? Save time and get ahead by checking out BoostRoom’s Manaforge Omega services. We offer safe, fast, and expert raid runs, gear acquisition, and class coaching to help you get every item you need without the stress.
Also, keep up with everything WoW by visiting the WoW Fandom Wiki — the ultimate source for patch updates and item databases.
Happy looting, champion of Azeroth! 🪙💪