The Midnight Goal: Play Cleaner, Die Less, Panic Less
Before you change anything, lock in the true goal of your setup:
You want fewer “panic moments.”
Panic moments happen when:
- You notice danger late.
- You can’t reach the correct button quickly.
- Your UI doesn’t tell you what matters.
- You move too much because you’re unsure.
So your setup should do three things:
- Make danger obvious. (Nameplates, Boss Alerts, Raid Frame dispels, cast highlights)
- Make responses easy. (Keybinds, consistent defensive/interrupt placement, reachable utility)
- Make your attention stable. (Less clutter, fewer bars, one main “eyes zone”)
If you do just those three things well, you’ll immediately feel more confident in Midnight dungeons and raids—even with new mechanics.
Keybind Philosophy That Works for Every Class
Keybinds aren’t “personal taste.” They’re muscle memory engineering.
A good keybind system has these rules:
- Same job = same key across every character.
- Interrupt should always be the same key. Major defensive should always be the same key. Mobility should always be the same key.
- Most-used buttons go closest to your movement hand.
- You can’t afford to stretch for your primary builder/spender.
- Emergency buttons should be reachable without thinking.
- If your “save me” button requires reaching across the keyboard, it will be pressed late—or not at all.
- Modifiers should be consistent.
- Example: Shift = defensive layer, Alt = utility layer, Ctrl = niche/rare layer (or whatever you choose—just keep it consistent).
- Your fingers should not fight your movement keys.
- If a bind forces you to stop moving to press it, it’s a bad bind for high-pressure content.
A simple rule of thumb:
- Base keys = core rotation
- Shift keys = defensives + survivability
- Alt keys = utility + stops + dispels
- Ctrl keys = rares (long cooldown, niche, out-of-combat)
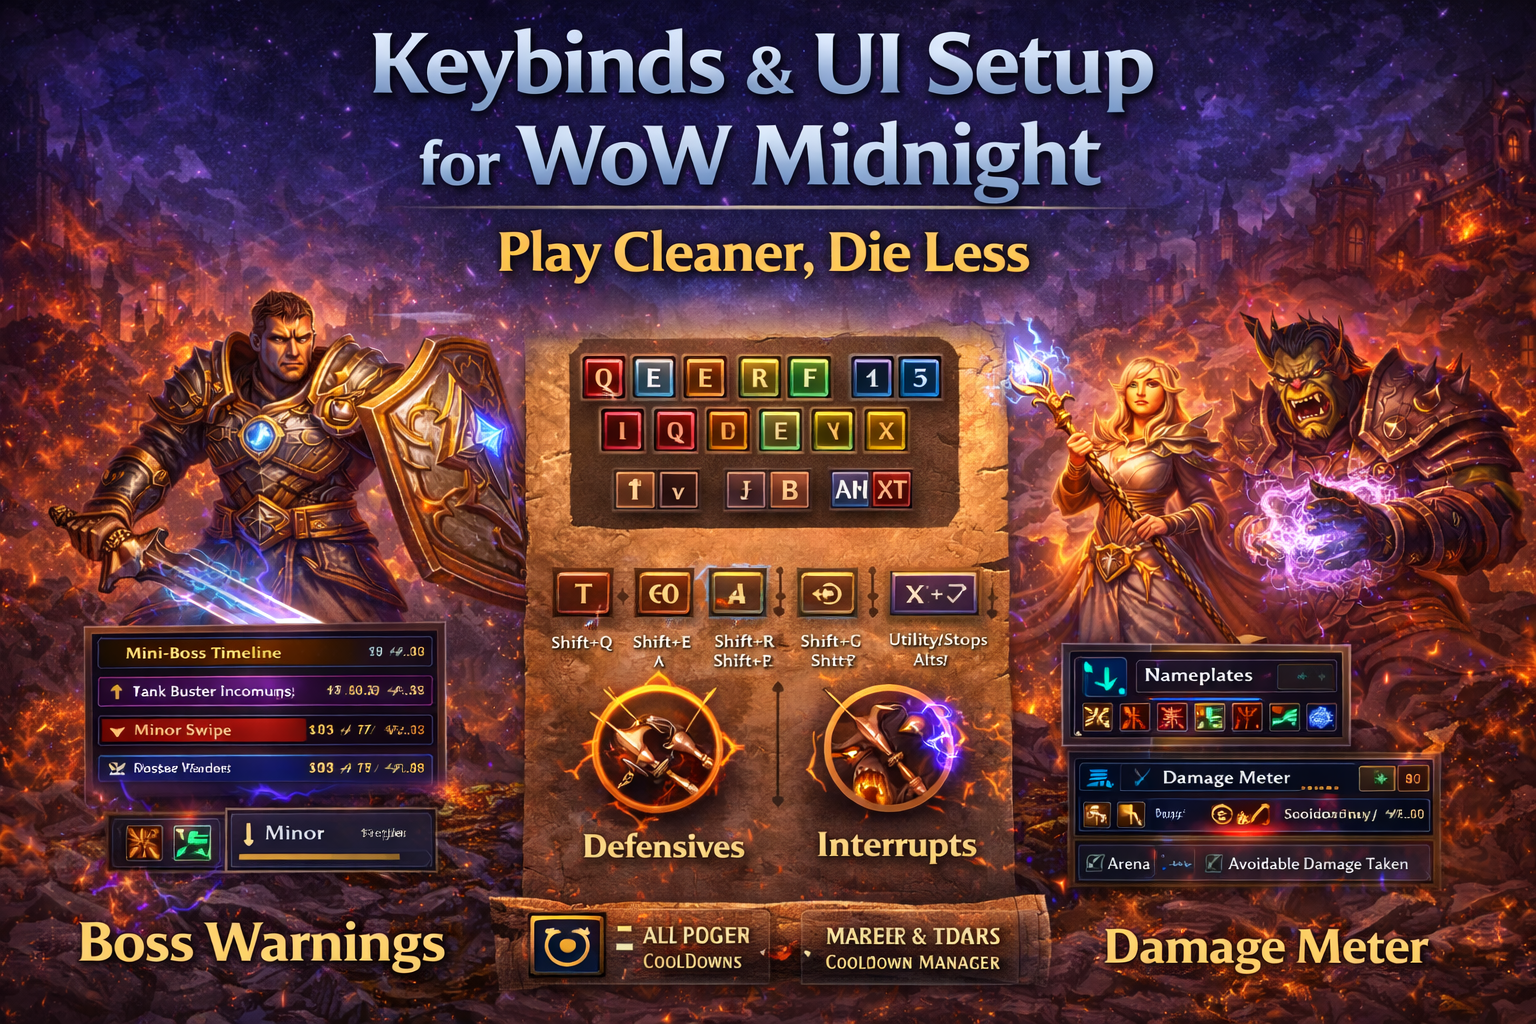
The “Universal Keybind Map” (Use This on Every Character)
This is the easiest way to become consistent in Midnight across mains and alts. You’re assigning “jobs” to keys, not spells.
Use this as a template:
Core rotation (easy reach):
- 1–5 = main rotational buttons
- Q, E, R, F = highest-frequency rotational buttons or builders/spenders
- Z, X, C, V = extra rotational tools or short cooldown damage buttons
Interrupt and stops (instant access):
- T = Interrupt (or mouse button; pick one and never change it)
- Shift+T = AoE stop (stun / silence / knock)
- Alt+T = backup stop or CC
Defensives (consistent layer):
- Shift+Q = small defensive / self-sustain
- Shift+E = medium defensive
- Shift+R = major defensive (your “wall”)
- Shift+F = immunity / cheat death / emergency survival (if you have one)
Mobility (don’t overthink):
- Mouse button or G = primary mobility (dash/charge/blink)
- Shift+G = second mobility (or movement utility)
Utility (PUG value layer):
- Alt+Q / Alt+E / Alt+R = dispel, purge, soothe, offheal, external, etc.
- Alt+F = battle rez or signature utility if you have it
Cooldowns (big damage/healing windows):
- Shift+1 / Shift+2 = major offensive cooldowns
- Shift+3 = trinket or “big button”
- Shift+4 = second trinket or secondary burst
This system works because it keeps your hands calm. When danger happens, you don’t search—you react.
Role-Based Keybind Tweaks That Reduce Deaths
Once you have the universal map, adjust by role.
Tank Keybind Setup: Survive First, Then Optimize Damage
Tanks die in the first 3–8 seconds of pulls more than anywhere else. Your binds must support “contact survival.”
Tank must-haves on easy keys:
- Active mitigation (your “always on” mitigation) on a core key (Q/E/R/F tier).
- A short defensive on Shift+Q (you press it early on scary pulls).
- Your major defensive on Shift+R (you press it before you’re low).
- Your AoE stop on Shift+T (you press it early when multiple casts overlap).
- Your taunt on a reachable key (not buried).
Tank movement binds matter more than anyone:
- If your movement is awkward, you’ll panic kite and chain-pull.
- Put your primary mobility on a mouse button or G so you can move and turn while pressing it.
Tank special tip for Midnight:
Midnight’s improved nameplates and Boss Warnings help you anticipate tankbusters and dangerous casts. That only works if you can press defensives instantly. If you find yourself thinking “which key is that?”—move it.
Healer Keybind Setup: Save People Without Destroying Your Hands
Healers often die because they can’t keep moving while responding to mechanics. Your binds should minimize “finger gymnastics.”
Healer must-haves on easy keys:
- Your fast single-target heal on a core key.
- Your emergency heal on another core key.
- Your external (if you have one) on Alt+F or Shift+F.
- Your dispel on Alt+Q (consistent across every healer).
- Your personal defensive on Shift+Q (healers must defend themselves early).
- Your movement ability on mouse button or G.
Mouseover vs targeting (choose one approach and commit):
- If you love mouseover healing, use mouseover casting consistently so you don’t waste time retargeting.
- If you prefer target-based healing, bind “target party 1–4” keys so your swaps are instant.
Either way: the most important healer habit is fewer clicks, more keypresses. Clicking is slower under pressure.
DPS Keybind Setup: Interrupts and Defensives Win PUG Reputation
Most DPS keybind setups are “damage-only.” In Midnight, that’s how you die and get avoided.
DPS must-haves on easy keys:
- Interrupt on T (or mouse button). Non-negotiable.
- AoE stop on Shift+T.
- Personal defensive on Shift+Q.
- Movement tool on mouse button or G.
- Health potion/stone on a reachable key (many players hide this and regret it).
If you want more invites:
Bind utility so you actually use it. A DPS who kicks, stuns overlaps, and lives is worth more than a DPS who dies with defensives available.
The Two Keybind Mistakes That Cause Most Deaths
Most deaths come from just two issues:
Mistake 1: Defensive binds are too far away.
If your major defensive is on something like “Shift+9” or a key you can’t hit while moving, you’ll press it late. Late defensives don’t save you. Early defensives do.
Fix: Put defensives on Shift+Q/E/R/F (or similarly close keys) and keep that consistent across all characters.
Mistake 2: Interrupt is not muscle memory.
If your interrupt is awkward, you’ll miss dangerous casts, and the run becomes chaotic.
Fix: Interrupt gets a premium key. Period.
Midnight UI Layout: Build a Single “Eyes Zone”
Your screen should have one area where your eyes naturally sit 80% of the time. That area should include:
- Your character and feet (ground effects).
- Enemy cast bars/nameplates.
- Boss Timeline and critical alerts (near center, not at the far edge).
- Cooldown Manager essentials.
- Health/resource glance info.
Everything else should be quieter.
A clean Midnight UI usually follows this layout:
- Center top or near-center: Boss Timeline (small, readable, not huge).
- Center screen: Boss Text Alerts (leave room so they don’t cover mechanics).
- Near your character: Cooldown Manager essentials (defensives, interrupt, major cooldowns).
- Bottom left or right: Damage Meter (Interrupts + Avoidable Damage windows are your best training tools).
- Above mobs: Improved nameplates and cast highlights doing most of the “danger detection” work.
Boss Warnings Setup: Timeline and Text Alerts That Actually Help
Boss Warnings are designed to replace some of what players previously relied on for boss callouts.
How to make Boss Warnings useful (not annoying):
- Keep Timeline small but readable.
- Put Timeline where you can glance without shifting focus away from your character.
- Keep Text Alerts visible, but not so large they block ground effects.
How to use the Timeline to die less:
- Tanks: pre-defensive before “Critical” tankbusters.
- Healers: pre-plan cooldowns for back-to-back damage events.
- DPS: pre-defensive raid-wide hits so you can keep casting instead of panicking.
The Timeline isn’t magic. It’s a reminder system. It only works if you train yourself to glance and act.
Cooldown Manager Setup: Your Personal “Don’t Panic” Engine
Cooldown Manager is one of Midnight’s biggest survivability upgrades—if you configure it correctly.
Your goal: track only what you actually need in combat.
Start with:
- Interrupt
- Primary defensive
- Major defensive
- Primary mobility
- One AoE stop
- One main offensive cooldown (or healing cooldown)
Then expand gradually.
Key features in Midnight you should actually use:
- Multiple layouts: create separate layouts for Mythic+, raid, and PvP (or at least “Dungeons” and “Raid”).
- Share/import layouts: if you have multiple alts or want consistency, this is huge.
- Sound and visual alerts: assign simple alerts to key defensives or “interrupt ready” events.
- Text-to-speech option: great if you miss visuals during chaos.
- Target debuffs display: helpful for tracking important debuffs, with border colors indicating debuff type.
- Pandemic range cues: a red box can appear around relevant DoTs when they’re in refresh-friendly timing; you can even add alerts for this.
The best beginner approach (works for everyone):
- Set alerts only for:
- Major defensive ready
- Interrupt ready
- Major offensive cooldown ready
- Avoid adding alerts for everything—too many alerts creates new panic.
Damage Meter Setup: Track What Actually Improves You
Midnight’s base Damage Meter can track categories that matter for survival and cleaner play, not just ego.
Use it like a coach:
- Avoidable Damage Taken: lower is better, always.
- Interrupts: aim to be near the top in dungeons.
- Dispels: if you can dispel, you should contribute.
- Damage Taken: useful for tanks and “why did I die” moments.
The smartest setup for “die less” improvement:
- Window 1: Damage Done or DPS (optional)
- Window 2: Interrupts
- Window 3: Avoidable Damage Taken
Then after a run, check:
- Did you take avoidable damage repeatedly from the same source?
- Did you miss interrupts because you were out of range or unaware?
- Did you die with defensives available?
This is how you turn Midnight’s UI into free coaching.
Nameplates in Midnight: Make Dangerous Casts Impossible to Miss
Midnight’s nameplates are improved to show more combat-relevant information and make interrupts/priority targeting clearer.
To die less, configure nameplates to emphasize:
- Dangerous cast highlighting
- Clearer buffs/debuffs on nameplates
- Threat/aggro indicators (especially for tanks)
- Offscreen nameplates (helpful in busy pulls)
- Reduced clutter for non-target nameplates (so you see what matters)
Practical “die less” habit:
Treat nameplates as your early warning system. If you can see the dangerous cast bar clearly, your interrupt timing becomes automatic.
Raid Frames in Midnight: Set Them Up So Mechanics Don’t Slip
Even in dungeons, your party frames matter. In raids, they matter even more.
Midnight raid/party frame improvements make it easier to read:
- Dispellable debuffs (colored borders and icons by debuff type)
- Better visuals for absorbs, shields, and incoming heals
- Layout templates and opacity/icon size settings in Edit Mode
- An option to show a player’s most recent active defensive as a big centered icon (“Center Big Defensives”)
How this makes you die less:
- Healers see dispels instantly and don’t waste time.
- Tanks and raid leaders can spot defensive usage at a glance.
- DPS can track important debuffs on themselves more clearly and react earlier.
A simple recommendation:
If you heal or do coordinated content, enable clear dispel indicators and keep party frames close enough to your eyes zone that you actually look at them.
Combat Audio Alerts: A Serious Advantage If You Get Overwhelmed
Midnight adds stronger combat audio alert options that can read out important combat events via text-to-speech. This isn’t only for accessibility—it’s also a performance boost for players who get overloaded by visual clutter.
If you struggle with:
- missing interrupts,
- not noticing you’re targeted,
- not realizing you’re low until it’s too late,
…audio alerts can help.
Use audio alerts selectively:
- “Target is casting (interruptible)”
- “You are targeted”
- “Your health is below X%”
- “Party member health below X%” (healers)
Do not turn on everything. The best audio setups are minimal and meaningful.
The Midnight Addon Reality: Build a Setup That Survives Changes
Midnight includes wide-reaching changes to addon capabilities, focusing on limiting automation in combat and requiring addons to be updated to load properly.
The practical lesson:
- Don’t build your entire playstyle on one fragile addon behavior.
- Build a core setup that works with:
- Boss Warnings
- Cooldown Manager
- Damage Meter
- Improved nameplates and frames
If you still use addons, great—but your baseline should be stable without them. That stability is how you perform consistently across patches and tuning.
A “Minimum Viable Setup” You Can Finish in 20 Minutes
If you want fast results, do this checklist in order:
- Keybind interrupt to a premium key (T or mouse button).
- Move defensives onto Shift+Q/E/R/F (or similar).
- Enable Boss Warnings and place Timeline near center.
- Configure Cooldown Manager to track: interrupt + defensives + one stop + one major cooldown.
- Enable Damage Meter and create an Interrupts window + Avoidable Damage Taken window.
- Adjust nameplates to emphasize dangerous casts and reduce clutter.
- Run one dungeon and judge success by: fewer panic moments and fewer avoidable hits.
You don’t need perfection. You need a setup you can read and press under stress.
The “Clean Play” Habits That Make Any UI Work Better
Even the best UI won’t save bad habits. These habits multiply the value of your setup:
Pre-position early
Move before the mechanic forces you. Boss Timeline and alerts help you do this.
Stop micro-movement
Unnecessary movement breaks casts, ruins healing, and causes accidental deaths. Move with purpose.
Press defensives early
If you wait until you’re low, you’ll die anyway. Early defensives create calm.
Interrupt like it’s your job
Because it is. Improved nameplates make this easier—take advantage.
Use one utility spell per pull
Stun, stop, dispel, offheal, purge—whatever your class has. This alone makes you feel “better” instantly.
BoostRoom UI & Keybind Help for Midnight (Play Better Faster)
If you want a Midnight-ready setup without wasting days tweaking, BoostRoom can help you build a clean, consistent UI and keybind system that fits your role and your content goals.
What BoostRoom can do for your Midnight setup:
- Keybind planning that standardizes your interrupt/defensive/utility across characters so you stop hesitating
- Edit Mode layout building so your Boss Timeline, Cooldown Manager, party frames, and meters sit in a true “eyes zone”
- Cooldown Manager configuration with smart alerts (including optional text-to-speech) that reduces panic and increases consistency
- Dungeon and raid practice runs where you test your setup under pressure and refine it based on real mistakes, not guesswork
The fastest improvements usually come from fixing the same things: interrupt access, defensive timing, and visual clarity. A clean setup makes those fixes stick.
FAQ
What’s the single best keybind change to die less in Midnight?
Put your interrupt on a premium key and your defensives on consistent, reachable modifier keys (like Shift+Q/E/R/F). If you can’t press them instantly, you’ll press them late.
Should I rebuild my entire UI for Midnight?
No. Build a simple “eyes zone” around your character, nameplates, Boss Timeline, and cooldown tracking. Reduce clutter. Don’t chase a perfect layout.
Do I need the built-in Damage Meter if I already track DPS elsewhere?
Yes, because it tracks the categories that improve survival and group value: interrupts, avoidable damage taken, dispels, and damage taken. Those stats help you fix real problems.
How do I stop missing interrupts in dungeons?
Make dangerous casts obvious (nameplates), bind interrupt to an easy key, and train yourself to kick the same types of casts every pull. Consistency matters more than perfection.
What’s the best Cooldown Manager setup for beginners?
Track only essentials: interrupt, one stop, one mobility, two defensives, and one major cooldown. Add alerts only for major moments. Too many alerts creates new chaos.
