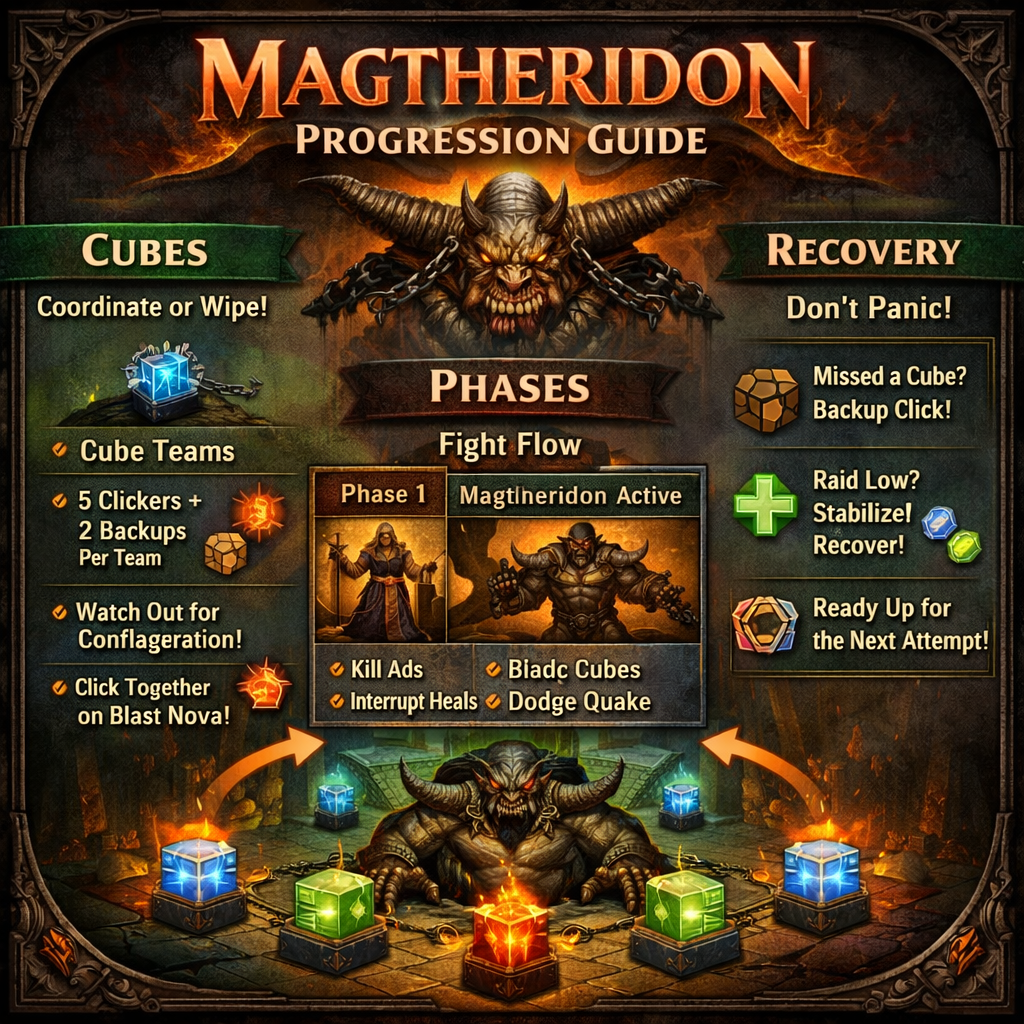
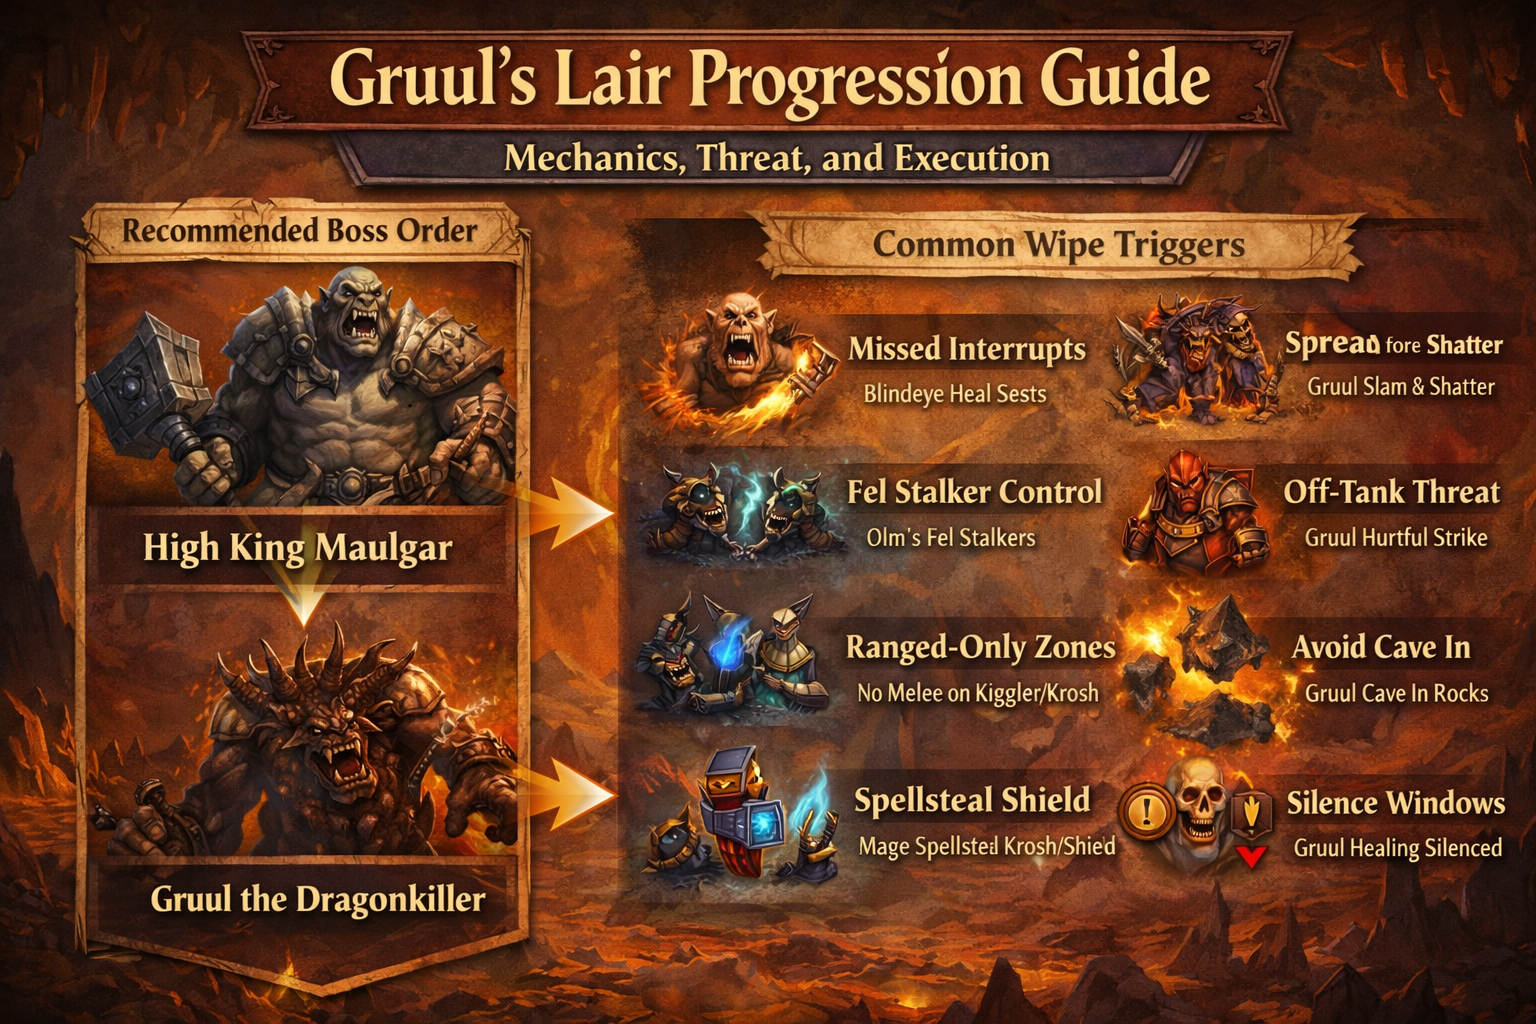
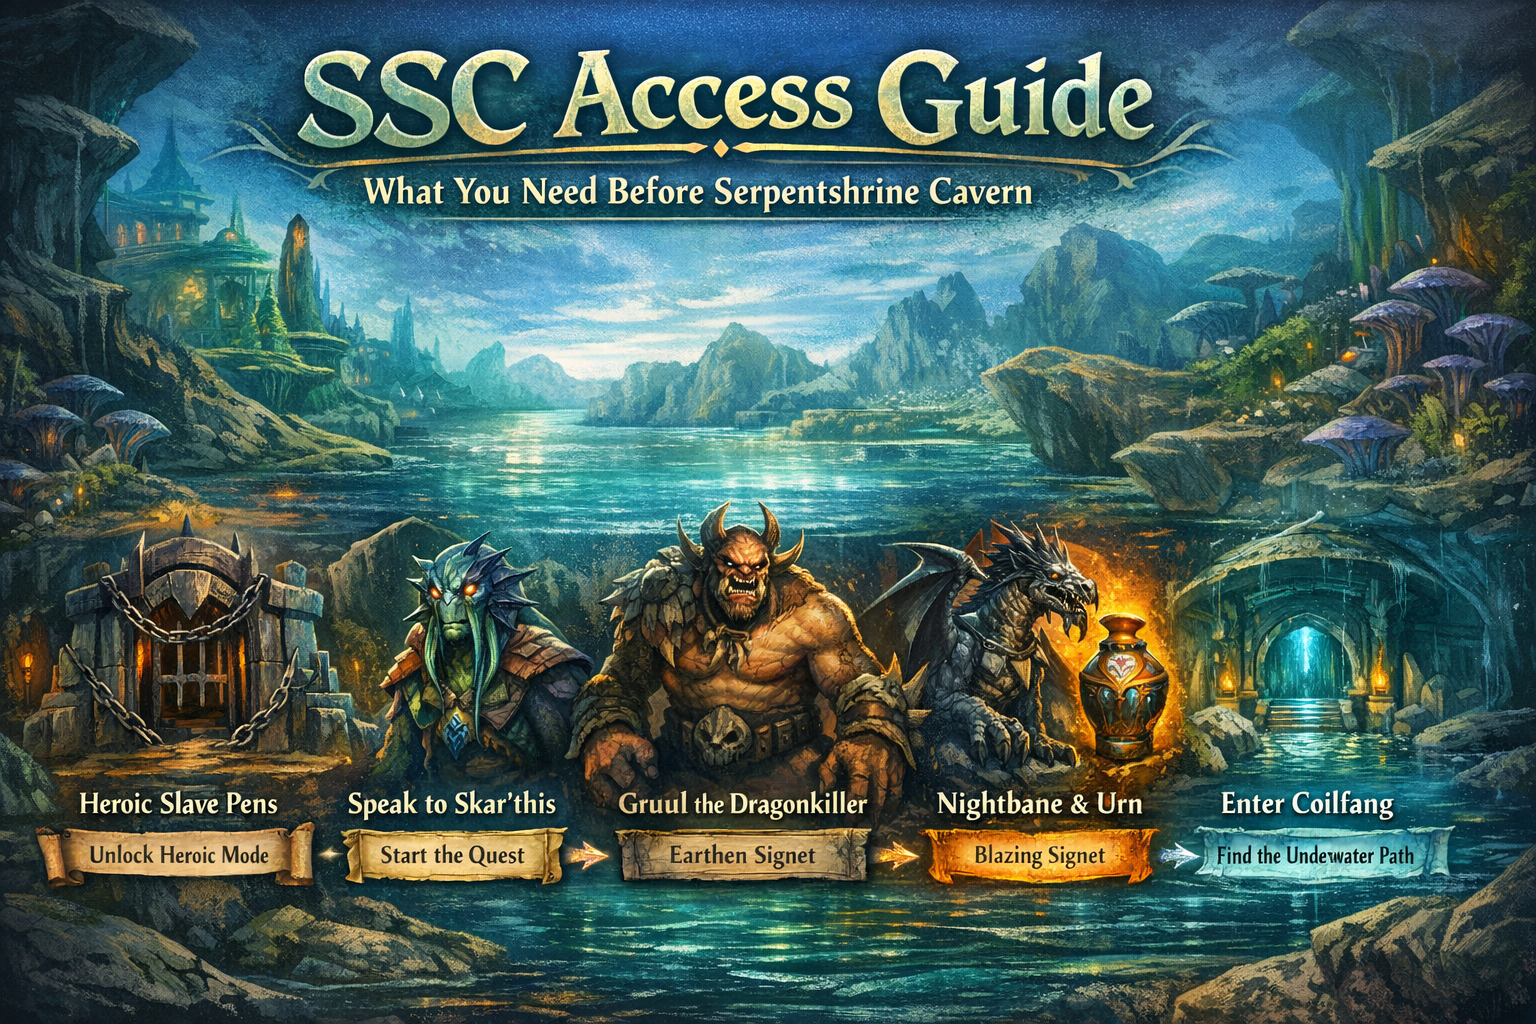
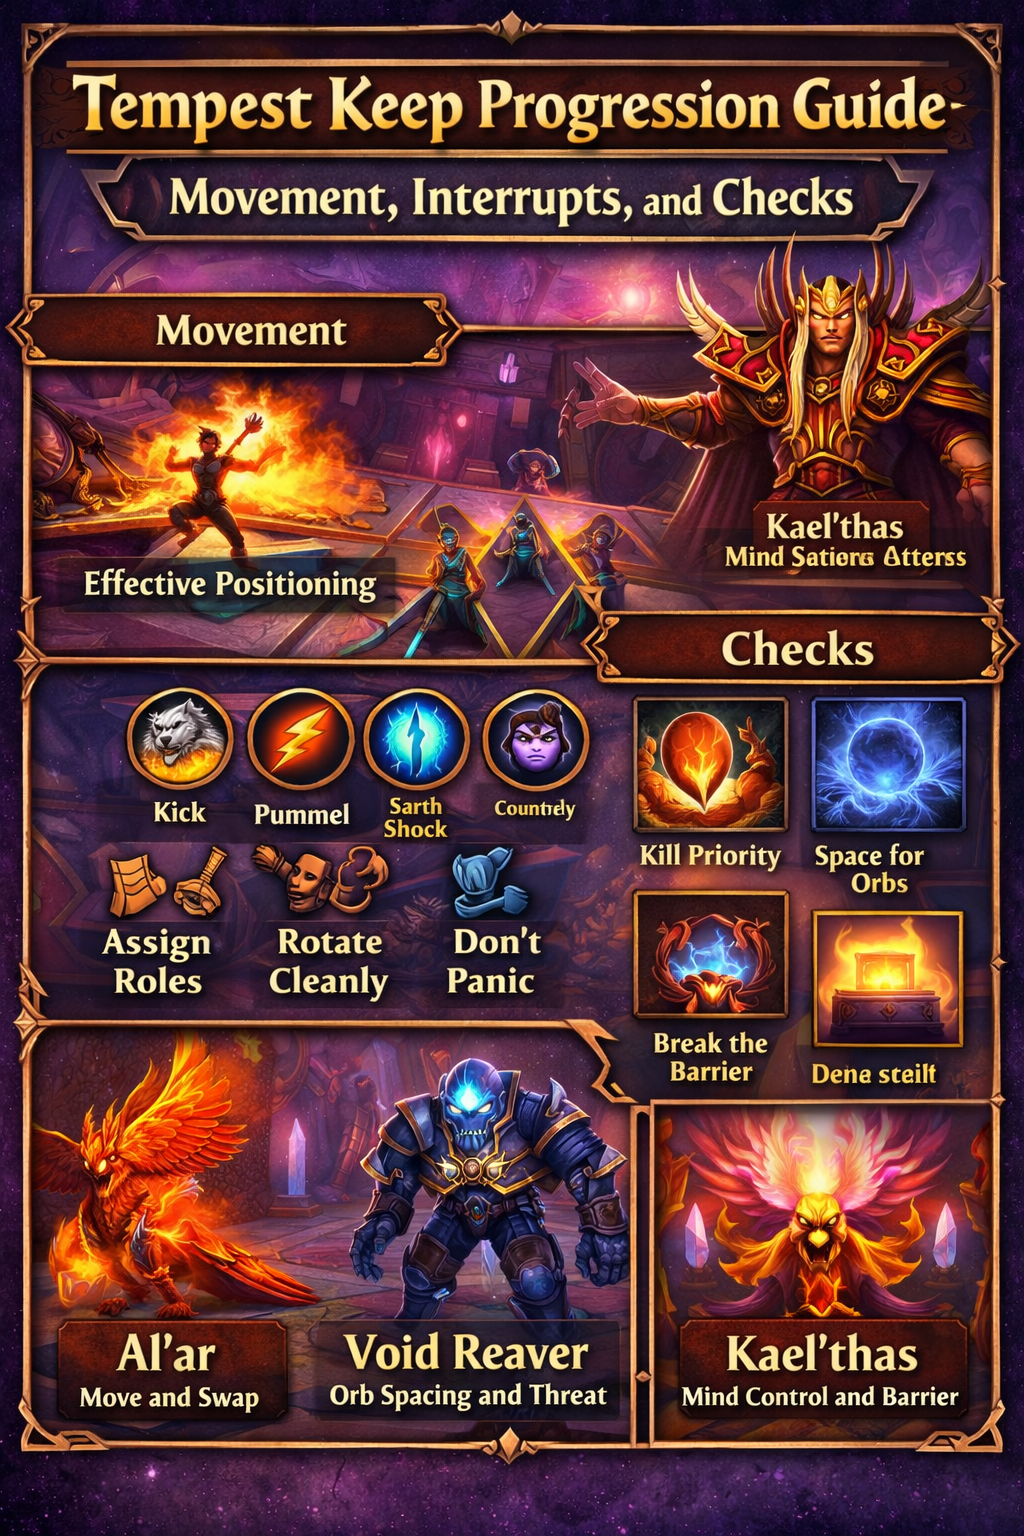
- Tanks: 3–5 (depending on comfort). Progression groups often feel best with 4: Maulgar tank, Blindeye/Olm swap tanks, Kiggler tank, and a Mage tank for Krosh.
- Healers: 6–8 depending on gear. More healers can make Maulgar safer; fewer healers can make Gruul tighter but requires calmer damage intake.
- Utility: multiple interrupts, at least one Priest Silence option is a massive safety net, and at least one Warlock for Enslave control makes Olm smoother.
The “30-second raid lead brief” that prevents most wipes
Say this before the first pull:
- “Kill order is fixed. Do not freestyle.”
- “Krosh is ranged-only. Nobody near him, no pets near him.”
- “Kiggler is ranged-only. No melee, no pets.”
- “Blindeye heal and Prayer never go off. Shield gets burned instantly.”
- “Olm tank swap at 4 stacks.”
- “Maulgar at 50%: defensives, taunt after Charge, watch Whirlwind.”
- “On Gruul: spread always, slam = run away, Shatter = survive, then reset.”
If your raid can repeat those lines back, you’re already ahead of most pugs.

Route: High King Maulgar (Assignments, Kill Order, and What Actually Wipes You)
High King Maulgar is a council-style fight: Maulgar plus four advisers. The fight looks chaotic, but it becomes extremely controlled once every target has:
(1) a tank plan, (2) a damage plan, and (3) an interrupt/CC plan.
The proven kill order (progression-safe)
A commonly used progression order that keeps the fight stable is:
- Blindeye the Seer
- Olm the Summoner
- Kiggler the Crazed (handled by ranged while melee starts Maulgar)
- Krosh Firehand (ranged-only)
- High King Maulgar (finish)
Why this works
- Blindeye is the wipe machine because his healing can reset the fight if casts land.
- Olm’s fel stalkers and stacking tank debuff create the next biggest chaos point.
- Kiggler and Krosh are best handled by ranged at their locations, minimizing movement and melee deaths.
- Maulgar himself is manageable if positioned correctly—your biggest Maulgar wipes usually happen after 50% when the room is already messy.
Positioning that makes the pull easy
Use a simple triangle:
- Maulgar tank: pulls Maulgar back toward the entry tunnel area, away from the raid, with the tank’s back positioned to prevent knockback issues.
- Blindeye + Olm tanks: positioned together on a side wall where healers can reach them reliably; they will swap taunts due to stacking debuff.
- Kiggler: tanked where he stands (ranged-only target).
- Krosh: tanked where he stands by a Mage (ranged-only target, nobody near him, no pets).
This positioning does two huge things:
- It prevents cleave/Arcing Smash accidents.
- It keeps dangerous ranged AoEs from hitting melee and healers.
Mechanic: Blindeye the Seer (the “no-casts-allowed” target)
Blindeye is the healing adviser. If his big casts succeed, the fight becomes a time-wasting disaster.
What Blindeye does that causes wipes
- Heal that restores him massively (treat it as a must-stop cast).
- Prayer of Healing that can effectively reset the entire council’s health if it completes.
- A large shield that he uses before the big heal window, which can block interrupts until it’s removed.
Execution rules that prevent Blindeye wipes
- Assign interrupts for Heal.
- Assign stuns/silences for Prayer windows.
- The moment the shield appears, swap damage hard into breaking it.
- If you have a Priest Silence option available in your raid, it can be your emergency button when the cast is about to land.
The #1 Blindeye wipe pattern
- Raid “sort of” interrupts Heal early.
- Shield appears, Prayer begins, people hesitate.
- Prayer completes.
- Everyone’s cooldowns and mana are now behind, and you wipe slowly.
Your fix: treat Prayer like a bomb timer. If your raid misses it once, call a wipe early and reset rather than burning 6 minutes learning the same lesson with no payoff.
Mechanic: Olm the Summoner (fel stalkers + tank debuff = controlled chaos)
Olm summons Wild Fel Stalkers that can shred people if uncontrolled. He also applies a stacking tank effect that becomes unhealable if you pretend it doesn’t exist.
What Olm does that causes wipes
- Summons fel stalkers that must be controlled.
- Applies Dark Decay (stacking DoT) to his tank that becomes dangerous at higher stacks.
- Uses Death Coil-style disruption (usually not the main wipe cause, but it adds chaos at bad times).
Execution rules that prevent Olm wipes
- Assign one or more Warlocks to a simple rotation: Enslave Demon / Banish / Fear as fel stalkers appear.
- When enslaved, those fel stalkers can be turned into a weapon—send them back into the encounter to help kill.
- Tanks on Olm/Blindeye must taunt swap at 4 stacks of the tank debuff (don’t wait for healers to scream).
The #1 Olm wipe pattern
- Fel stalker spawns. Nobody reacts quickly.
- It reaches healers or ranged.
- Raid scatters, breaks positioning, and the whole pull collapses.
Your fix: call fel stalkers out loud, every time, until your Warlocks are consistent. It’s not a DPS issue; it’s a control rhythm issue.
Mechanic: Kiggler the Crazed (ranged-only, or you get punted)
Kiggler is deceptive: he looks like a caster add, but he punishes melee range severely.
What Kiggler does that causes wipes
- Casts a strong polymorph effect frequently.
- Uses Arcane Explosion that damages and knocks back nearby players and triggers more often if players/pets are close.
- Also has additional caster pressure that becomes annoying when the raid is already distracted.
Execution rules that prevent Kiggler wipes
- Ranged-only target. No melee, no pets, no “I’ll just dip in.”
- Best tank option is often a shapeshifted Druid-style tanking approach because polymorph immunity in form removes a big annoyance.
- If you do not have that, you can still handle him—just keep a real plan and don’t let him freecast on healers.
The #1 Kiggler wipe pattern
- Melee wander too close while swapping targets.
- Arcane Explosion knocks people into other groups.
- Healers lose range or line-of-sight, and the pull spirals.
Your fix: draw an invisible circle around Kiggler and call it “dead zone.” Nobody crosses it.
Mechanic: Krosh Firehand (the mage tank check that punishes sloppy raids)
Krosh is famous for one reason: he is meant to be tanked by a Mage using Spellsteal to take his Spell Shield.
What Krosh does that causes wipes
- Casts Greater Fireball that can hit extremely hard.
- Uses Spell Shield that reduces spell damage taken heavily—this is the key buff the Mage steals.
- Casts Blast Wave around himself—anyone near Krosh (including pets) can get chunked and destabilize healing.
Execution rules that prevent Krosh wipes
- Mage tank should be built for survival: high stamina/health, plus enough hit reliability that Spellsteal isn’t a gamble.
- Mage keeps Spell Shield stolen whenever possible. There will be windows without it—healers must watch for those windows and keep the Mage stable.
- Nobody stands near Krosh. No pets near Krosh. Ranged kill him when it’s time.
Small detail that saves raids
Some effects can remove or interfere with Krosh’s shield timing. The simplest raid rule: everyone follows the mage tank’s instructions on Krosh, and nobody “helps” by using random shots/spells that create surprises.
The #1 Krosh wipe pattern
- Mage misses or delays Spellsteal.
- A big Fireball lands during an unshielded window.
- Mage dies, Krosh turns and deletes a healer, and the raid loses control.
Your fix: make the mage tank job respected. It’s not a “meme role,” it’s a real tank assignment.
Mechanic: High King Maulgar himself (easy… until 50%)
Once the advisers are controlled, Maulgar is straightforward—until his 50% behavior spikes intensity.
What Maulgar does that causes wipes
- Whirlwind: punishes anyone too close or anyone slow to move away.
- Arcing Smash: cleaves in front—positioning fixes this.
- Mighty Blow: knockback—having the tank’s back positioned correctly minimizes the danger.
- At 50%:
- Flurry increases damage and speed (tank danger).
- Charge hits random raid members (chaos trigger).
- Intimidating Roar can stun the tank and fear nearby players (control loss trigger).
Execution rules that prevent Maulgar wipes
- At 55–50%, call: “Defensives soon.” Tanks plan cooldowns, healers pre-load HoTs/shields.
- After a Charge, be ready for fast control re-stabilization.
- When Whirlwind happens, move out cleanly—don’t drag the boss through the raid.
The #1 Maulgar wipe pattern
- Raid is barely holding it together.
- 50% hits, Charge + Whirlwind overlap, tank gets stunned/feared.
- Boss moves unpredictably, cleaves people, and the raid collapses.
Your fix: treat 50% as the real phase change. Save your calm for it. Save some cooldowns for it. This is where “we almost had it” becomes “we got it.”
Route: Gruul the Dragonkiller (Mechanics, Threat, and the “Don’t Panic” Shatter Rule)
Gruul is mechanically simpler than Maulgar, but he’s a more honest progression check: if your raid can’t spread, can’t manage threat, or can’t react to Ground Slam, you will lose people repeatedly until the fight becomes impossible due to Growth.
The core idea of the fight
Gruul gets stronger over time via Growth. That means:
- The longer the fight goes, the harder it hits tanks, the more dangerous the room becomes, and the less forgiving mistakes are.
- Early on, you can make a mistake and survive. Later, the same mistake kills instantly.
So your goal is not “perfect play.” Your goal is stable execution with minimal deaths, so your DPS stays high enough to beat the increasing damage curve.
Gruul’s mechanics that actually cause wipes
Reverberation (raid silence)
- Periodic silence that can line up with tank spike moments.
- Wipe trigger: tank isn’t topped and healers get silenced during heavy hits.
Cave In (ground danger)
- Falling rock effect on the ground.
- Wipe trigger: people stand in it, healers waste mana, and later Growth turns “avoidable damage” into “fatal damage.”
Hurtful Strike (the threat mechanic that deletes melee)
- Hits the second highest threat target in melee range.
- Wipe trigger: off-tank isn’t truly second on threat, and a melee DPS becomes the Hurtful target and dies—especially at higher Growth.
Growth (the timer you can’t ignore)
- Stacks regularly, increasing Gruul’s damage and size.
- Wipe trigger: you lose DPS to deaths, the fight extends, Growth makes everything lethal, and you hit a point where tanks/healers can’t keep up.
Ground Slam → Gronn Lord’s Grasp → Shatter (the spacing test)
- Ground Slam launches players outward randomly.
- Then Grasp stacks slow you until you become Stoned.
- Then Shatter hits, and the damage is heavily affected by how close people are to each other.
- Wipe trigger: panic movement or grouping after Slam results in “Shatter bombs” that chain-kill people.
Positioning that makes Gruul predictable
Use a simple spread plan:
- Tank Gruul near the center, close to his starting location.
- Place ranged around the outer ring near walls at max comfortable range.
- Place healers between ranged and melee so they can cover both without overextending.
- Place melee around the boss with intentional spacing so Shatter doesn’t become a melee massacre.
One spacing rule that makes this fight easy:
Everyone keeps a mental “personal bubble.” If you can touch someone with your character model after a Slam, you are too close.
Execution: the Slam/Shatter sequence (the “don’t panic” script)
Every single player should follow the same script:
- Ground Slam hits → you get thrown.
- You immediately look around and run away from the nearest players.
- You do not chase your perfect spot. You just make sure you’re not stacked.
- Shatter happens → survive it.
- Reset calmly back to assigned positions and continue DPS.
The biggest mental trap: trying to keep DPSing during the spread.
On progression, treat Slam/Shatter as a survival mechanic first. The DPS you “lose” by moving is far smaller than the DPS you lose when three people die.
Threat: how to run Hurtful Strike safely
Gruul’s threat rules make the fight unique:
- Your main tank must be #1 threat (obvious).
- Your off-tank must be #2 threat and in melee range.
- Your melee DPS must be below the off-tank, not just below the main tank.
Off-tank job description (simple and strict)
- Stand in melee range at all times.
- Build threat as if your life depends on it—because it does.
- Wear enough mitigation and health to soak repeated Hurtful Strikes.
- If you get knocked back or forced out, return immediately and re-establish positioning.
Melee DPS job description (the difference between clean kills and “why do we keep losing people?”)
- Watch your threat meter.
- If you approach the off-tank’s threat, you slow down or use a threat drop.
- You never “race the off-tank” on this boss. It’s not a parse fight; it’s a kill fight.
Common wipe chain from threat
- Off-tank falls behind on threat (bad opener, knockback, poor uptime).
- A fury warrior or rogue becomes #2 threat in melee.
- Hurtful Strike hits them.
- They die (especially at higher Growth).
- DPS drops, fight extends, Growth ramps, and the raid collapses.
Your fix: make “OT must be #2” a raid rule that melee respects like a law.
Healing plan: why early healing should be calm
Growth makes late healing intense. If your healers burn mana early because people stand in Cave In or eat avoidable damage, you lose later when it actually matters.
Healer priorities that win the fight
- Keep tanks stable through silence windows (pre-HoT and pre-shield before Reverberation moments).
- Reduce avoidable raid damage by calling it out early (“Cave in under you”).
- Save mana for the later Growth stacks when damage spikes and mistakes become lethal.
Loot: What Gruul’s Lair Gives You (And How to Turn It Into Progression Power)
Gruul’s Lair is short, which is why it’s one of the best weekly “power farms” in TBC. The loot includes:
- Tier 4 tokens that move your set bonuses forward quickly.
- Long-lasting best-in-slot contenders that remain relevant deep into the expansion for many specs.
Tier 4 tokens (the weekly jackpot)
- High King Maulgar drops Tier 4 shoulder tokens.
- Gruul drops Tier 4 leg tokens.
Why this matters for progression
Tier bonuses often provide the most “real power per item” early on. A single 2-piece bonus can be worth more than multiple off-set upgrades for certain roles. If your raid wants fast progression, treat token distribution as a progression decision, not a random roll party.
High-value items that groups chase weekly
Without turning this into a giant loot table, here’s the practical truth: Gruul’s Lair contains items that become weekly conversation pieces—especially melee trinkets, tank shields, and strong weapons. That’s why guilds that “outgear” the raid still run it.
Loot mindset that speeds your whole raid up
- If you gear tanks and healers so the raid becomes stable, you clear faster, wipe less, and get more total loot over time.
- If your raid fights over shiny DPS upgrades while tanks are getting crushed and healers go OOM, you slow your weekly progression and lose more time than you gain.
Extraction: How to Turn Gruul’s Lair Into a 30–45 Minute Weekly Win
Extraction is how you get more value from the same lockout: faster clears, fewer wipes, and smoother loot flow.
Build a repeatable assignment template
Every week, use the same structure:
- Tank assignments don’t change unless you replace players.
- Interrupt/stun assignments for Blindeye don’t change unless you replace players.
- Gruul positioning doesn’t change unless you have a reason.
Consistency is a hidden DPS increase because fewer mistakes happen when the raid repeats a familiar script.
Use “pull discipline” to save the most time
Most Maulgar wipes happen in the first minute because the pull is messy. Your time savings come from:
- Marking targets before the pull.
- Confirming ranged-only zones (Kiggler/Krosh).
- Calling the first 20 seconds clearly: “Blindeye locked, interrupts ready, warlocks ready for fel stalkers, mage tank set.”
A clean first minute usually means a kill.
Turn your wipe recovery into a skill
If you wipe, don’t debate. Use a one-sentence review:
- “We wiped because Prayer went off.” → “Next pull: shield burned instantly, Silence held for Prayer.”
- “We wiped because mage tank died to unshielded Fireball.” → “Next pull: healers watch Spell Shield downtime, mage calls when it drops.”
- “We wiped because Shatter killed stacked players.” → “Next pull: after Slam, run away first, DPS second.”
Then pull again fast. Speed is a weapon in progression.
Make Gruul a calm fight instead of a panic fight
The raid that panics on Slam wipes more than the raid that spreads calmly. Teach your raid one phrase:
- “Spread now. Survive Shatter. Reset.”
That single consistent callout is often the difference between 1–2 deaths and a full wipe.
Practical Rules: Threat Control That Stops Gruul Wipes
Threat is not optional in this raid. Gruul’s Lair is one of the clearest places in TBC where threat discipline separates “weekly farm” from “weekly disaster.”
Rule 1: Gruul is an off-tank threat encounter
If your melee DPS is stronger than your off-tank’s threat output, you must solve it. Solutions include:
- Off-tank wearing more threat-oriented gear while staying safe.
- Off-tank getting key buffs that support threat.
- Melee using threat drops proactively and throttling when needed.
The wrong solution is “ignore it and hope.” Hurtful Strike will punish hope.
Rule 2: Melee must stay below both tanks
Not just the main tank. Both.
If your raid doesn’t have a threat culture, you will lose a melee every week to Hurtful Strike, and your kill time will suffer.
Rule 3: Mage tank threat is not a “meter flex”
On Krosh, the mage tank should do modest, controlled damage to maintain aggro while managing Spellsteal and survival. The rest of the raid should not create chaos around Krosh with stray proximity, pets, or weird “help” actions.
Rule 4: Threat is shaped in the opener
Tell your DPS:
- “First 5 seconds are tank time.”
- “No heroic opener until tanks are stable.”
- “Threat drops are part of your rotation here.”
Clean openers prevent most early deaths.
Practical Rules: Execution Callouts That Make the Raid Feel Easy
If you want Gruul’s Lair to feel smooth, your raid needs short, repeatable callouts.
Maulgar callouts (the ones that matter)
- “Blindeye shield—burn it.”
- “Prayer soon—stuns ready.”
- “Fel stalker—control it.”
- “Swap tanks at 4 stacks.”
- “Maulgar 50—defensives.”
- “Charge—taunt back.”
- “Whirlwind—out.”
Gruul callouts (the ones that prevent wipes)
- “Spread positions.” (before pull)
- “Silence soon—top tanks.” (when healers notice the rhythm)
- “Cave in—move.”
- “Slam—spread now.”
- “Shatter—survive.”
- “Reset—back to spots.”
The raid that uses consistent words reacts faster. Faster reactions mean fewer deaths. Fewer deaths mean you beat Growth.
Recovery rules when something goes wrong
- If a fel stalker is loose: all DPS who can help do so immediately—do not tunnel the kill order while a healer is getting eaten.
- If Blindeye gets a big heal off: don’t tilt. Re-focus interrupts and stuns; the fight is still winnable if the raid stays calm.
- If Krosh mage tank is struggling: healers prioritize stabilizing the mage during unshielded windows, and the raid delays Krosh damage until the mage is safe.
- If someone dies on Gruul to Shatter: call for cleaner spacing next Slam and keep going. One death is recoverable; panic deaths are not.
BoostRoom: Fast Gruul Clears, Clean Assignments, Better Weekly Loot
Gruul’s Lair is the perfect weekly raid when it’s structured—and one of the most annoying weekly raids when it isn’t. Most “Gruul frustration” is not about needing more gear. It’s about:
- unclear assignments on Maulgar
- inconsistent interrupts and CC
- a shaky mage tank plan
- weak Hurtful Strike threat control
- and panic movement on Ground Slam
BoostRoom exists for players who want reliable progression and reliable loot without wasting lockouts to preventable wipes. With structured runs and clear role jobs, Gruul’s Lair becomes what it’s supposed to be: a fast Tier 4 power injection you clear weekly with confidence.
FAQ
How many tanks do we actually need for High King Maulgar?
Progression groups often feel best with 4–5 assignments (including a mage tank for Krosh). More experienced raids can reduce tanks once the pull is consistent, but early kills are faster when control is stable.
Why do we keep wiping on Maulgar even though the bosses “aren’t that hard”?
Because Maulgar wipes mostly come from coordination failures: missed interrupts on Blindeye, uncontrolled fel stalkers from Olm, melee standing too close to Kiggler/Krosh, or chaos at Maulgar 50%.
What is the most important thing to stop on Blindeye?
His healing casts—especially the long cast that can effectively reset the council’s health. If that cast lands, you usually lose time and momentum even if you don’t wipe instantly.
Do we really need a Warlock for Olm?
It’s still possible without, but Warlock control tools make the fight dramatically safer because fel stalkers are one of the biggest chaos sources. If you’re progressing, bringing at least one Warlock is a major stability upgrade.
Why is Kiggler “ranged only”?
Because his close-range Arcane Explosion knocks back and punishes anyone nearby (including pets). Let ranged handle him at distance so the raid doesn’t get punted into chaos.
Why is Krosh “ranged only” and why does the mage tank matter so much?
Krosh has a short-range AoE and hard-hitting casts. The mage tank uses Spellsteal to take the Spell Shield buff and survive the damage pattern. If Krosh is handled incorrectly, he turns and deletes healers.
What causes most Gruul wipes?
Two things: (1) bad spacing after Ground Slam leading to lethal Shatters, and (2) threat mistakes where melee pass the off-tank and get hit by Hurtful Strike.
How do we handle Hurtful Strike safely?
Off-tank stays in melee range and maintains #2 threat. Melee stay below the off-tank on threat. If melee are close, they throttle or use threat drops. This is not negotiable in early progression.
Should we stack or spread on Gruul?
Spread. Gruul punishes stacking because Shatter damage spikes when players are close to each other after Slam.
What should I do the moment Ground Slam happens?
Run away from other players first. Don’t chase your perfect spot; just don’t be stacked. Survive Shatter, then reset.
