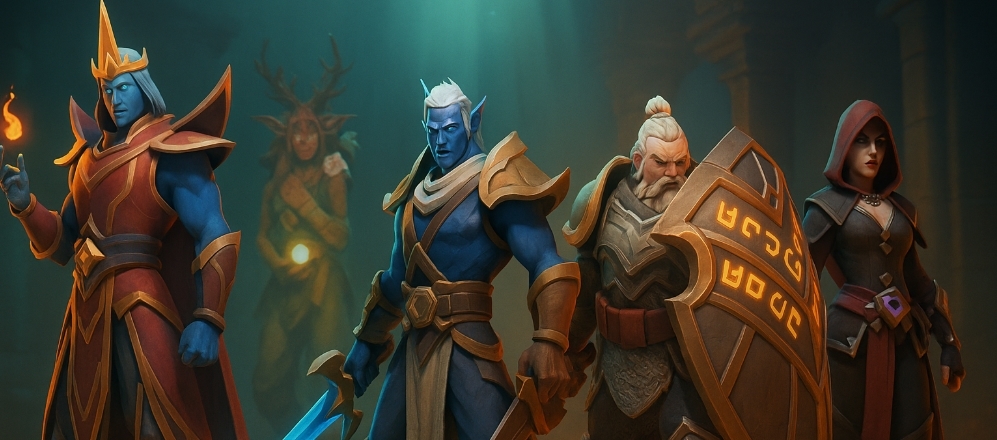
How Helena Actually Works (Toughness, Veteran of War, Block) 🧠
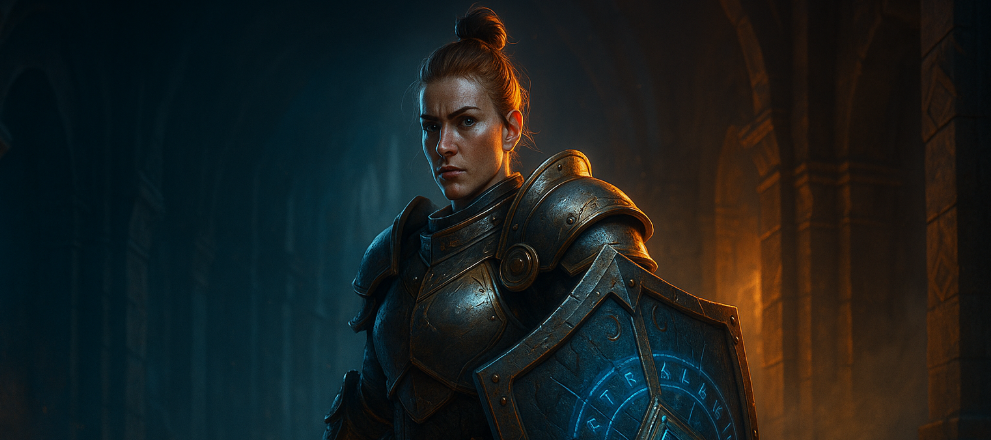
Toughness is Helena’s identity. Think of it as a second life bar that translates into flat damage resistance at different thresholds. Your entire kit exists to get Toughness high and keep it there while enemies are trying to shave it down. When Toughness is high, you’re a brick wall; when it drops, you feel paper-thin—so your rotation and cooldown timing are built to keep Toughness topped.
Veteran of War (VoW) is the glue. Many of Helena’s attacks reduce the cooldown of key abilities (especially Shields Up and Shockwave), letting you chain your defensives and maintain that Toughness “ceiling.” You don’t play Helena like a static rotation bot; you play her like a priority system where CDR procs decide your next best button.
Block is your quiet MVP. Blocking while Shields Up is running feeds Toughness and lowers incoming pressure. Pull bigger? You’ll block more hits, which means you’ll juice Toughness harder—as long as your cooldown plan is sensible.
Mental model:
- Start pulls with Toughness momentum (Shields Up early).
- Snowball CDR with VoW skills (Shield Slam/Throw/Charge into Shockwave resets).
- Bridge gaps with Hold the Line, Iron Wall, and Grand Melee.
- Never drift into a window where Toughness and CDs are both low.
Ability Breakdown – What Each Button Is For 🔍
(Names may slightly vary by patch wording, but the purposes and interactions below are what matter in play.)
- Shields Up (Defensive, 2 charges): Core defensive. Increases Toughness and block chance for a short window and has a brief “i-frame” vs. Toughness loss right on cast. You press this early in the pull and again any time Toughness is slipping, your block buff falls off, or you’re approaching two charges. It also scales with Haste via CDR.
- Shield Slam (GCD, short CD): Heavy single-target hit that generates Toughness and grants CDR for Shockwave. With Hold the Line, your next Shield Slam is Empowered—use that to refill Toughness when you need a surge.
- Shield Throw (GCD, short CD): Ranged utility hit that also feeds Shockwave CDR; good for tagging casters or starting pulls cleanly.
- Shockwave (GCD, medium CD): Your big nuke/cleave that also reduces the cooldown of Shields Up via VoW links. It’s the offensive engine that indirectly sustains defense.
- Charge (GCD, medium CD): Gap-closer and mini-CDR battery for multiple abilities at once. Use to interrupt, re-engage, or when several buttons are down and you need a burst of CDR to “spin the wheel.”
- Sweeping Strike / Measured Strike / Power Strike (Fillers): Damage and bleed pressure. Use them when your priority buttons are handled and you’re safe on Toughness.
- Hold the Line (Instant, short CD): Resets Shield Slam and causes the next one to be Empowered. This is your on-demand Toughness bump—a great panic lever when Toughness dips or healer attention is elsewhere.
- Iron Wall (Defensive, long CD): Your “I refuse to drop” button—prevents Toughness from being reduced for its duration. Best after you’ve expended a Shields Up charge and need time to get your engine spinning again.
- Grand Melee (Long CD): Massive AoE control window; forces mobs to auto-attack and focus you while granting the group magic damage reduction. Use it to stabilize chaotic pulls, shut down casters, or enable greedy routes.
- Siegebreaker (Spirit): Short window of double VoW procs, damage amp, and damage reduction; also grants a big Haste sprint. Treat it as an engine overclock—it feeds your whole kit and smooths the rotation.
Priority System & Rotations – Trash vs. Bosses 🔄
Trash Pulls (your bread and butter)
- Pre-pull: Position to face cleaves away from allies. Count caster spawns and LOS positions.
- On engage: Pop Shields Up immediately (it’s off-GCD). Tag with Shield Throw mid-pull to gather strays.
- Spin the engine:
- Shockwave on cooldown (CDR for Shields Up).
- Shield Slam on cooldown (Toughness gain + CDR for Shockwave).
- Hold the Line to Empower Slam when you need a Toughness refill.
- Charge if multiple CDs are down to refuel Shockwave/Shields Up faster.
- When in doubt: Keep Shields Up rolling if Toughness is below ~40% or your block buff fell.
- Large pulls: Grand Melee to shut down casts and stabilize; Iron Wall to bridge back into Shields Up when charges are low.
Bosses (where planning matters most)
- Bosses won’t fall for Grand Melee’s lockdown, but the group DR still matters on scripted magic bursts.
- Watch predictable tank-busters and plan a mini sequence: Shields Up → (if low Toughness) Hold the Line → Empower Slam, with Iron Wall as the “stop dropping” backup.
- Keep Shockwave active when safe to help Shields Up come back faster.
- Siegebreaker is your “everything gets smoother” button during heavy phases—double VoW procs keep the engine humming and Toughness stable.
Talents – Defensive First, Damage When Stable 🧩
Helena’s talent trees reward you for prioritizing survival early and sprinkling offense after your kit feels smooth. A clean path many players like in progression:
- Shield Mastery / The Best Defense / Guarded Veteran: Early block %, better Toughness scaling, and smoother mitigation.
- Reinforced Steel / Magic Ward: Small but efficient one-point pickups that raise your floor; Magic Ward is especially nice for magic-heavy bosses.
- High Command: Lowers Hold the Line CD—more Empowered Slams when you need Toughness.
- Front Line Defender: Flatly strengthens your Toughness bands.
- Gleaming Shield: Improves block and overall survivability; comes online mid-game when your engine cycles faster.
- Sword & Board: Adds damage debuff maintenance plus a touch of sustain feel; nice for late-game comfort.
- Greater Shockwave / Aftershock (optional, later): Add these when you want damage and you already feel unkillable in your key bracket.
Takeaway: Spend early points on stable block and Toughness management. Add the sexy cleave nodes once pulls stop threatening you.
Defensive Cooldown Planning – Your Safety Net 🧯
- Shields Up: Use immediately after the first GCD of a pull, then whenever Toughness is dipping or you’re near two charges. Also time it just before predictable spikes to abuse the brief Toughness i-frame on cast.
- Iron Wall: Treat as your “stabilize the bar” button when Shields Up is down or you’re recovering from a mistake. Don’t wait for 0%—use it in the 60–75% zone to stay above key DR thresholds while you rebuild.
- Grand Melee: Best in dangerous caster packs or chaotic open rooms. Beware of its large radius; stand smart or you’ll yoink extra packs.
- Hold the Line: Press early, press often. It’s a short CD and resetting Shield Slam is your fastest emergency Toughness bump.
- Siegebreaker: Combine with large pulls or during boss heavy phases. It doubles VoW procs, so your whole kit gets faster and safer.

Stat Priority, Gear Paths, Legendaries & Gems 💎
Stats (typical comfort order):
Haste → Defense/Block → Strength → Crit/Spirit (flex based on drops).
- Haste is king early because it directly lowers key CDs and indirectly pumps Toughness uptime.
- Defense/Block keep your floor high—great for pugs and learning keys.
- Strength increases damage and Toughness cap, so it’s never “just DPS.”
- Crit/Spirit are fine sprinkles; Spirit value rises with Siegebreaker/VoW interactions.
Legendaries (high-impact picks):
- Warboots of the Blackened Vanguard: Synergize with Shockwave/VoW loops—great rhythm legendary once you’re comfortable.
- Tank-cape / defensive necklaces (varies by patch): Look for damage-taken reduction while key defensives are active, or enemy damage debuffs tied to your core buttons.
- Always prefer legendaries that stabilize Toughness or CD cadence over raw DPS while you’re pushing higher tiers.
Gems & Enchants:
- Prioritize Haste and Block/Defense gems till you feel glued to the floor.
- Mix in Strength once your survivability benchmarks are met in your target dungeon tier.
Gear milestones:
- Contender → Adept: Stack Haste and simple block pieces; route more aggressively as your cadence smooths.
- Champion → Eternal: Start adding offensive options (Greater Shockwave, Aftershock) and damage enchants—once the healer is chilling and packs aren’t scary.
Weapon Traits & Infusions – What Actually Feels Good ⚙️
Traits that extend your survival cadence beat pure damage early: CDR on core skills, block/DR triggers, Toughness sustain on hit/block, and any node that refunds Hold the Line/Shield Slam windows. As your run tier rises and your survivability is stable, fold in cleave multipliers and Shockwave synergies so your group pulls faster without stressing your healer.
Interface, Keybinds & Camera – Make Tanking Easier 🧩
- Put Shields Up on a “panic-proof” key (large keyboard target).
- Hold the Line directly next to Shield Slam to encourage automatic pairing.
- Keep Charge and Shield Throw where your thumb can reach quickly for instant interrupts and ranged tags.
- Use a wide FOV, slightly zoomed out, with nameplates large and colored by cast type; you need to read the room at a glance.
- Bind focus interrupt for casters you can’t face—saves pulls in tight rooms.
Pulling, Positioning & Route Flow – The Captain’s Playbook 🧭
- Tag → Line-up → Wall-the-cleave. Always face enemies away from your party’s stack point.
- LOS pulls are your best friend: step around a corner to force ranged mobs into your melee blender.
- When pathing big, set a two-cooldown floor: don’t start a giga-pull unless you have Shields Up + one of (Iron Wall / Grand Melee / Hold the Line banked).
- Tell your team when you’re between cooldowns. A single stun or external DR during that window keeps your bar healthy and your healer happy.
Boss Patterns – A Simple Plan That Works 🧩
- Predict the first tank-buster. Open with Shields Up and Shield Slam.
- Bridge with Hold the Line into Empowered Slam right after heavy swings to refill Toughness.
- Save Iron Wall for awkward overlaps or if your Shields Up charges desync.
- Use Grand Melee for group magic DR during raid-wide boss casts.
- Siegebreaker on dangerous phases to overclock your kit, then keep the priority: Shockwave → Slam → Throw → Charge, with fillers only when safe.
Common Mistakes & How to Fix Them 🧯
- Sitting on Shields Up: If you’re regularly at two charges, you’re wasting power. Press it.
- Ignoring VoW windows: When multiple key abilities are on cooldown, Charge to inject CDR and keep the wheel spinning.
- Late Iron Wall: If you wait until Toughness is nearly empty, you’ll still get bullied. Use it earlier (60–75%) to preserve the top DR bands.
- Forgetting Grand Melee’s radius: Mis-position and you’ll drag extra packs. Plant your feet before you pop it.
- Over-bleeding with fillers: If you’re dying, skip filler DPS. Press survivability and CDR buttons first.
Group Synergies & What You Want From Teammates 🤝
- Healer: Any burst AoE heal pairs well; ask for spot DRs on your “between-CDs” windows.
- DPS: Kick casters on time and hold a stun for your vulnerable moments. Cleave monsters shine when you can keep packs stacked.
- Utility: External slows/roots help kite if you mis-time. Grips knock mobs into your Shockwave sweet spot.
Progression Path – From Fresh to Key Pusher 📈
- Learn the engine on smaller pulls: keep Shields Up rolling, practice Hold the Line → Empowered Slam timing, and build the Shockwave → Shields Up cadence.
- Stack Haste and basic block/DR while you climb brackets.
- As you stabilize, add damage talents and cleave traits to speed the route.
- In higher tiers, proactively plan defensive overlaps for scary rooms and call for kicks/externals ahead of time.
Patch & Meta Notes – Why Helena Feels Better Now 📜
Helena’s quality-of-life and survivability have improved thanks to threat increases, damage buffs, and stronger mitigation tied to block and core buttons. Her kit now better rewards good Toughness management while reducing the healer tax during bosses. The end result: she still plays like the “prevention tank,” but with less punishment when you’re doing everything right.
FAQ ❓
Is Helena good for beginners?
Yes. The fundamentals are clear: keep Shields Up rolling, use Slam/Throw/Charge to feed Shockwave, and never let Toughness drop for long. Her planning focus makes her great for learning real tank craft.
What’s the best stat to stack first?
Haste. It makes your whole kit more available, which keeps Toughness high.
When do I press Iron Wall?
When Toughness is sliding and your Shields Up cycle isn’t ready—early enough that you’re still in the top DR bands.
Charge or Shockwave first?
If Shockwave isn’t ready and multiple abilities are down, Charge to inject CDR; otherwise Shockwave on cooldown to keep Shields Up cycling.
Grand Melee on bosses?
Use it for the group magic DR during raid-wide casts; it won’t “lock down” the boss, but the mitigation is clutch.
Conclusion – Need a Hand With Your Helena Push? 🏪
If you want a smoother climb, more reliable clears, or help locking in a top-tier tank route, you can grab services, coaching, or team-ready carries straight from BoostRoom. We’re a marketplace built for gamers—pick what you need, get paired fast, and jump right back into the fun.
