How Difficulty & Progression Work ⚔️
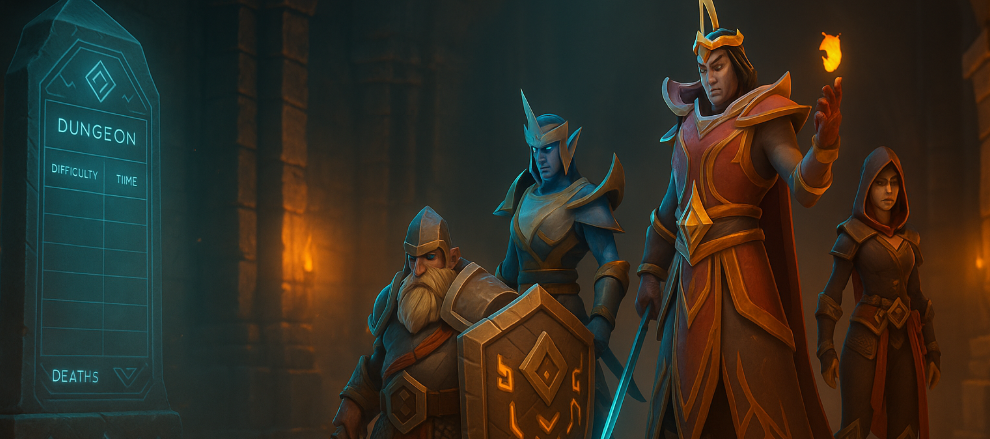
Dungeons scale by difficulty. As you climb, enemies hit harder and add extra twists to familiar mechanics (for example, more punishing DoTs, additional projectiles to dodge, or “soak” circles that turn into group-wide blasts if ignored). The core loop stays the same—earn Kill Score, then down the boss—so learning enemy abilities and building a reliable route matter more the higher you go.
Party Play & Roles 🙌
A balanced team shines: a sturdy front-liner to gather and kite when needed, reliable interrupts across your lineup, at least one flexible ranged to handle targeted abilities and kiting duties, and healing that stays calm during “everyone takes damage” moments. Success is less about meta-picks and more about doing the fundamentals right—line-of-sight pulls, coordinated cooldowns, and crisp target priority.
Full Dungeon List & Overviews 📜
Below is the complete roster of Fellowship dungeons available right now, with quick, practical notes on theme, structure, and playstyle tips.
Cithrel’s Fall – Three-Boss Milestone Ruin 🏛️
A sprawling ruin themed as a milestone dungeon with three boss encounters. Expect a longer route, several viable pull clusters, and multiple places to bank Kill Score before each boss. It rewards groups that manage interrupts well and rotate crowd control to keep caster packs under control. Plan your cooldowns across all three fights instead of blowing everything on the opener.
Ransack of Drakheim – Three-Boss Urban Gauntlet 🧱
Drakheim is a battered stronghold turned raiders’ playground. Trash density is the story here: quick pulls can snowball if you pick up an extra patrol. Many packs include at least one high-priority caster—mark them, assign an interrupt order, and keep the tank mobile to reset dangerous stacking debuffs. As with other three-boss dungeons, plot your route to avoid overcapping Kill Score early.
The Heart of Tuzari – Three-Boss Jungle Siege 🌿
The Tuzari Wilds mash fast melee threats with nasty ranged enemies. You’ll see familiar goatmen and wild-magic themes that show up elsewhere in Tuzari-connected content. Movement is a big deal—don’t plant during cone attacks, and use short stuns or knockbacks to break up dangerous channels. Bring a dispel for party-wide DoTs on higher tiers.
Wraithtide Vault – Pirate Stronghold With Three Bosses ⚓
A sea-raider vault looping around a coastal fort. Expect nautical hazards (bomb barrages, anchors, rising tides) and swashbuckler packs that punish sloppy positioning. Bosses include First Mate Marrow plus two additional encounters inside the loop, so you can route clockwise or counter-clockwise based on comfort. Watch for un-CC-able bruisers and prioritize adds that chain or lock players; being grouped in melee often reduces leap-and-bleed pressure.
Empyrean Sands – Celestial Desert Trial 🏜️
A fast, sand-swept instance built around stargazer/constellation vibes. It’s compact, readable, and a favorite for learning clean pathing. Ranged players handle targeted lines and orbs while melee keep casters locked down. Save a defensive or group heal for bursty moments and don’t ignore “soak” circles—leaving them unattended can flip the fight from stable to chaos in seconds.
Everdawn Grove – Blighted Wildwood 🌲
This corrupted grove mixes plant creatures, beast packs, and occult casters. Several enemies leave healing zones or debuff puddles on death; tanks should drag packs out immediately so you’re not fighting enemies that self-sustain in green goop. Healers prep for party-wide chip damage during tantrum-style channels. Crowd control shines—short stuns and disorients cut a lot of ambient damage here.
Godfall Quarry – Arcane Digsite With Titan Finale ⛏️
A layered quarry full of wardstones, enforcers, and mining hazards that demand frequent interrupts. Wardstone enemies become vulnerable after CC/interrupt windows—swap to them fast to stop dangerous beams. Tanks watch for armor-shredding strikes and be ready to kite during stacking group-wide effects. The capstone fight against the Godfall Titan (with a second arcane foe) stresses “soaks,” add control, and positioning discipline.

Sailor’s Abyss – Flooded Battery & Powder Kegs 🌊
Coastal ambushes, cannon crews, and powder-rat gimmicks keep you moving. Expect chain effects that lock players until destroyed and explosive vermin that sprint for the group. The safest path hugs terrain to skip riskier clusters. Assign someone to handle long-range interrupts and use displacements to punt high-threat shooters out of cover.
Silken Hollow – Chitin, Webs, and Ambushes 🕷️
A claustrophobic lair built on chokepoints. Pulls are easiest when you drag packs back into wider rooms so you can sidestep conal sprays and ground fissures. Burst AoE pays off—many enemies are fragile but punishing if allowed to cast twice. Bring cleanses for stacking poison effects on upper tiers and keep a stun ready for any “fixate and chew” attackers.
Stormwatch – Bandit Stronghold in the Highlands ⛈️
A fort carved into storm-lashed cliffs, led by Warlord Brogg. Trash enemies include backstabbing rogues that punish players facing away, lightning casters with nasty priority interrupts, and berserkers that ramp if kills happen nearby. The boss mixes raid-like soak/stack mechanics with heavy single-target casts; assign interrupts, keep the tank opposite the group, and avoid feeding cleave cones. Route with restraint—Stormwatch punishes over-pulling more than most.
Urrak Markets – Jungle Bazaar With a Duo Boss 🐍
A dense market that trades in flesh and witchcraft. Totems start immune and become killable after you clear their guards—breaking them grants a strong team buff, so plan pulls to include a totem when it’s safe. The final fight is a rare two-boss encounter: you must balance their health and handle ricocheting scythes, healing checks, and periodic ground hazards while keeping interrupts on a single high-impact cast.
Wyrmheart – Compact “Before the Milestone” Trial 🐉
A tight, single-boss dungeon with minimal filler that’s great for practicing target swaps and positional awareness. Expect aimed lines, orbs to dodge, and a short but spiky damage profile on higher tiers. Think of it as a fundamentals check before stepping into the longer, three-boss milestone nearby—get your group’s interrupt rotation and cooldown plan dialed here.
Routing Basics: Build a Path That Wins 🧭
- Plan your score: Sketch a line that reaches 100% Kill Score without accidental overcaps. If you’ve got a risky boss ahead, do one safer pack first so your cooldowns come back mid-fight.
- Control casters first: Mark priority casters and set an interrupt order. Short stuns and knockbacks are just as valuable as “hard” kicks.
- Use terrain: LOS corners turn chaotic ranged packs into tidy pile-ups. Pull back into wider rooms in tight dungeons like Silken Hollow.
- Save a panic button: Keep one team-wide defensive or big heal in your pocket for “everything went wrong” moments—bomb overlaps, chain pulls, or surprise patrols.
- Ranged assignments: Ranged DPS or the healer should handle “furthest-target” mechanics, bait ricochets, and stand ready for soak circles.
- Tank pacing: Don’t be afraid to kite to drop stacking debuffs. Communicate—if stacks climb, call for slows and move the pack.
- Healer foresight: Pre-HoT or pre-shield before known group hits. If a mechanic applies a heavy DoT, call for personals and space out damage intake.
Interrupt & Dispel Priorities 🔕
- Single big cast > many small casts. If something inflicts a heavy DoT or a huge cone, that’s your first kick.
- Chain control. If a mob ties players together or channels a group-wide blast, a well-timed stun can be better than an interrupt.
- Bring the right cleanses. Party-wide poisons/bleeds appear in several dungeons; having at least one reliable dispel makes higher tiers calmer.
Gearing, Boons & Team Synergy 💎
Dungeon success comes from synergy more than raw item stats:
- Frontload survivability. A small defensive buffer forgives a missed dodge or a late soak.
- Spread utility. Don’t triple-stack one role at the cost of interrupts, knockbacks, and dispels.
- Cooldown cadence. Treat the entire route as one timeline. Plan where heroics/ultimates, healing CDs, and group DRs land across the run.
- Practice pull sizes. Start safer, then grow pulls as you master each area’s most dangerous casts.
Quick Tips by Dungeon ⚡
- Cithrel’s Fall / Drakheim / Heart of Tuzari: Three-boss routes mean pacing—avoid blowing all cooldowns on boss 1.
- Wraithtide Vault / Sailor’s Abyss: Expect bombs, chains, and ranged harassment—staying stacked in melee (when safe) can mute certain leap-and-bleed abilities.
- Empyrean Sands / Wyrmheart: Clean mechanics, clear tells. Great for drilling interrupts, “soaks,” and orb/line dodges.
- Everdawn Grove / Silken Hollow: On-death puddles and debuffs—move packs quickly and prioritize dispels.
- Godfall Quarry: Swap to vulnerable wardstones and respect armor-shred effects on tanks.
- Stormwatch: Don’t over-pull; caster priority and facing rules matter (no backs to Cutthroats).
- Urrak Markets: Break totems for team buffs, then keep duo-boss health even while handling ricochets and periodic AoE.
Conclusion – Ready to Clear Faster? 🚀
When your team learns the routes, sets clean interrupt orders, and saves the right cooldowns for the “oh no” moments, Fellowship dungeons feel amazing—fast, fair, and super replayable. If you want a smoother climb, personalized paths, or a reliable squad to run with, BoostRoom has you covered. From coaching to full clears and tailored runs across every dungeon listed here, you can team up with pros, learn the lines, and farm rewards without the stress. Power up, queue in, and let’s make your next timer a breeze—only at BoostRoom.
