Route: From Fresh 70 DPS to “You’re Invited” Every Week
Your fastest path to consistent invites is not “farm until you’re perfect.” It’s building a reputation while you gear. The route below is designed to turn limited playtime into visible reliability, because reliability is what gets you repeat slots.

Step 1: Set your identity (role clarity beats “I can do anything”)
Pick the role you want to be known for in early progression: single-target pumper, add control, interrupt specialist, utility DPS (dispels/off-heals), or safe cleave. You can still be flexible, but leaders invite what they can predict. If you show up as “sometimes AoE, sometimes single-target, sometimes dead,” you become a risk.
Step 2: Build a threat-safe opener before you even farm gear
This is the most overlooked “pre-raid prep.” Most threat wipes happen in the first 10–20 seconds of combat. If you don’t have a safe opener, better gear often makes you worse because your burst gets sharper.
Your goal for every pull:
- Tank makes contact and positions
- You ramp for a few globals
- You commit burst once the tank has a lead
- You keep an escape tool ready (threat drop, stopcast, Feign Death, etc.)
Step 3: Choose content that proves you’re reliable (not just content that drops loot)
Early invites often come from dungeons and Heroics because that’s where people notice behavior. If you want to be remembered positively, prioritize runs where your habits matter:
- Harder Heroics where interrupts and threat discipline are tested
- Dungeon groups where you can show clean crowd control and target swaps
- Guild runs where leaders watch attitude and consistency
When you play clean in a difficult run, your name becomes “safe.” Safe gets whispers.
Step 4: Treat every dungeon like a job interview
This mindset is a cheat code. In dungeons, do the simple things that signal competence:
- Mark targets if nobody does
- Ask once: “kill order?” “kick rotation?”
- Don’t AoE until mobs are stacked and stable
- Don’t break crowd control
- Don’t pull for the tank
- Drink/eat fast, be ready, keep pace
Many raid leaders fill Karazhan and early Tier 4 slots from “that DPS who was smooth in Heroics.”
Step 5: Start collecting “invite proof” (the behaviors that leaders remember)
Leaders remember these more than your highest crit:
- You swap instantly when asked
- You kick important casts without being told twice
- You stop DPS when a wipe is coming (instead of padding)
- You survive chaotic moments
- You admit mistakes fast and fix them
This is invite proof because it reduces risk.
Step 6: Build your weekly routine around visibility, not perfection
A strong weekly loop for DPS looks like:
- 1–2 nights: raids (Kara/Gruul/Mag depending on your group)
- 1–2 short sessions: Heroics for badges/rep/keys and to stay sharp
- 1 short session: gold + consumables so you never look unprepared
- Optional: PvP for off-pieces if it improves your build without harming PvE readiness
You don’t need endless hours. You need a routine that keeps you raid-ready every lockout.
Step 7: Create a simple “raid invite message” that screams reliable
When you whisper a leader, don’t send a paragraph. Send a clean signal:
- Your role/spec
- Your experience level (honest, short)
- Your utility (kicks, CC, misdirect, threat drops)
- Your readiness (consumes, addons)
Example style (write it your way):
“DPS [spec]. Threat-safe opener, can kick/CC, brings consumes, know fights, ready now.”
Leaders love short, confident, low-drama messages.
Loot: Gear for Damage, Threat Safety, and Real Uptime
Loot is not only “more DPS.” In TBC Classic, the wrong gearing choices can create threat spikes, force you to stop attacking, or make you die—which destroys uptime and makes your “DPS potential” irrelevant.
Loot rule #1: Hit is not boring, it’s uptime
Missing attacks is not just lost damage. It’s broken rhythm:
- Your rotation desyncs
- Your procs shift
- Your resource flow changes
- Your burst windows get messy
- Your threat becomes spikier (especially for melee when you suddenly land a big crit after several misses)
General targets people commonly plan around for bosses:
- Casters aim to cover a large base miss chance versus raid bosses (bosses are effectively higher level), so hit is a major early gearing priority.
- Melee often prioritize enough hit so key special attacks don’t miss, while understanding that dual-wield auto-attacks have a much higher miss chance than specials.
- Hunters also treat hit as a top early priority for raid bosses.
You don’t need to be obsessive about every decimal in week one, but you should respect hit as “consistency,” not “min-max.”
Loot rule #2: Expertise (for melee) is hidden DPS and hidden survivability
When a boss dodges you, you lose:
- damage
- resource generation (rage/energy flow impact depending on class)
- combo rhythm
- sometimes key debuff uptime
Melee who attack from behind care most about dodges. More expertise reduces dodges, which increases real uptime (time spent doing effective damage).
Loot rule #3: Stamina is an uptime stat in progression
This is the part many DPS hate hearing, but it’s true: being alive lets you keep doing damage. Early Tier 4 progression has messy moments: random damage, cleaves, lag spikes, unexpected add positioning. A small stamina buffer can be the difference between:
- “I lived and kept uptime”
- and
- “I died with cooldowns available.”
Your goal is not to stack stamina like a tank. Your goal is to avoid being a glass cannon that dies to predictable raid damage.
Loot rule #4: Burst trinkets require discipline or they will get you killed
Burst gear is great, but it raises the threat skill requirement. If you equip multiple on-use damage effects and press them instantly on pull, you’re basically choosing to test whether the tank has gear and cooldowns ready.
If your threat discipline isn’t solid yet, use burst trinkets smarter:
- delay the on-use by 5–10 seconds
- wait until the tank has positioned and built a lead
- pair burst with a threat drop plan (Soulshatter/Feign Death/Invisibility/Feint timing)
Loot rule #5: Threat reduction is “virtual loot”
Two classic threat reducers change everything when threat is the main limiter:
- A blessing that reduces threat generation for its duration
- A totem that reduces threat caused by nearby party members
If your group uses these tools when threat is tight, it effectively increases the amount of damage you can do safely without changing a single item. In early progression, that can be the difference between “I must stop DPS” and “I can keep going.”
Loot rule #6: Enchants, gems, and consumes are part of your invite profile
Many leaders treat “missing enchants” as a personality test:
- If you skip basics, will you skip mechanics?
- If you don’t prepare, will you blame others?
You don’t need perfect best-in-slot enchants week one. You do need to look like someone who respects the group’s time.
Practical standard for invites:
- Every important slot enchanted if possible
- Useful gems in gem slots (even if not perfect)
- Consumables ready for raids (more on that in the practical rules)
Extraction: Turn Your DPS Into Invitations (Even Before You’re Fully Geared)
Extraction means getting more invites, more clears, and more upgrades from the same hours. Many DPS waste time chasing gear while ignoring the behaviors that get them inside raids in the first place.
Extraction rule #1: Reduce leader stress
Leaders bring the people who reduce stress:
- You don’t argue about assignments
- You don’t demand special treatment
- You don’t force threat chaos
- You don’t die early to avoidable damage
- You don’t disappear between pulls
When you remove stress, you become a “default invite.”
Extraction rule #2: Be the DPS who does the unsexy jobs
Every raid has jobs that don’t show on meters:
- interrupting priority casts
- stunning dangerous mobs
- dispelling harmful effects
- handling a specific add
- helping with kiting
- switching targets instantly
If you volunteer for a job and do it cleanly, you become hard to replace.
Extraction rule #3: Make your performance visible in the right way
You don’t need to brag. You do need to communicate readiness:
- “I can handle interrupts.”
- “I can handle adds.”
- “I’ll save my threat drop for Bloodlust.”
- “I’ll stop DPS on call.”
Short statements like this make leaders feel safe inviting you.
Extraction rule #4: Consistency beats a single great night
If you want repeat invites, aim for:
- low deaths across multiple lockouts
- stable damage across fights
- the same reliable utility every week
- the same prepared vibe every raid
A DPS who is “good every week” becomes a roster piece. A DPS who is “amazing sometimes” becomes a gamble.
Extraction rule #5: Build a small network, not a giant list
You don’t need to know everyone. You need 10–20 people who trust you:
- tanks who like your threat discipline
- healers who notice you avoid damage
- leaders who see you follow calls
Those people become your pipeline into consistent runs.
Practical Rules: Threat Control That Stops Wipes
This is the heart of the guide. If you apply these rules, you will instantly feel safer, and your groups will instantly feel smoother.
Rule 1: Respect the melee vs ranged aggro threshold
Aggro is not just “who has the most threat.” When a target is already hitting someone, you generally need to exceed their threat by a percentage before the target swaps. The practical reality:
- Melee range punishes you faster
- Ranged has slightly more buffer
- So melee must treat threat as a constant resource to manage, not something you check only when you’re in trouble.
Rule 2: Never open like a highlight reel unless the pull is planned
Your opener should be designed to let tanks win the first 10 seconds. A safe opener pattern:
- Apply debuffs / DoTs / builders first
- Use lower-threat fillers
- Commit big cooldowns once the tank has positioned and built a lead
If you want to press everything instantly, earn it by coordinating with the tank first.
Rule 3: Threat is a curve, not an emergency
Most DPS only react when the bar is red. That’s too late. You want to shape your threat curve early:
- If you climb too fast, pause one global
- Use a lower-threat filler
- Delay a cooldown a few seconds
- Swap targets smoothly (don’t “snap burst” on a fresh add)
Smart DPS doesn’t slam the brakes. Smart DPS slightly lifts off the gas before the crash.
Rule 4: Target swaps are “mini pulls”
Any time a new target appears (adds, mind controls, phase transitions), treat it like the first 3 seconds of a pull:
- tank has little threat
- you can accidentally become the tank
- healers may pull healing threat
Swap cleanly:
- wait a beat
- start controlled
- then commit burst when the tank has it locked
Rule 5: AoE only after control is established
AoE is where DPS players wipe groups without realizing it. The safest AoE pattern:
- single-target the tank’s main target for a moment
- light cleave after mobs are stacked
- full AoE when the pack is stable
- stop and reset if something peels to you
If you AoE before the tank has the pack, you’re gambling the run for meter padding.
Rule 6: Use your threat tool proactively, not as a tombstone
If you have a threat drop button, it exists to let you keep doing damage safely. Common examples:
- A warlock threat drop that cuts threat drastically
- A hunter threat transfer tool
- A hunter escape tool that drops threat
- A mage invisibility tool that reduces threat as it fades
- A rogue tool that lowers threat or fully resets in emergencies
- A priest tool that temporarily reduces threat
The winning habit: press the tool when you see danger coming, not after you’re already getting hit.
Rule 7: Threat reduction buffs are part of your plan
If your raid uses threat reduction blessings or totems, adjust your aggression appropriately:
- With threat reduction active, you can maintain higher sustained pressure
- Without them, you may need to delay burst longer or rely on threat drops more often
Don’t assume every run has the same safety net. Always check the situation and adapt.
Rule 8: Build a “panic brake” for casters
Casters often die because a big cast is mid-flight when they realize they’re too high on threat. Make it easy to stop and recover:
- a stopcast key
- a movement habit (micro-step, then re-cast)
- a threat tool keybind you can press instantly
You’re not “losing DPS” by saving your life. You’re protecting uptime, which is your real DPS.
Rule 9: Plan your threat around group burst windows
When the group uses major burst windows (like heroism/bloodlust type moments), threat spikes are sharper. Your job is to prepare:
- delay your biggest cooldown by a few seconds if tanks are still building
- pair burst with a threat drop plan
- watch your threat meter more during burst than during downtime
If your server/ruleset uses raid-wide burst mechanics, this matters even more because everyone spikes together.
Practical Rules: Uptime That Makes Your DPS Real
Uptime is not “stand still.” Uptime is staying productive through mechanics.
Rule 1: Staying alive is your first uptime skill
Dead DPS is zero DPS. Early progression is not the time to “greed one more cast” in dangerous ground effects. The DPS who lives keeps contributing and gets re-invited.
Rule 2: Micro-movement beats marathon movement
Most DPS loses damage because they move too far:
- stepping out becomes running away
- repositioning becomes wandering
- dodging becomes panic circles
Train micro-movement:
- step out of danger
- step back in
- keep attacking
- keep your camera stable so you don’t lose target control
Rule 3: Pre-position before mechanics happen
Good uptime is decided before the mechanic starts. If you know a knockback, void zone, or line-of-sight mechanic is coming:
- stand closer to your next safe spot
- avoid extreme max-range positioning that forces long runs
- don’t stand in front of the boss where you’ll have to run through danger
Pre-positioning is free DPS.
Rule 4: Use movement windows for instant-value actions
When you must move, do something useful:
- refresh a DoT
- use an instant cast
- reapply a debuff
- use a defensive
- use a threat tool
- swap targets cleanly
This turns “mechanic time” into “productive time.”
Rule 5: Uptime includes utility
Interrupting a deadly cast is uptime for the entire raid because it prevents deaths and resets. The DPS who kicks, stuns, dispels, and swaps correctly creates uptime for everyone, not just themselves.
Rule 6: Control your tunnel vision
Tunnel vision causes:
- standing in cleave
- missing interrupts
- ignoring add spawns
- not noticing threat climbing
- dying to predictable raid damage
The fix is simple: build a rhythm where you glance at:
- your feet (danger zones)
- your threat position
- the boss timer or mechanic cue
- the next target call
You don’t need to stare at everything constantly. You need a consistent scan pattern.
Rule 7: Treat downtime as a mistake to fix, not a normal state
Ask yourself after each fight:
- Did I stop attacking because of threat? (If yes, opener/threat tool issue)
- Did I stop attacking because I moved too much? (If yes, positioning issue)
- Did I stop attacking because I didn’t know what to hit? (If yes, target priority issue)
- Did I stop attacking because I died? (If yes, mechanic discipline issue)
Every cause has a fix. That’s how you improve quickly.
Addons and UI: The Minimum Setup That Makes You Look Like a Pro
You don’t need a complicated UI. You need the right information at the right time.
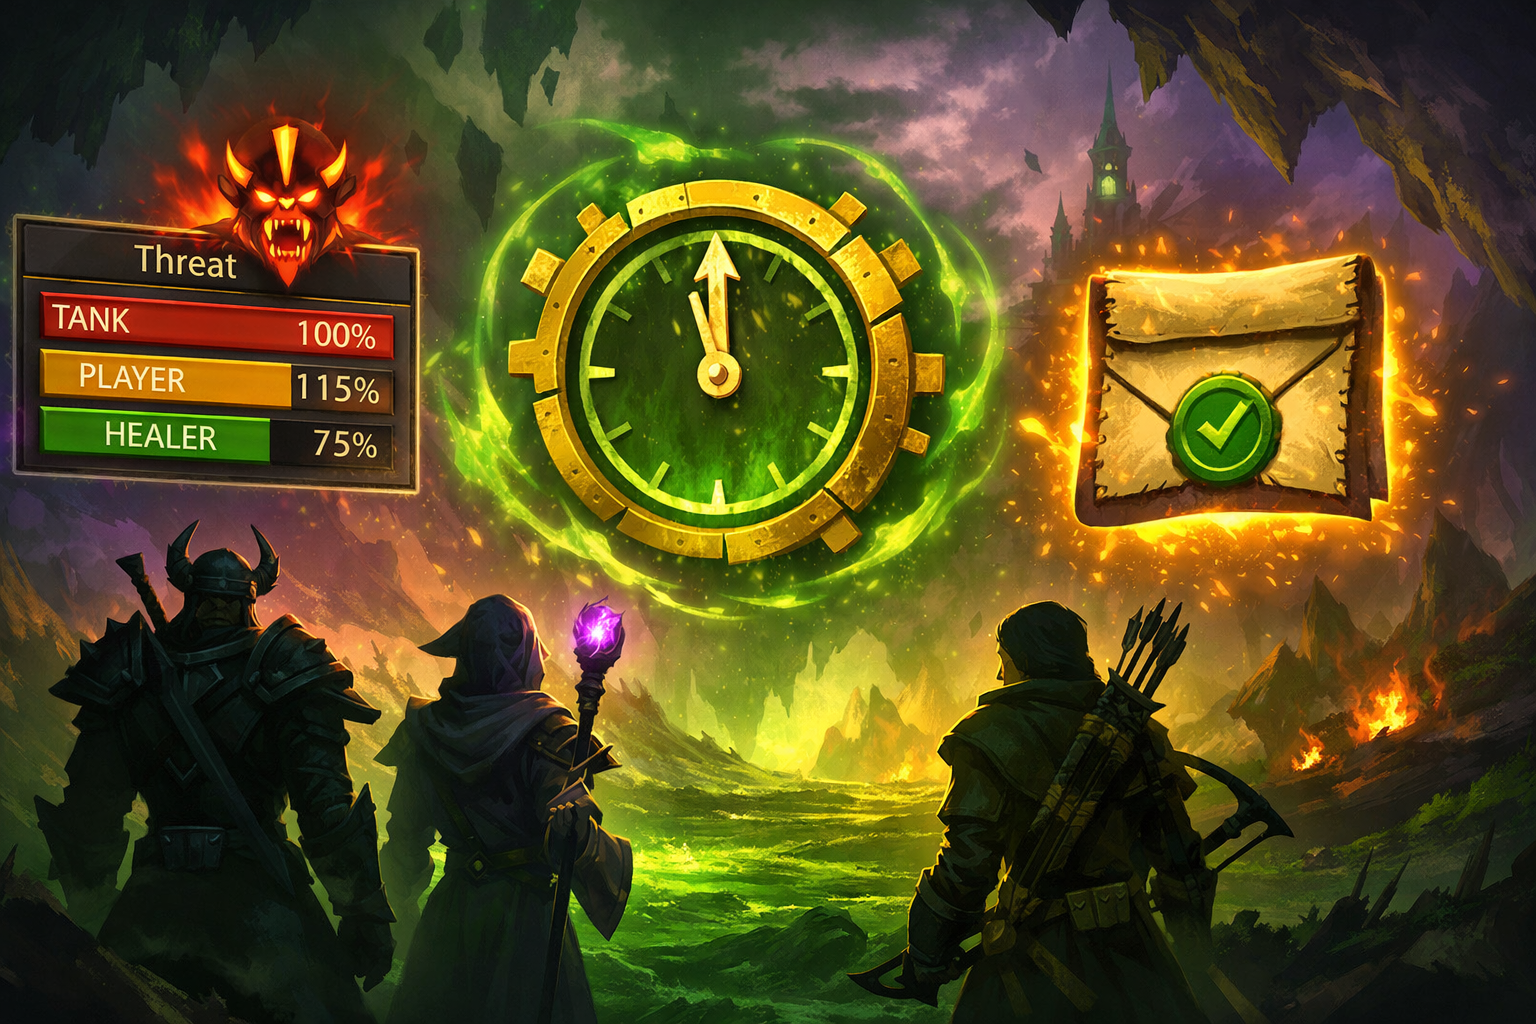
1) Threat meter (non-negotiable if you want smooth raids)
A threat meter helps you prevent aggro pulls instead of reacting after you’re dead. The key is not the exact addon name, it’s the habit: glance early, throttle early, use tools early.
2) Boss timers and alerts
Boss timers help you plan movement and cooldowns:
- you know when to move
- you know when to hold burst
- you know when adds spawn
- you know when interrupts matter
This directly improves uptime and survival.
3) Aura and cooldown tracking
You want to see:
- your major cooldowns
- key procs
- important debuffs on you
- debuffs you must refresh
- interrupt cooldown and whether it’s ready
If you don’t track these, your rotation becomes guesswork under pressure.
4) Nameplates you can read in combat
Nameplates help you:
- spot loose mobs
- see casts to interrupt
- notice which add is targeting you
- swap targets instantly without clicking wildly
Clean nameplates increase uptime and reduce accidental deaths.
5) Keybinds for survival and utility
If your interrupt is hard to reach, you won’t press it under pressure. If your threat tool is awkward, you’ll hesitate. Put critical buttons where your fingers naturally go.
A simple priority for keybind comfort:
- interrupt
- threat tool
- defensive
- movement/escape
- target swap tools (focus, mouseover, etc.)
The DPS Checklist That Gets You Invited (Copy This Into Your Brain)
Use this before every dungeon, Heroic, and raid.
Threat readiness
- I will not hit first on pulls
- I will ramp for a few globals before bursting
- I will treat add spawns like mini pulls
- I will use my threat tool proactively
- I will AoE only after control is stable
Uptime readiness
- I will micro-move, not panic run
- I will pre-position for mechanics
- I will use movement time for instant actions
- I will stay alive even if it costs one cast
- I will swap targets instantly on calls
Invite readiness
- I show up with basic prep (enchants/gems/consumes)
- I do my assigned job without drama
- I kick, CC, and help the run stay smooth
- I don’t disappear between pulls
- I learn from mistakes instead of blaming
If you do these consistently, your name becomes “safe,” and safe gets invited.
BoostRoom: The Fastest Way to Look Raid-Ready Without Wasting Weeks
If your goal is to get invited consistently, the biggest problem is usually not your talent or your class. It’s wasted time: messy pugs, slow groups, disbands, and runs where nobody explains what went wrong.
BoostRoom is built for players who want structured progression:
- Clean dungeon and Heroic runs that teach threat discipline and mechanics naturally
- Organized raid runs where assignments are clear and execution is consistent
- A smoother gearing path because you spend your time clearing, not wiping
- A reliable environment to practice uptime, target swaps, and utility without chaos
If you want to become the DPS who gets whispered first for Karazhan and early Tier 4, the formula is simple: learn the rules from this guide, then apply them in structured runs where your time turns into upgrades and reputation.
FAQ
Why do I pull aggro even when my DPS isn’t insane?
Because threat is mostly about timing. If you burst before the tank establishes a lead, or you hit a new target before the tank touches it, you can pull aggro with average damage. Fix your opener and treat swaps like mini pulls.
Should I ever stop DPS to manage threat?
Sometimes, yes, but the better goal is to stop needing long pauses. Throttle earlier, delay burst slightly, and use threat tools proactively so you can keep attacking safely.
What’s the single biggest threat mistake DPS make in TBC Classic?
Opening too hard on pull. Most threat disasters happen early, not late.
Is AoE the reason my dungeon groups feel unstable?
Often, yes. AoE spreads your threat across many targets, including targets the tank hasn’t fully secured yet. Single-target first, then cleave, then AoE.
How do I improve uptime without ignoring mechanics?
Use micro-movement, pre-position, and convert movement windows into instant-value actions. Uptime is about efficient movement, not refusing to move.
Why does my DPS drop a lot when mechanics start?
Because you probably over-move, cancel casts too often, or lose target focus. Build a scan pattern: feet, threat, boss cue, target call.
Do I need a threat meter if the tank is good?
Yes, if you want consistent invites. Even great tanks can’t save reckless openers, and threat meters help you play aggressively without wiping the group.
What if my class doesn’t have a big threat drop?
Then your skill is discipline: safe opener, controlled burst timing, clean target swaps, and smart use of threat reduction buffs when available.
How do I get invited if my gear is still mediocre?
Be the clean DPS: low deaths, good interrupts, correct target swaps, prepared consumables, and calm execution. Leaders invite reliability even before perfect gear.
What makes a raid leader not invite a DPS again?
Repeated avoidable deaths, repeated threat wipes, breaking crowd control, refusing assignments, and arguing. Even high damage won’t save that reputation.
Should I prioritize hit early even if it lowers my top-end damage stats?
In most early progression situations, yes, because hit improves consistency, reduces wasted globals, and stabilizes rotations. Consistency is real uptime.
How can I practice threat control quickly?
Practice safe openers in dungeons and watch your threat position on pulls. Train yourself to delay burst and use threat tools before you hit danger.
Is it bad to “pad meters” on trash?
Padding is only bad when it increases wipe risk: breaking CC, pulling extra packs, ripping threat, or ignoring kill order. Clean trash is fast trash.
What’s the fastest habit that makes me look like a veteran DPS?
Instant target swapping on call, plus consistent interrupts when assigned. Leaders notice that immediately.
How do I stay aggressive without being reckless?
Ramp first, burst second. Pair burst with a threat plan. Move efficiently. Survive. That’s aggressive in progression.


