🧭 Design Rules (Read Once, Profit Forever)
- Put non-negotiables under your strongest fingers.
- Movement, Dodge/Roll, Block/Parry, Camera/Aim, Primary/Secondary get prime real estate.
- Dodge on a thumb; Block on an index.
- Your brain separates “escape now” (thumb) from “hold and punish” (index/shoulder).
- Burst/Ultimate must be reachable without repositioning.
- No thumb travel across the pad right before a window opens.
- One action = one intention.
- Avoid multipurpose binds that sometimes Interact and sometimes Roll.
- Minimize holds in combat.
- Holds fatigue hands and introduce timing mistakes. Use toggles for sprint/aim where feasible.
- Consistency across classes.
- Keep Dodge, Interrupt, Utility, Interact on the same buttons no matter what you play.
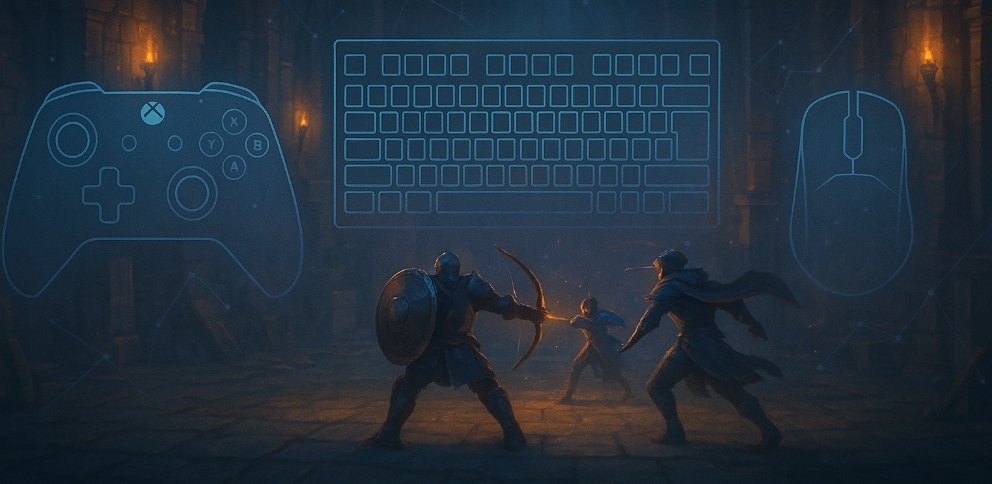
🎯 Recommended Controller Layouts
Below are three ready-to-use layouts. Start with the Precision Action map; swap where needed.
Layout A — Precision Action (default recommendation)
- Move: Left Stick
- Camera/Aim: Right Stick
- Dodge/Roll: B / Circle
- Block/Parry: LB / L1
- Primary Attack: RT / R2
- Secondary / Ability 1: RB / R1
- Ability 2: Y / Triangle
- Ability 3: X / Square
- Interact / Reload / Use: A / Cross
- Potion / Heal: D-Pad Down
- Utility (Stamina/Mana tonic): D-Pad Left
- Trap/Consumable 2: D-Pad Right
- Ultimate: LB+RB / L1+R1
- Ping: Press Right Stick (R3)
- Map/Starmap: Press Left Stick (L3)
Why it works: Dodge stays pure on the thumb; Block/Parry lives on a shoulder for instant reaction; burst sits on RB/R1 or a face button you can tap mid-movement.
Layout B — Shooter Hybrid (good for Archer)
- ADS / Precision Aim: LT / L2
- Move Dodge to Press Left Stick (L3) if you want B/O for Interact.
- Put Trap on B / Circle, Potion on A / Cross for rapid kiting.
Layout C — Comfort Claw (low travel)
For players who rest an index across a face button (“claw” grip).
- Dodge: A / Cross
- Interact: B / Circle
- Block: LB / L1
- Primary: RT / R2
- Secondary: RB / R1
- Utility Wheel: Y / Triangle (tap) / Hold to open radial.
Tip: On console, enable “Menu Cursor Speed +” for quick inventory work and Reduce Motion Blur to keep aim cues readable.

⌨️ Keyboard & Mouse (K/M) — Competitive Mapping
Core Map (simple & strong)
- Move: WASD (or ESDF if you want more key real estate)
- Dodge/Roll: Mouse Button 4 (Thumb)
- Block/Parry: Q
- Interrupt: E
- Primary: LMB
- Secondary: RMB (or R if RMB is Aim/Block for Archer)
- Ability 1 / 2 / 3: 1 / 2 / 3 (or F / C / V if you prefer thumb/reach)
- Ultimate: X (or Mouse Button 5)
- Potion / Heal: R (or Mouse Wheel Click)
- Utility / Whetstone: T
- Interact: F
- Ping: Middle Mouse
- Map/Starmap: Tab
Why it works: All combat essentials sit under index + thumb; you never leave movement keys to reach critical actions.
Alternate ESDF Block Map (tank lovers)
- Movement ESDF
- Block: A
- Dodge: Mouse Button 4
- Interrupt: W
- Abilities: R / T / G
- Ultimate: Mouse Button 5
- Potion: Q
Rule of thumb: Dodge on mouse thumb is king—you can roll while aiming and strafing without finger gymnastics.
🧪 Sensitivity, Deadzones & Acceleration
Controller
- Horizontal/Vertical Sensitivity: start 5/5 (out of 10)
- Aim Sens Multiplier (ADS/Precision): 0.75–0.85
- Left Stick Deadzone: 0.12–0.14
- Right Stick Deadzone (aim): 0.08–0.10
- Acceleration: Off or Very Low for predictable micro-aim
- Response Curve: Linear if you’re accurate, Dynamic if you need snappier opens
Mouse
- DPI: 800–1200
- In-game Sens: set for a 360° turn in ~28–32 cm (Archer: 32–36 cm; Mage/Guardian: 26–30 cm)
- Mouse Polling: 1000 Hz (drop to 500 if unstable)
- Pointer Acceleration: Off (Windows & in-game)
Deadzone test: In a safe area, rest your thumbs. If your camera drifts—even slowly—bump Right DZ by +0.02 until it stops without feeling gummy.
🎥 Camera, FOV & Aim Assist
- FOV: Default + 10–15 (more info, less tunnel vision).
- Camera Distance: Slightly back; don’t hide ground telegraphs.
- Aim Assist: Use Slowdown only; Magnetism can pull you off weak spots when you swap targets.
- Camera Shake: Low or Off.
- Motion Blur: Off (clarity beats vibe during fights).
🧱 Dodge, Block, Parry — The Reaction Triangle
- Dodge = emergency movement (thumb)
- Block/Parry = planned reaction (index/shoulder or Q on K/M)
- Stamina management: bind Stamina Tonic next to Potion so your recovery plan is a single mental chunk.
Guardian drill:
Stand in front of a slow elite. Block → single punish ten times without chip. Add a second hit only when perfect.
Archer drill:
Roll → burst in rhythm for 60 seconds without breaking the beat. Movement is your damage.
Battle Mage drill:
Dash through → instant turn → detonate. Fifteen clean reps. No whiffs.
🎛️ Abilities, Wheels & Radials
- Use tap = cast, hold = wheel.
- Example: Y / Triangle taps an ability; hold opens the consumables wheel.
- On K/M, set Q/E to Interrupt/Block, keep 1/2/3 for abilities; put the wheel on C or G (easy to hold without losing WASD).
Don’t bury ults on a menu or 3-button combo. Put them on LB+RB (pad) or Mouse 5 / X (K/M).
🧩 Class Maps (Controller & K/M)
Guardian (Anchor & Answer)
Controller
- Block: LB/L1
- Dodge: B/Circle
- Primary (Combo): RT/R2
- Taunt/Interrupt: RB/R1
- Gap-Closer: Y/Triangle
- Big Mitigation: X/Square
- Potion: D-Pad Down
- Whetstone: D-Pad Left
- Ultimate: LB+RB
K/M
- Block: Q
- Dodge: Mouse 4
- Interrupt: E
- Gap-Closer: F
- Mitigation: C
- Ult: Mouse 5
- Potion: R
- Whetstone: T
Notes: Block must be instant; don’t hide it behind a wheel. Gap-closer needs a face key you won’t miss.
Archer (Tag, Trap, Trim)
Controller
- ADS / Precision: LT/L2
- Primary: RT/R2
- Trap/Slow: B/Circle
- Dodge: Press L3 or keep on B/Circle and move Trap to X/Square (pick one—don’t crowd B)
- Mark: RB/R1
- Burst: Y/Triangle
- Potion: D-Pad Down
- Ultimate: LB+RB
K/M
- ADS/Aim: RMB
- Dodge: Mouse 4
- Mark: E
- Trap: Q (or F if Q is Block for Guardian muscle memory)
- Burst: 1
- Utility: T
- Ult: Mouse 5
- Potion: R
Notes: Prioritize movement rhythm—roll, fire, move. If you fat-finger burst, move it off 3/4 to a mouse thumb.
Battle Mage (Burn, Dash, Boom)
Controller
- Burn/Primary: RT/R2
- Detonate: RB/R1
- Dash: B/Circle
- Sustain/Shield: LB/L1
- AoE/Zone: Y/Triangle
- Utility (Mana Tonic): D-Pad Left
- Potion: D-Pad Down
- Ultimate: LB+RB
K/M
- Burn: LMB
- Detonate: R or RMB (if RMB isn’t Aim)
- Dash: Mouse 4
- Sustain: Q
- Zone/AoE: E
- Potion: R (if Detonate on RMB) / Mouse Wheel Click
- Ult: Mouse 5
Notes: Dash cannot be on a finger that’s busy casting. Thumb button wins.
🧘 Accessibility & Comfort (Play Longer, Better)
- Toggle vs Hold: Toggle Sprint; consider toggle Block if you struggle with hold fatigue (Guardian).
- Vibration: Low. Disable during shooting phases (Archer) to protect aim.
- Colorblind mode: Choose a scheme that amplifies enemy telegraphs.
- Hand health: If you get numbness, move Dodge from thumb to L3 or a larger face button.
⚙️ Low-Lag Settings (Inputs Feel Snappier)
- Exclusive Fullscreen (not borderless)
- V-Sync: Off (unless tearing is awful)
- Low Latency / Reflex: On (if available)
- Framerate Cap: ~3–5 under max refresh (117 on 120Hz)
- USB Polling: 1000 Hz mouse; if unstable, 500 Hz
- Background apps: Close overlays that hook input (recorders, RGB suites)
🗣️ Duo & Raid Communication Binds
- Ping: Middle Mouse / R3
- Quick Callouts (Push-to-Talk): Caps Lock or V on K/M; LB/L1 + D-Pad Up on pad (if supported)
- Emote/Signal wheel: Keep on Hold Y/Triangle so you don’t steal combat real estate.
Etiquette: Call “heavy next” and “add wave.” Those two lines prevent most wipes.
🔧 Troubleshooting — Fix It Fast
- Missed dodges → Move Dodge to a thumb button or L3; cut input lag (see Low-Lag).
- Late blocks → Put Block on LB/L1 or Q, increase audio telegraph volume.
- Camera fights you → Lower acceleration, raise FOV +10, reduce deadzone by 0.02.
- Fat-fingering burst → Move burst to RB/R1 (pad) or Mouse 5 (K/M).
- Menu clutter mid-fight → Separate Interact from Dodge/Roll; never share a bind.
⏱️ 10-Minute Clean Setup (New Character)
- Graphics (cap FPS, FOV +10, no blur) — 2 min
- Bind Dodge (thumb), Block (index), Potion (easy) — 3 min
- Abilities & wheel mapping (tap/hold) — 2 min
- Sensitivity & deadzone test — 2 min
- Class drill (60 seconds) — 1 min
You’re ready.
🛡️ Why Choose BoostRoom When You Want the Fast Lane
If you want someone to audit your inputs, tailor your layout to Guardian / Archer / Battle Mage, and create a class-specific micro-drill plan that slots into your schedule, BoostRoom has you. We’ll ship a custom controller/K/M profile, plus a 30-minute warm-up that makes dungeons and PvP feel instantly cleaner.
❓ FAQs
- Should I put Dodge on A/X instead of B/O? - If your thumb hits A/X faster, yes. The rule is thumb = Dodge, not the exact letter.
- Is toggle Block okay for Guardian? - If you fatigue on long fights, yes—just drill the toggle-off → punish rhythm.
- What sensitivity for Archer? - Controller 5/5 with ADS 0.8; mouse ~32–36 cm/360. Test: can you track a strafing elite without overcorrection?
- Can I share Dodge and Interact? - Don’t. You’ll open a chest instead of rolling and hate everything.
- Longbow timing feels sluggish—help? - Use Shooter Hybrid layout with ADS on L2/LT and keep roll-burst rhythm. Charge only in safe windows.
🏁 Conclusion
Great combat is just ergonomics + timing + consistency. Put Dodge under your thumb, Block under your index, keep burst within a tap, and tune sensitivity so your camera goes where your eyes want—no correction required. Drill for five minutes, every session. You’ll feel the difference in your very next dungeon.
Learn more: for diagrams and community layouts, use the best active Fellowship wiki (official or community—whichever is most up to date for input settings). I’ll link the most authoritative page when we publish.
