BoostRoom exists because most players don’t need a 40-step spreadsheet build. They need a clean path from what they have today to what actually dominates tomorrow.

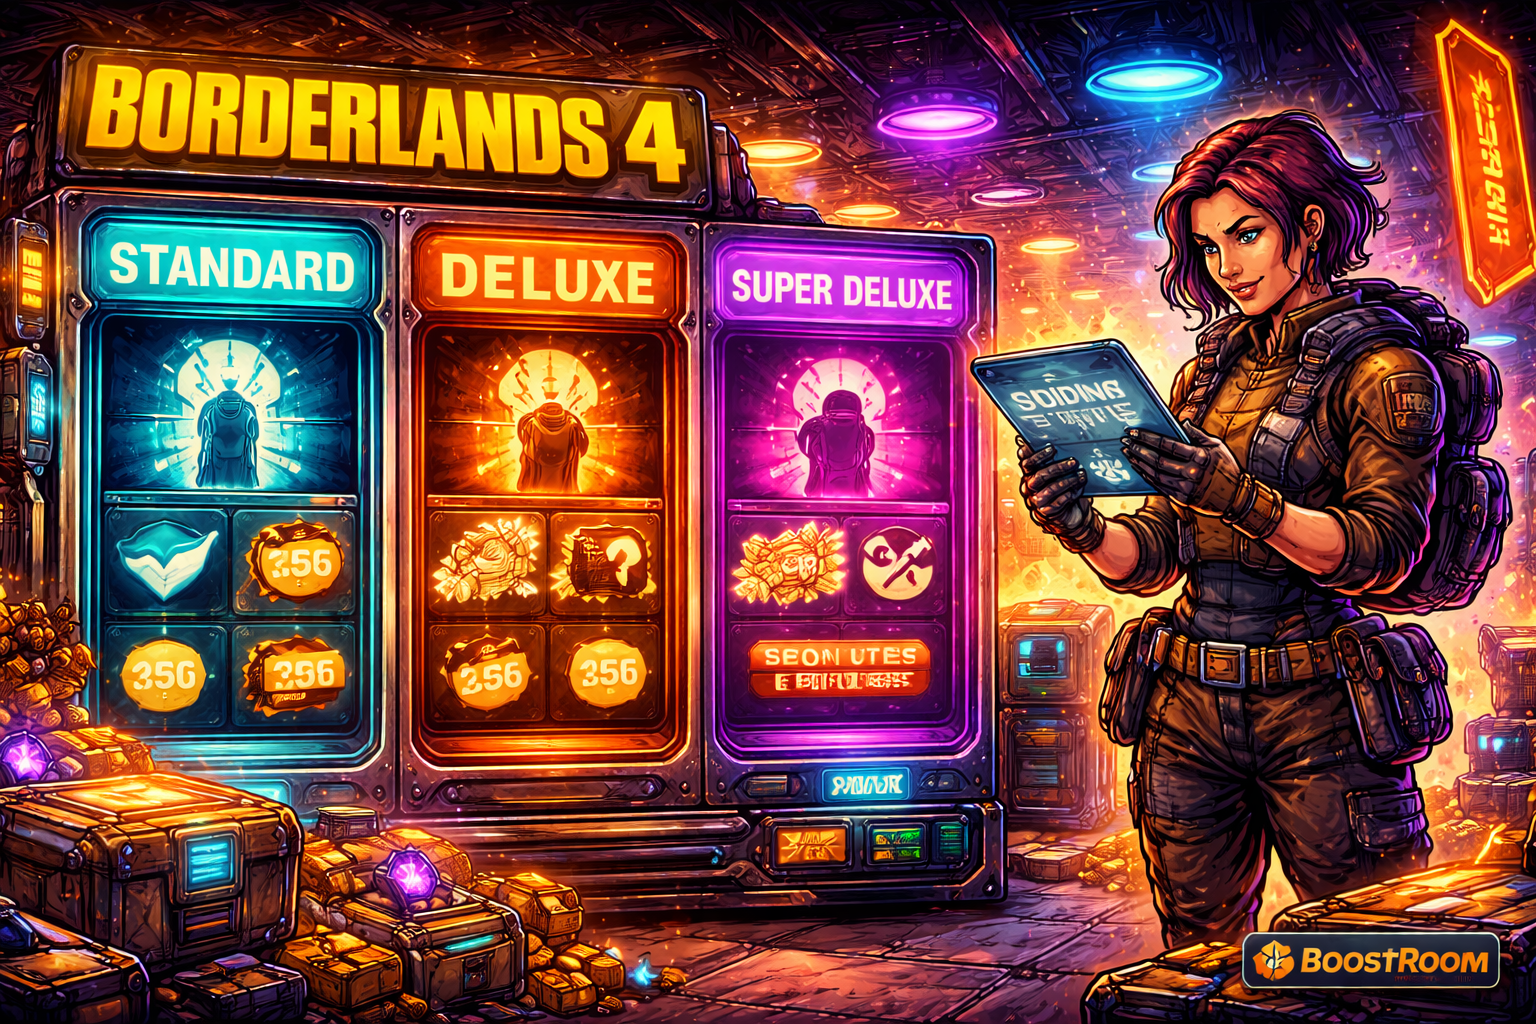
Why “Best Loot” Isn’t Just “More Legendaries” in Borderlands 4
Borderlands 4 deliberately aims to make Legendaries feel more special than they did in Borderlands 3. The outcome is healthier loot excitement—but it also means players can’t rely on “orange beam therapy” to carry their power curve. You need to understand what actually improves your build.
Borderlands 4 loot is “best” when it does one of these things:
- upgrades your clear speed without breaking your survivability,
- unlocks a new build direction you can realistically complete,
- or increases your consistency (less downtime, fewer reload problems, fewer “why am I dying?” moments).
This is where players often get trapped:
- They farm for a single famous item, ignoring that their shield/armor, Repkit, and Ordnance are holding them back.
- They chase one perfect roll while the rest of the build is mismatched.
- They collect too much “potential” gear and lose track of what’s actually usable.
BoostRoom’s “best loot” philosophy is practical: loot is only “best” if it turns into results. That means selecting targets you can farm efficiently, prioritizing the slots that produce the biggest immediate power spikes, and knowing when to stop farming and start climbing harder content.
Why “Best Results” Means Faster Progress, Not Just Bigger Damage Numbers
A lot of people say they want an “OP build,” but what they truly want is smoother progress:
- faster campaign completion on alts,
- easier farming loops,
- consistent clears in harder tiers,
- more successful weekly runs,
- and fewer wasted sessions.
“Best results” also includes quality-of-life outcomes:
- your inventory stays manageable,
- you know what to keep and what to sell,
- your farming route makes sense,
- and you can jump into co-op without feeling underpowered.
Borderlands 4’s endgame is designed as an escalating ladder where completing harder content unlocks the next step, and weekly-style loops create repeatable goals. If you don’t have a plan, you can spend a week grinding and still feel like you barely moved. With a plan, two evenings can completely change your character’s performance.
BoostRoom is built around outcomes, not hype:
- fewer dead runs,
- more upgrades per hour,
- and a build that’s ready for the content you actually want to play.
What Makes Borderlands 4 Builds Hard to Optimize
Borderlands 4 is not “hard” because enemies are unfair. It’s “hard” because the game gives you a huge number of viable tools and doesn’t always make it obvious how they connect. Four common friction points show up again and again:
- System overload: Guns, Ordnance, Repkits, Enhancements, shields/armor, class mods, and other build layers create decision fatigue.
- RNG depth: Licensed Parts can change weapon behaviors, so “the same gun” can feel totally different depending on its roll.
- Uptime management: Cooldown-based tools are meant to be part of your rotation; ignoring them is like ignoring a chunk of your kit.
- Endgame pacing: Escalating endgame systems reward efficiency; slow clears compound into slow progress.
Players don’t usually need “more knowledge.” They need the right knowledge at the right time:
- what to chase now,
- what to ignore for later,
- which slot is the current weak link,
- and how to turn a pile of gear into a coherent playstyle.
BoostRoom’s value is turning complexity into clarity—so you stop guessing and start executing.
The Licensed Parts Problem: When “Same Weapon” Means Ten Different Weapons
Borderlands 4’s Licensed Parts system makes loot more exciting because weapons can incorporate behaviors and abilities from multiple manufacturers in a single gun. That’s a huge win for variety, but it also makes “best weapon lists” less reliable without context.
In older Borderlands, if you got the gun, you mostly got “the experience.” In Borderlands 4, you might get:
- a version that’s perfect for crit chaining,
- or a version that’s better for status spreading,
- or a version that plays like a hybrid burst/sustain tool,
- or a version that’s just awkward for your build.
This is why players often feel like they’re doing everything “right” but still not hitting the damage they see online: they’re not playing the same weapon behavior package, even if the weapon name matches.
BoostRoom helps here by focusing on behavior-first selection:
- What does your build need (burst, sustain, procs, crowd control, ammo efficiency)?
- Which licensed behaviors support that?
- Which farms and activities are most likely to deliver a usable version quickly?
- What’s the “good enough” roll so you stop over-farming?
That approach turns Licensed Parts from confusion into advantage.
Cooldown Power: Ordnance and Repkits Separate Strong Builds From Struggling Builds
Borderlands 4’s gear loadout emphasizes Ordnance and Repkits as core tools, not optional extras. Ordnance can include throwables and even heavy weapons that refresh on cooldown, and Repkits provide healing and buffs on cooldown. That design choice is a major reason Borderlands 4 feels more “modern” in combat rhythm—and it’s also why players who forget these tools feel weaker than they should.
Most players underuse cooldown tools in two ways:
- They save Ordnance “for later” and miss out on constant burst windows that speed up every fight.
- They use Repkit only as an emergency instead of proactively to maintain momentum and stay aggressive.
BoostRoom’s approach is simple: if a tool is on cooldown, it’s meant to be pressed. The best builds create a loop where:
- Ordnance starts fights or finishes elites,
- Repkit keeps tempo,
- and your guns/skills clean up consistently.
When you build around uptime, you don’t just do more damage—you clear faster, die less, and farm more efficiently.
Endgame Ladder Thinking: Why You Feel “Behind” Even With Decent Gear
Borderlands 4’s endgame is structured to let players climb difficulty at their own pace, with Wildcard Missions acting as a high-intensity test that can unlock the next Ultimate Vault Hunter level when you succeed. That structure is great—unless you try to skip steps without the build foundation.
Being “behind” usually means one of these is true:
- you’re trying to clear content your build isn’t ready for,
- you’re farming in a way that doesn’t upgrade your weak link slots,
- or you’re doing activities that aren’t efficient for your specific goals (XP, gear targeting, weekly unlocks, currency).
BoostRoom fixes the pacing problem by aligning your plan with the ladder:
- stabilize the build,
- choose the right content tier,
- target the slots that unlock faster clears,
- then climb again.
It’s the difference between “grinding” and “progressing.”
The Inventory Trap: Why Good Players Still Feel Stuck
Borderlands 4 can punish players who are too cautious with loot. Because systems are deeper, players keep more items “just in case.” After a week, the bank is full, the backpack is full, and decision-making becomes slow.
The inventory trap causes two hidden losses:
- Time loss: more menu time, less gameplay time.
- Clarity loss: you can’t see what’s actually improving your build.
BoostRoom’s “best results” philosophy includes inventory hygiene:
- you keep items that serve a clear build purpose,
- you mark “future build” pieces intentionally,
- and you sell the rest without fear.
A clean inventory makes you better at Borderlands 4 because you spend more time fighting and less time doubting.
Why Players Use BoostRoom Instead of “Just Watching a Build Video”
Build videos are great for entertainment and inspiration, but they often fail real players for one big reason: they assume you can get the same items and the same rolls quickly. Borderlands 4’s systems—especially Licensed Parts and multi-slot synergy—mean your best build is often the one you can assemble from your current drop reality.
Players use BoostRoom because it’s not a generic “best build” list. It’s a tailored roadmap:
- based on your Vault Hunter,
- your gear stash,
- your preferred playstyle,
- your available time,
- and your current endgame stage.
BoostRoom also accounts for the fact that Borderlands 4 evolves through ongoing weekly updates and tuning—so the best plan is flexible, not rigid.
If you want a build that actually works for you—not a screenshot of a perfect setup—BoostRoom is the practical choice.
BoostRoom’s Core Promise: Best Builds, Best Loot, Best Results
BoostRoom is built around one promise: you shouldn’t need to waste 20 hours to get 2 hours of fun.
That promise breaks into three deliverables:
- Best Builds: Not “one meta build,” but the strongest build path for your character and playstyle—built around reliable loops and realistic gear targets.
- Best Loot: Not “more loot,” but the right loot—targeted upgrades that turn into immediate performance improvements.
- Best Results: Faster clears, smoother survivability, better weekly completions, cleaner farming routes, and progress that sticks.
BoostRoom is for players who want to feel powerful and efficient, whether they play solo or with friends.
How BoostRoom Works: The Practical, No-Wasted-Time Process
BoostRoom’s process is designed to be simple and results-driven:
- Step 1: Build snapshot
- Your Vault Hunter, your current loadout, and your current goals (mobbing, bossing, co-op support, farming, UVHM climbing).
- Step 2: Weak-link diagnosis
- Which slot is holding you back right now?
- In Borderlands 4, upgrading the correct slot can feel like turning on easy mode.
- Step 3: Upgrade roadmap
- You get a prioritized plan: what to farm first, what to ignore, and what “good enough” looks like so you don’t over-farm.
- Step 4: Loop design
- Farming and progression routes that minimize travel pain and maximize “useful outcomes per hour.”
- Step 5: Optimization pass
- Once your build is online, BoostRoom helps you refine: cooldown rhythm, damage windows, survivability layering, and gear swaps that match different activities.
The result is clarity. You stop guessing and start winning.
Best Build Principles BoostRoom Uses (That Work on Any Vault Hunter)
BoostRoom doesn’t rely on one gimmick. It relies on build principles that stay strong even when patches shift the meta:
- Uptime beats peak damage. A build that never dies and constantly uses its tools often outperforms a fragile glass cannon in real farming.
- One reliable loop beats five fancy tricks. Borderlands 4 rewards consistency, especially in repeatable endgame.
- Fix the weak link first. A better shield/armor or Repkit can increase your effective damage by letting you stay aggressive.
- Behavior-first weapons win. With Licensed Parts, weapon feel and behavior can matter more than the weapon name.
- Plan around the activity. Mobbing builds and boss builds can be different; your best results come from switching intelligently, not forcing one setup everywhere.
These principles are why BoostRoom stays useful even when the community discovers new gear interactions.
Targeted Loot Planning: How BoostRoom Stops “Wrong Farm” Syndrome
“Wrong farm syndrome” is when you spend a night chasing gear that:
- doesn’t drop where you’re farming,
- drops too rarely for your available time,
- or drops in a form that doesn’t actually help your build.
BoostRoom prevents this by turning loot goals into targeted, efficient routes:
- farm the slot you need most,
- choose activities that also pay XP/currency while you farm,
- and use milestone content (like weekly loops) to guarantee progress even when RNG is cold.
Players love Borderlands 4, but they hate wasted time. A targeted plan is the difference between feeling lucky and feeling smart.
Weekly Rotations and Vendor Windows: Why Timing Matters for “Best Loot”
Borderlands 4’s live cadence means the “best” opportunities can rotate. Weekly endgame rotations and vendor changes can create short windows where certain farms, bosses, or reward pools are more attractive than usual.
A great example of a time-sensitive opportunity is Maurice’s Black Market machine, which changes location weekly and has inventory that can be unique per player, with a cooldown-based refresh behavior. That kind of rotating system rewards players who:
- know where to go,
- understand which items are worth checking,
- and can integrate it into their weekly plan without derailing everything else.
BoostRoom helps players build a weekly routine that fits real life:
- one or two high-value weekly completions,
- one targeted farm session,
- and one “cleanup + refine” session.
That structure helps you keep pace even if you don’t play every day.
Co-Op Advantage: Why BoostRoom Is Popular With Squads
Borderlands is at its best in co-op, and Borderlands 4 supports four-player online play, drop-in/drop-out, and crossplay, plus two-player split-screen on supported consoles. Co-op brings huge advantages—if your squad is coordinated.
BoostRoom is popular with squads because it can:
- define clear roles (tank/support/burst/clear speed),
- align farming goals so everyone benefits,
- reduce “where are we going?” downtime,
- and help each player build toward a role that makes group farming feel effortless.
Even one optimized support-style player can transform a squad’s success rate in harder content. Co-op power isn’t only about who has the best gun; it’s about who keeps the team’s momentum alive.
Powerleveling and Catch-Up: When Best Results Means “Back in the Action Fast”
A lot of BoostRoom users aren’t chasing perfection—they’re catching up:
- returning after a break,
- leveling a new Vault Hunter,
- or trying to join friends in tougher content without weeks of solo grind.
Borderlands 4 supports systems that make catch-up realistic, but players still need a plan:
- what to do first,
- what unlocks faster progress,
- and what content gives both XP and usable gear.
BoostRoom’s catch-up approach focuses on “stacking value”:
- XP + slot upgrades,
- XP + endgame unlock progress,
- weekly completions + targeted farming,
- inventory cleanup + build tuning.
That’s how you catch up without burning out.
Best Builds for Real Players: The Three Build Paths BoostRoom Prioritizes
BoostRoom focuses on build paths that produce results for normal players—not just the 1% who grind perfect rolls.
- The Reliable Clear Build
- The goal: delete mobs quickly and safely.
- Priority: AOE damage, crowd control, sustain, and constant Ordnance usage.
- The Boss Window Build
- The goal: maximize damage during vulnerability windows and avoid downtime.
- Priority: burst tools, ammo efficiency, crit reliability, and survivability that keeps you alive through mistakes.
- The Co-Op Engine Build
- The goal: make the whole squad stronger and faster.
- Priority: debuffs, damage sharing tools, safe positioning, and utility that reduces wipes.
Most players do best when they pick one main path and then build a secondary loadout for the other situation. BoostRoom helps you make that split cleanly.
Best Loot for Best Results: The Slot Priority Order That Saves Weeks
Here’s the truth: most “I feel weak” problems aren’t solved by farming one famous gun. They’re solved by fixing slot priorities.
BoostRoom generally prioritizes upgrades in this practical order:
- Survivability slot first (shield/armor + Repkit synergy) so you stop losing time to downs.
- Uptime tools next (Ordnance + cooldown-friendly pieces) so fights speed up.
- Workhorse weapon next (reliable, consistent behavior) so your clear speed stabilizes.
- Damage amplifier layer next (Enhancements and other bonuses that multiply what you already do well).
- Luxury upgrades last (perfect Licensed Part behavior combos, ultra-specific chase pieces).
This doesn’t reduce ambition—it accelerates it. You reach “strong enough to farm efficiently” sooner, which makes perfect chasing less painful later.
Why BoostRoom Feels Different: It’s Not Just Boosting, It’s Direction
Players don’t stick with BoostRoom because someone carried them one time. They stick because BoostRoom gives them something more valuable than a shortcut: direction.
Direction means:
- you know what to do when you log in,
- you don’t panic-sell or hoard everything,
- you understand why your build works,
- and you can adapt when the game shifts.
That’s why BoostRoom turns “best builds” from a screenshot into a skill—and turns “best loot” from random luck into a plan.
Who BoostRoom Is For
BoostRoom is a strong fit if you relate to any of these:
- You’re playing Borderlands 4 regularly but your progress feels slow.
- You have good items but your build still feels weak or inconsistent.
- You hate wasting sessions farming the wrong thing.
- You want to climb harder content but keep getting stuck on survivability or damage checks.
- You play co-op and want your squad to farm efficiently instead of arguing about goals.
- You want a clean plan for weekly content and endgame ladders.
- You’re leveling alts and want to get back to endgame quickly.
BoostRoom is less useful if you only want to finish the story once and move on. But if you’re here for the long-term looter life, BoostRoom is built for you.
What You Can Do Today (Even Without Changing Your Whole Build)
If you want immediate improvement, use this quick BoostRoom-style checklist:
- Pick one activity type you’ll run for the next 60–90 minutes and commit (don’t bounce).
- Upgrade your worst slot first (usually survivability or uptime).
- Use Ordnance on cooldown for one full session and notice the difference.
- Use Repkit proactively, not reactively.
- Keep only gear that fits one of your chosen build paths (clear, boss, co-op engine).
- Decide what “good enough” is before you farm—then stop when you hit it.
That single session usually creates more progress than a week of random wandering.
BoostRoom: The Simple Call-to-Action
If you want the fastest route to:
- the build that fits your Vault Hunter,
- the loot that actually improves your performance,
- and the results that make endgame feel fair and fun…
BoostRoom is the shortcut that still teaches you the game. You’ll spend less time confused, less time stuck, and more time doing what Borderlands is supposed to feel like: nonstop momentum and ridiculous power.
FAQ
Is BoostRoom only for “hardcore” players?
No. BoostRoom is for anyone who wants cleaner progress. Casual players benefit because they waste less time; hardcore players benefit because they optimize faster.
Will BoostRoom help if my loot is mediocre?
Yes. Borderlands 4 builds can be strong with blue/purple gear when the pieces work together. BoostRoom’s job is to make your current drops perform better while you target upgrades.
Do I need to copy a meta build exactly to get results?
No. Meta builds can be great, but Borderlands 4’s Licensed Parts and roll depth mean your best build is often a “meta direction” adapted to what you actually have.
How does BoostRoom help with “best loot”?
By turning loot chasing into a plan: what slot to upgrade first, what activities to run, what “good enough” looks like, and how to avoid farming traps.