How Prey Changes “Build Value” in Midnight
Prey isn’t a normal boss fight you pull on your terms. It’s an opt-in system that overlays your open-world gameplay: you can be ambushed mid–World Quest, mid–gathering route, or mid–multi-pull. That one design choice makes three build qualities far more valuable than usual:
- Front-loaded damage so you can end dangerous moments quickly and avoid long “oops” spirals.
- Movement value so you can kite, reposition, and reset fights when Torments or mechanics force chaos.
- Control density (interrupts, stops, roots, stuns, displacements) so you can prevent lethal casts and create breathing room.
Prey also escalates through Normal → Hard → Nightmare, and Hard/Nightmare add Torments that make the hunt and final fight considerably harder. In Normal, other players can help in the outdoor world, but in higher difficulty finals you’re expected to win with your own party tools and personal play. Translation: “glass cannon” builds get punished, and “smart pressure” builds win more consistently.

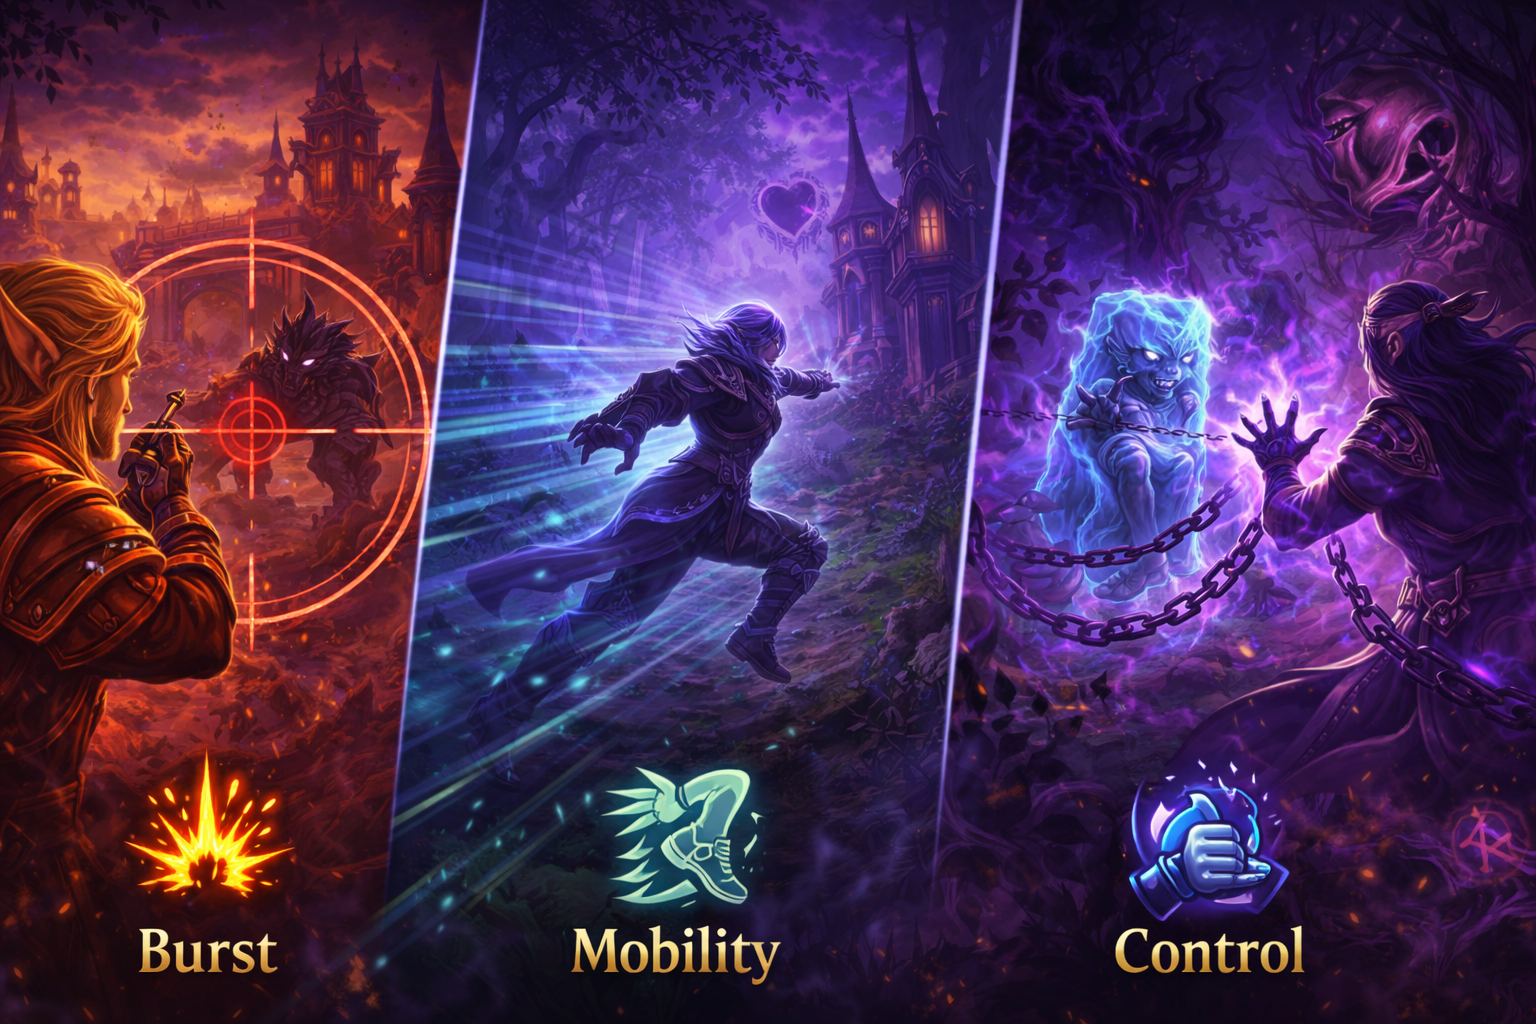
The Three Pillars That Beat Prey Targets: Burst, Mobility, Control
Think of Burst, Mobility, and Control as sliders. Your “best build” is the one that sets the sliders correctly for your class and how you play.
- Burst is how you end a danger window. It’s not just big numbers — it’s reliable damage packed into short periods when you can safely commit.
- Mobility is how you survive when the prey chooses the terrain, the timing, and the pace. Mobility builds kite better and recover faster after mistakes.
- Control is how you keep the fight fair. If the prey can free-cast, you lose time or die. If you can stop casts and deny movement, you survive and finish.
Most players fail Prey because they only maximize one pillar. The most consistent Prey builds are 2-pillar builds (Burst+Control, Mobility+Control, Burst+Mobility) with a small investment into the third so you’re never helpless.
Practical Rules for Building Specifically for Prey
Use these rules like a checklist before you lock in talents and gear:
- Rule 1: Your build must win while surprised. If you need perfect opener setup, it’s not a Prey build.
- Rule 2: Plan for a “bad pull.” Assume you’ll be ambushed while fighting something else.
- Rule 3: Control beats greed. One extra stop often saves more time than a damage talent.
- Rule 4: Avoid long ramp if you’re learning. Ramp builds can be strong, but Prey punishes slow starts.
- Rule 5: Always have a reset tool. Mobility, CC, stealth, vanish, pet tanking, immunities — something.
- Rule 6: Don’t overlap defensives. Prey has repeated spikes; stagger your tools.
- Rule 7: Build for uptime, not sims. If you can’t stand still, “theoretical DPS” doesn’t matter.
- Rule 8: Add handling matters. A prey fight that spawns adds punishes pure single-target with no answers.
- Rule 9: Versatility is never wasted outdoors. If you’re dying, add survival first, damage second.
- Rule 10: Your final encounter build can be stricter. You can swap into more single-target for the finish — but keep your survival core.
Burst Builds: How to Create Reliable Kill Windows
Burst builds are best when you want your hunts to feel “clean”: short fights, controlled risk, fast completion.
What a Burst Prey build prioritizes
- Short cooldown alignment (your damage spikes should happen often).
- A reliable “mini-burst” rotation even when major cooldowns aren’t ready.
- Damage that works while moving (or minimal standing still).
- A way to safely commit to burst (stun, root, knockback, immunity, pet tank, or strong self-heal).
What to avoid
- Builds that require perfect setup time (long ramp, long cast chains without protection).
- Builds with burst that only works if you never have to disengage.
- Builds that trade too much defense for a few percent damage.
Burst is also a survival tool
In Prey, killing faster often reduces damage taken more than any defensive talent. A good burst build ends the dangerous phase before it snowballs.
Mobility Builds: Kiting, Repositioning, and Resetting the Hunt
Mobility builds are best for Hard/Nightmare learning, because they turn “I’m losing” into “I’m repositioning.”
What a Mobility Prey build prioritizes
- Extra movement charges, reduced cooldowns, and movement speed passives.
- Tools that allow damage while moving (instant casts, DoTs, pets, or flexible melee uptime).
- A clear escape route plan (disengage, dash, blink, roll, leap, gate-like repositioning).
- A reset option (stealth/vanish, dropping combat with CC, pet taunt, immunity).
Mobility is not just speed
It’s also control of distance. If you can choose when the prey is in melee range, you control how much damage you take.
When mobility matters most
- Ambush timing when you’re already fighting.
- Torments that force movement or punish standing still.
- Final encounter mechanics that demand repositioning while still maintaining output.
Control Builds: Interrupts, Stops, and Space Management
Control builds are for players who want consistency. The prey is dangerous when it gets to do what it wants — so you deny it.
What a Control Prey build prioritizes
- A low-cooldown interrupt (and a focus-friendly setup).
- Multiple “stops” (stuns, incapacitates, knockbacks, disorients, silences).
- A way to control adds (AoE stop, root, fear, slow, displacement).
- Talenting into extra CC duration or extra charges when available.
Control does two things at once
- Prevents big damage events (stopping casts).
- Creates space for your healing and cooldown recovery (breathing room).
The control mistake to avoid
Taking control tools you never press. A great Control build is a great habits build — you must actually use the kit.
The Prey Loadout Checklist: Talents, Gear, Consumables, UI
If you want one “do this before you queue a Hard/Nightmare hunt” list, use this.
Talents
- One strong single-target package.
- One add/cleave answer (even a small one).
- At least two survival choices (self-heal, damage reduction, cheat-death, immunity, or escape).
- At least one extra control pick (extra stop, improved interrupt, or stronger slow/root).
- Mobility upgrades if your kit feels sluggish.
Gear mindset
- If you’re dying: prioritize survival secondaries (Versatility is the common fix outdoors).
- If you’re living easily: add more damage and shorten fights.
- Don’t build so glassy that one mistake ends the contract.
Consumables mindset
- Use consumables to reduce retries, not to “parse.”
- Bring something that covers your weakness (sustain, burst, or stability).
UI mindset
- You need to see: casts, your defensives, and your interrupt cooldown.
- If your screen is chaos, you’ll eat mechanics you could have avoided.
Best Burst-Oriented Specs for Prey: Who Ends Hunts Fast
Burst specs shine when your goal is to “delete danger windows” and finish contracts efficiently. Here are strong burst archetypes and how to build them for Prey.
Rogue burst archetype (short, brutal windows)
- Build goal: compress damage into repeatable burst cycles and use control to guarantee uptime.
- Prey priority: talents that increase burst frequency + a reliable stun/stop chain.
- Survival priority: avoid dying during your burst commitment; keep an escape/reset plan.
Paladin burst archetype (burst + emergency healing)
- Build goal: hit hard during cooldown windows while using self-healing to survive mistakes.
- Prey priority: a burst package that also leaves you with a defensive or self-heal option during spikes.
- Best for: players who like “I can fix my own mistakes” gameplay.
Mage burst archetype (burst + control layering)
- Build goal: win by controlling space and unleashing burst when the target is locked down.
- Prey priority: avoid builds that rely on free-standing long casts unless you have the control to protect them.
- Best for: players who enjoy planning kills and denying enemy actions.
Demon Hunter burst archetype (mobility + burst)
- Build goal: combine aggressive movement with burst windows so you decide the tempo.
- Prey priority: keep at least one defensive for the moment you commit to damage.
A note on Devourer Demon Hunter
Midnight introduces Devourer as a Demon Hunter DPS specialization, described as a void-powered mid-range style that leans into burst patterns through its kit. If you enjoy burst windows but hate being fully stuck in melee, Devourer is a natural “burst + positioning” angle for Prey.
Best Mobility-Oriented Specs for Prey: Who Kites and Wins
Mobility builds are your “I refuse to die” option. They’re especially good when learning Torments or stepping into Nightmare.
Druid mobility archetype (movement + utility)
- Build goal: use movement, self-heals, and control tools to stay stable no matter what happens.
- Prey priority: take the mobility upgrades that let you reposition without sacrificing all damage.
- Best for: players who value safety and flexible play.
Demon Hunter mobility archetype (constant repositioning)
- Build goal: never be where the danger is landing.
- Prey priority: movement tools + a plan to avoid being forced into bad terrain.
- Best for: players who like fast, reactive combat.
Hunter mobility archetype (damage while moving)
- Build goal: keep output high while moving, use traps/control, and let pet interaction reduce pressure (depending on spec).
- Prey priority: choose talents that make movement smoother and reduce downtime.
- Best for: players who like outdoor efficiency and flexibility.
Monk mobility archetype (movement + burst moments)
- Build goal: use mobility to avoid damage and align burst into safe windows.
- Prey priority: don’t over-greed — use mobility to reset danger, not just to chase.
Best Control-Oriented Specs for Prey: Who Denies the Prey Its Gameplan
Control builds reduce randomness. If you hate the feeling of “the prey just did something unfair,” control is your answer.
Frost-style control archetype (slows/roots/space)
- Build goal: turn the fight into a distance-controlled puzzle where you always have room.
- Prey priority: keep multiple ways to slow/root/stop and a plan for when control is resisted or on cooldown.
Shaman-style control archetype (interrupts + knockbacks)
- Build goal: dominate casts and positioning.
- Prey priority: reliable interrupt cadence and at least one emergency stop.
Warrior-style control archetype (stuns + disruption)
- Build goal: deny casts through stuns/interrupts, reduce incoming damage through strong personal tools, and keep uptime.
- Prey priority: don’t ignore mobility; even control-heavy melee needs reposition tools.
Death Knight-style control archetype (grips + slows + self sustain)
- Build goal: control where the target stands and survive long enough to win any trade.
- Prey priority: stay stable and never panic; your strength is inevitability.
Three Build Templates You Can Copy No Matter Your Class
If you don’t want “spec shopping,” use these templates and adapt them with your class tools.
Template A: Burst + Control (fastest clears for confident players)
- Talent focus: damage spikes + at least two reliable stops.
- Defensive focus: one major defensive saved for burst commitment.
- Playstyle: stop cast → burst → reset → repeat.
Template B: Mobility + Control (best learning build for Hard/Nightmare)
- Talent focus: movement upgrades + interrupt/stops + steady damage.
- Defensive focus: stagger defensives; use mobility to reduce damage taken.
- Playstyle: kite → stop → stabilize → damage → kite again.
Template C: Burst + Mobility (best for “I want speed but hate dying”)
- Talent focus: burst windows with movement-friendly damage.
- Defensive focus: one emergency defensive plus one recovery tool.
- Playstyle: burst when safe, disengage when unsafe, never coin-flip.
Pet Builds for Prey: The “Safety Net” Strategy
Pet-based gameplay is one of the most forgiving approaches for hunting systems because it reduces direct pressure on you.
Why pet builds feel good in Prey
- The pet can hold threat and absorb hits, buying you time to react.
- You can keep damage going while repositioning.
- You often have extra control tools that pair well with a pet tanking style.
How to build pet specs for Prey
- Prioritize pet durability, threat reliability, and your own ability to recover.
- Add at least one “panic stop” for when the prey swaps to you or mechanics force chaos.
- Don’t over-greed damage talents if it makes your pet unreliable.
This playstyle is especially helpful if you want to progress difficulty tiers without feeling punished by every ambush.
Tanks and Hybrids: The Safest Way to Learn Hard and Nightmare
If your goal is simply “I want to clear consistently,” tank and hybrid setups are the easiest way to remove frustration while learning.
Tank learning advantages
- You survive mistakes that would kill DPS builds.
- You can stay in the fight longer while you learn patterns.
- Many tank kits include control and self-healing, which are top-tier Prey qualities.
The tradeoff
You may kill slower — but in Prey, slower kills can still be faster progression if they reduce deaths and retries.
Hybrid learning advantages
- Hybrids can often self-heal enough to recover from ambushes.
- You can trade a small amount of damage for massive stability.
If you’re stepping into Nightmare and hate dying, “safer build first” is the fastest route to success.
How to Build Around Torments and Ambush Timing
Torments are the reason “normal outdoor builds” fail on Hard and Nightmare. The system is designed to add extra danger through additional enemy abilities/conditions — and some previews describe Torments as personal afflictions that can change how the whole hunt feels, not just the final fight.
Build adjustments that beat Torments
- Add one extra stop beyond your comfort level.
- Add mobility if you’re being forced into movement or hazards.
- Add self-sustain if you’re losing to repeated spikes rather than one-shot events.
- Reduce ramp time if you’re losing because you can’t stabilize early.
The ambush timing problem
Because targets can show up unpredictably, you won’t always have your best cooldowns. That’s why your build must include:
- a mini-burst pattern that works often,
- a short defensive that works often,
- and a reliable control habit that works always.
Final Encounter Builds: Single-Target Focus Without Losing Survival
Your final encounter is where people swap to a “boss build” and then wonder why they get flattened. For Prey, the best final build is single-target plus stability.
What to keep in your final build
- Your best single-target package.
- At least one add-answer (in case mechanics spawn or summon pressure).
- Your strongest survival talent choice.
- Your interrupt and your most reliable stop.
What to cut
- Pure AoE talents you don’t press in the final fight.
- Extra utility that doesn’t help you live or kill.
- “Fun” talents that reduce consistency.
If you’re unsure, stay on your Mobility+Control template and just optimize one or two single-target picks — consistency beats theory.
Essential Interrupt and CC Habits That Make Any Build “Better”
Even the perfect build fails if you don’t run the fight like a hunter.
- Interrupt early on dangerous casts so you don’t enter panic mode.
- Use stops to create burst windows, not just to “reduce damage.”
- Kite before you’re desperate. If you kite at 10% health, you’re already late.
- Stagger defensives so you always have something for the next spike.
- Use line-of-sight and terrain when possible; it’s free mitigation.
A “best build” is often just “a build that supports good habits.”
BoostRoom: Faster Prey Progress With Less Trial-and-Error
If you want Prey rewards but don’t want weeks of wiping to the same contract, BoostRoom helps you compress the learning curve.
How BoostRoom helps specifically with “Burst, Mobility, Control” builds:
- Build tuning for your class and comfort level (damage vs safety) so you stop dying to predictable moments.
- Hard/Nightmare readiness planning: what to change before you raise difficulty (talents, stats, habits).
- Final encounter coaching: when to commit burst, when to disengage, and which casts absolutely must be stopped.
- Efficient contract progression so you’re earning rewards consistently instead of stalling on one target.
The goal is simple: you keep the fun part — the thrill of the hunt — and BoostRoom helps remove the frustrating parts: repeated failures, wasted time, and unclear “what do I change?” moments.
FAQ
What is the best overall build type for Prey: Burst, Mobility, or Control?
The most consistent builds combine two pillars. For learning Hard/Nightmare, Mobility+Control is the safest. For speed once comfortable, Burst+Control often clears fastest.
Do I need a different build for Normal vs Hard/Nightmare?
Normal is more forgiving and often allows more aggressive damage setups. Hard/Nightmare typically reward extra survival and control because Torments increase pressure and mistakes cost more.
Are tank specs good for Prey?
Yes. Tanks are often the easiest way to learn harder tiers because they survive mistakes and usually bring strong control and self-sustain.
Are pet specs strong for Prey?
Pet-based builds are a very forgiving option because they reduce direct pressure and let you keep damage going while repositioning.
Should I stack damage stats or survival stats for Prey?
If you’re dying, add survival first (Versatility is commonly valuable outdoors). If you’re surviving easily, add damage to shorten fights and reduce overall risk.
How do I handle being ambushed while already fighting mobs?
That’s where Mobility and Control matter most. Reduce risky pulls while hunting, keep a defensive available, and use a stop/CC to stabilize before committing damage.
What matters more in Prey: cooldown burst or steady damage?
Both. You need steady damage to avoid dead time, and you need burst to end danger windows. The best builds have a “mini-burst” that works often plus a bigger burst for finals.
How does BoostRoom help with Prey specifically?
BoostRoom helps you tune builds and habits for consistent clears, supports difficult targets, and speeds up progression when you don’t want to repeat frustrating contracts.


