Why Party Synergy Matters in Aion 2
Aion 2 rewards clean execution more than “brute force.” When your party roles click, you gain three huge advantages:
- Tempo: Faster clears mean more drops, more currency, and more attempts per hour.
- Safety: Fewer deaths means fewer resets, fewer consumables burned, and less stress.
- Consistency: A stable party can farm upgrades on schedule instead of gambling on random match quality.
Synergy is not “everyone doing big damage.” It’s everyone doing the right job at the right time—especially on boss mechanics, interrupts, and emergency saves.
Aion 2 Party Sizes and What That Means for Roles
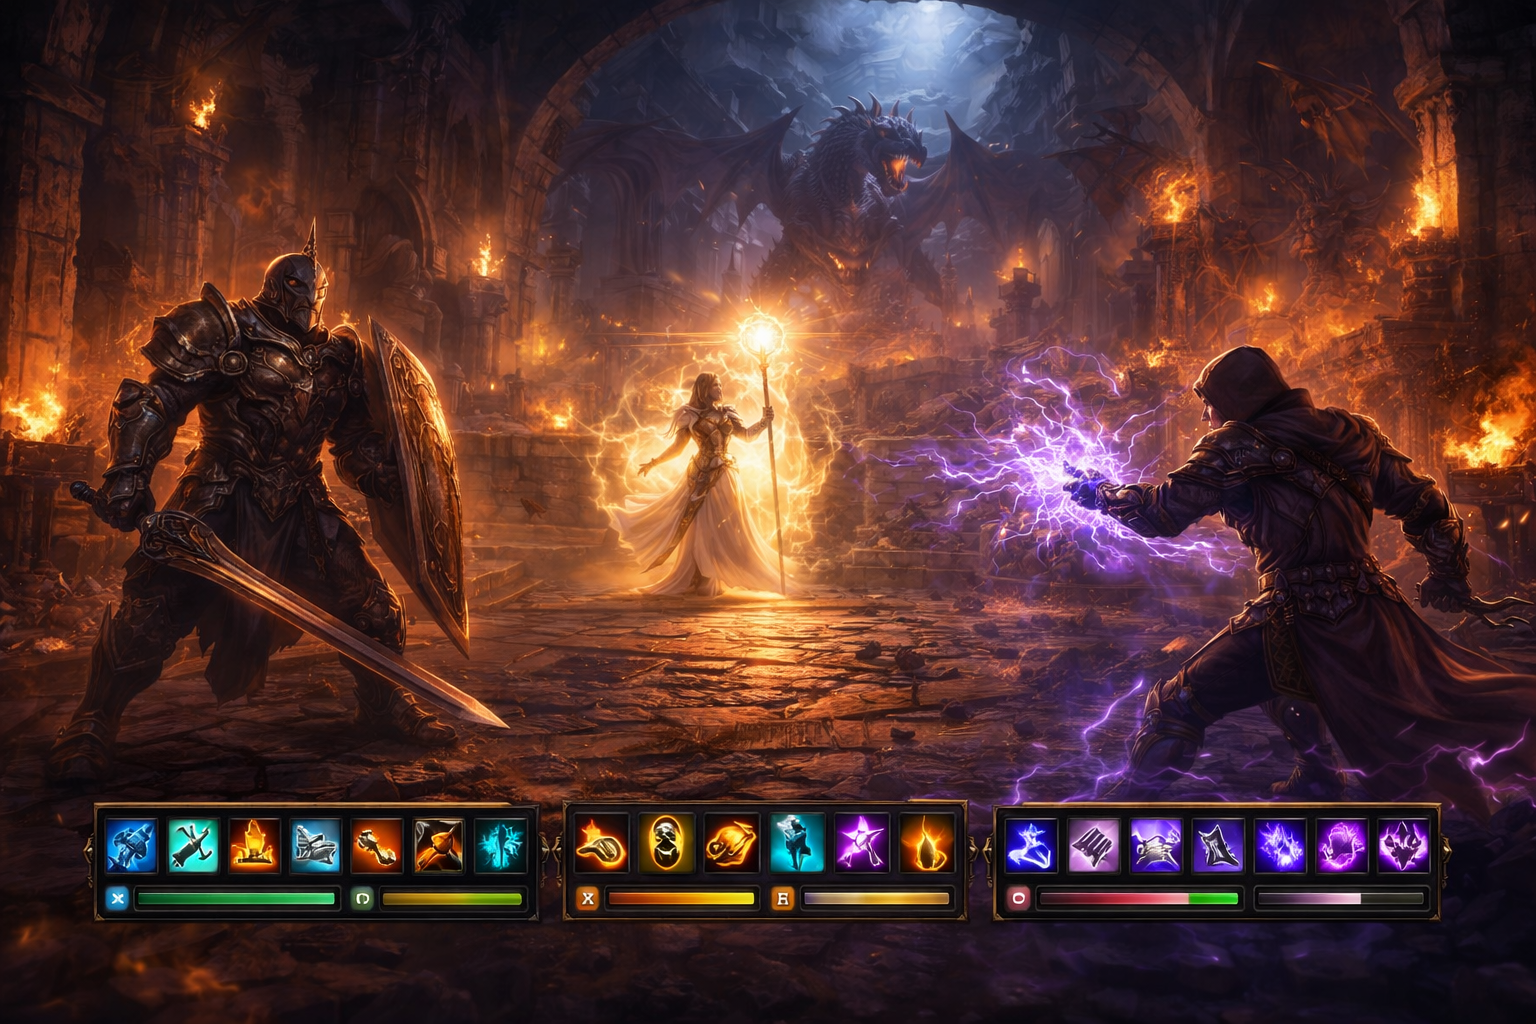
Aion 2’s showcased group content includes 4-player party dungeon experiences and also larger endgame group content (such as 8-player). That matters because party synergy changes with size:
- 4-player: Each person is 25% of the team. One weak role performance is obvious. One strong role performance carries hard.
- 8-player: You can split responsibilities (interrupt teams, add teams, cleanse teams), but coordination becomes the challenge.
This guide focuses on building a “role-correct” foundation that works in both sizes—then shows how to scale it up.
The Trinity and the Fourth Slot
Most efficient 4-player teams follow a simple structure:
- 1 Tank
- 1 Healer
- 2 Damage Dealers (DPS)
But Aion 2’s real secret is the “fourth slot,” because one of those DPS slots can be a flex that brings utility (buffs, off-heals, control, summons, damage amp, safety tools). In farm groups, that flex can be the difference between:
- wiping once every run, or
- never wiping at all.
Think of the fourth slot as your “problem solver.” If your party struggles with survivability, your fourth slot becomes support utility. If you struggle with time, your fourth slot becomes burst and AoE.
The 60-Second Party Check Before Any Run
Do this once at the start of every dungeon. It takes a minute and saves 30.
- Tank: “I’ll pull in sets of X packs. My big defensive is up for first boss.”
- Healer: “I have cleanse and emergency save on bar. Call if you’re using a big pull cooldown.”
- DPS: “I have interrupt/CC on bar. My burst window is every X seconds.”
- Team: Decide interrupts (first/second/third), decide who handles adds, decide who calls boss mechanic cues.
If your group does this, you instantly become the type of party people want to re-invite.
Tank Done Right: Your Job Is Tempo
A great tank does three things better than everyone else:
- Controls the fight
- Sets the pace
- Makes the healer’s life easy
Your goal isn’t to “be unkillable.” Your goal is to make every pull predictable.
What “Tempo Tanking” Looks Like
- You pull based on your party’s cooldowns, not your ego.
- You stack enemies so AoE classes can actually AoE.
- You face dangerous mobs away from the group.
- You drag fights to safe terrain (corners, walls, clear ground) so mechanics are readable.
Tank Pull Rules That Speed Up Clears
- Pull with a plan: Know where you’re stopping before you start moving.
- Stop on clean ground: If the floor has hazards, stop where your melee can stand.
- Group the pack: Your job is “make one enemy out of many.”
- Use defensives early on big pulls: Don’t wait until you’re at 10% HP. Your healer needs time to react and stabilize.
Threat and Aggro: How Tanks Lose It
Tanks usually lose threat in these moments:
- First 3 seconds of the pull (DPS opens too hard)
- When adds spawn mid-fight
- After the tank gets displaced or forced to move
Fix it with one habit: mark your opening.
- Start with your strongest threat skill.
- Use a short control to lock the pack.
- Then stabilize with your sustained threat cycle.
The Tank’s “No Chaos” Communication
Use short, repeatable calls:
- “Big pull next.”
- “Hold DPS 2 seconds.”
- “Burst now.”
- “Kite” (if you must move).
- “Reset” (if it’s turning into a wipe).
Short calls prevent panic. Panic kills runs.
Healer Done Right: Triage and Uptime
In Aion 2’s showcased dungeon play, healing can be streamlined by targeting behavior and limited hotbar space. Whether you’re a dedicated healer or a support-flex, your goal is the same:
- Prevent deaths
- Keep the tank stable
- Enable DPS uptime
The Healer’s Real Priority List
When things go wrong, don’t “heal everyone equally.” Heal in this order:
- You (the healer): If you die, the run is over.
- Tank: If the tank dies, the party collapses.
- Any player targeted by a lethal mechanic: Save them first.
- High-output DPS who is playing correctly: Keeping clean DPS alive speeds the fight and reduces damage taken over time.
- Everyone else: Stabilize after danger is handled.
That’s triage. It feels strict, but it wins runs.
Healing Uptime: The Biggest Hidden Skill
The best healers aren’t the ones who spam the most heals.
They’re the ones who heal while:
- repositioning for mechanics,
- maintaining buffs,
- and preparing emergency tools before the damage spike hits.
Your best habit: predict spikes.
Most bosses have repeating “big damage moments.” Track them. Pre-cast shields or mitigation before they land.
The Healer’s Cooldown Discipline
Split your tools into three categories:
- Sustain: small, frequent heals (your default)
- Stabilizers: medium cooldown heals or AoE heals (your “fix the party” tools)
- Saves: long cooldown buttons (your “prevent wipe” tools)
Common mistake: using “saves” for normal damage.
Correct play: use sustain for normal damage, stabilizers for mistakes, saves for lethal moments.
Range and Positioning: Heal From the Best Spot
In most dungeon fights, the best healer position is:
- close enough to reach the tank and both DPS,
- far enough to avoid cleaves and frontal cones,
- and angled so you can see the boss and the ground clearly.
If you can’t see the ground, you can’t prevent deaths.
DPS Done Right: Priority, Not Greed
A “good DPS” in a dungeon is not the person with the biggest crit. It’s the person who makes the run faster by making it cleaner.
DPS Priority Targeting: The Simple Rule
Kill order is usually:
- Enemies that interrupt or silence
- Enemies with heavy AoE
- Healers/buffers
- Everything else
If your party struggles on trash packs, it’s almost always because DPS is hitting “whatever is closest” instead of deleting the dangerous mobs first.
DPS Mechanics Responsibility
A common dungeon myth: “Mechanics are the tank’s job.”
Reality: DPS controls half the danger.
Great DPS does these consistently:
- interrupts on schedule,
- uses CC when needed (not randomly),
- steps out of hazards instantly,
- saves burst for windows that matter (boss phases, add waves, stun windows).
Burst Windows: Win Fights Where They Matter
You do not need to burst on every pack. Burst on:
- the largest pull,
- the most dangerous mob,
- the boss during vulnerability,
- or the add wave that wipes groups.
If you burst on tiny packs, you’ll have nothing when you need it.
The Flex Role: Support Utility Without Losing Speed
In 4-player groups, the “flex” is often what separates average parties from farm parties.
Flex can look like:
- a support class that buffs and off-heals,
- a DPS class with strong control and debuffs,
- a summoner-type that stabilizes pulls and handles adds,
- or a second semi-tanky melee that helps group mobs and reduce pressure.
The best flex is the one that solves your run’s biggest problem:
- If you wipe to damage spikes → bring more stability (support/mitigation)
- If you time out or run slow → bring more AoE and burst
- If you lose control on adds → bring control/summons/roots
Class Role Strengths You Can Build Around
Aion 2’s launch roster has been presented around eight classic roles with modernized combat pacing. Use these “role identities” to build synergy without overcomplicating it:
- Templar: Core tanking role, best at anchoring fights and controlling threat.
- Cleric: Main healer with improved damage options; stabilizes groups and saves wipes.
- Chanter: Versatile support utility; buffs, supplemental healing, and party enabling.
- Gladiator: Frontline bruiser; strong cleave/AoE and can act as “off-frontline” pressure.
- Assassin: Precision melee burst; excellent at deleting priority targets and creating fast phase pushes.
- Ranger/Marksman (long-range scout archetype): Consistent ranged damage, safe uptime, strong target focus.
- Sorcerer: High burst magic damage and AoE; powerful on grouped packs and burst windows.
- Spiritmaster: Strong solo-optimized identity in previews; often translates to control/summons/pressure that helps with adds and chaos management.
You don’t need perfect knowledge of every skill to build synergy. You need to match these identities to your team’s needs.
The “Best Default” 4-Player Team
If you want a safe, fast, beginner-friendly team that works in almost any dungeon:
- Templar (Tank)
- Cleric (Healer)
- 1 Burst DPS (Assassin or Sorcerer)
- 1 Stable DPS/Utility (Ranger/Marksman, Spiritmaster, Gladiator, or Chanter flex)
Why it works:
- tank keeps pulls controlled,
- cleric stabilizes,
- burst deletes danger,
- stable DPS keeps uptime while mechanics happen.
Three Proven 4-Player Synergy Blueprints
Use these based on your goal.
Blueprint 1: Safe Farm (Consistency First)
- Tank: Templar
- Healer: Cleric
- DPS: Ranger/Marksman (safe uptime)
- Flex: Chanter (buffs + stability) or Spiritmaster (control)
Best for:
- learning new dungeons,
- farming repeatedly without wipes,
- and groups with mixed experience.
Blueprint 2: Speed Farm (Time First)
- Tank: Templar
- Healer: Cleric or Chanter-heal style if viable in your current patch
- DPS: Sorcerer (AoE + burst windows)
- DPS: Gladiator (cleave + frontline pressure) or Assassin (delete priority mobs)
Best for:
- turning daily/weekly dungeon limits into maximum rewards per hour.
Blueprint 3: Chaos Control (Mechanics First)
- Tank: Templar
- Healer: Cleric
- DPS: Spiritmaster (adds/control)
- DPS: Assassin or Ranger/Marksman (priority deletes)
Best for:
- dungeons with dangerous adds,
- fights where one loose enemy causes deaths,
- and parties that struggle with “everything everywhere.”
How 8-Player Synergy Changes
In 8-player content, your party becomes a system. You typically want:
- 2 frontline anchors (one can be a main tank, one a sturdy off-frontline)
- 2 heal/support sources (main healer + support healer/buffer)
- 4 DPS split between burst and sustained
The key shift: assignment wins.
Instead of “everyone do everything,” you assign:
- interrupt teams,
- add teams,
- cleanse responsibility,
- and phase push burst calls.
If your 8-player group wipes, it’s often because nobody owned a job.
Role Assignments That Make Big Groups Feel Easy
Even in 4-player, these assignments help. In 8-player, they’re mandatory:
- Interrupt Order: A, B, C, D (and backups)
- Add Control: “You hold adds left, you burst adds right”
- Cleanse Call: “Cleanse on X mechanic only”
- Res Order: “Support res first, healer res only if safe”
- Burst Call: “Burst on my ping” or “Burst after stun”
When assignments exist, mistakes become fixable instead of chaotic.
Pull Scripts: How to Clear Trash Like a Pro
Most dungeon time is spent on trash, not bosses. That’s why synergy on pulls is your biggest speed multiplier.
The 10-Second Trash Pack Script
- Tank gathers and stops on clean ground.
- DPS waits 1–2 seconds so threat is stable.
- Healer preps sustain and watches for spike damage.
- DPS deletes priority targets first.
- Party uses one control tool to reduce incoming damage.
- Save big cooldowns for big packs, not tiny ones.
This script is boring—and it wins.
The “Big Pull” Script
- Tank announces: “Big pull.”
- Healer confirms: “Save ready.”
- Tank uses defensives early.
- DPS uses AoE and control immediately after threat is stable.
- If the healer struggles, DPS uses personal defensives and steps out cleanly.
- If two players drop low at once, the party stops greed and stabilizes.
Big pulls are where parties either become farm groups or wipe groups.
Boss Scripts: Timing > Damage
Boss fights feel hard until you realize most bosses are patterns + windows.
The Boss Window Rule
Most bosses have:
- a danger window (big damage, mechanics, movement),
- and a free window (safe time to burst).
Great parties burst the free window and survive the danger window.
Bad parties burst randomly and run out of cooldowns when danger hits.
The “Three Calls” That Save Boss Fights
- “Mechanic soon” (prepare to move)
- “Burst now” (window is open)
- “Reset” (wipe prevention beats ego)
If your party uses those three calls, your boss clears become smoother instantly.
Interrupts: The Easiest Way to Double Your Win Rate
Most dungeon wipes are not “gear checks.” They’re missed interrupts.
Interrupt Rules That Work
- Assign the order before the first pull.
- Only interrupt the casts that matter (wipe casts, heals, huge AoE).
- Don’t overlap interrupts unless it’s an emergency.
- If your interrupt is down, call it (“No kick”).
If you want to look like a high-skill player fast, become reliable at interrupts.
Crowd Control: Use It Like a Tool, Not a Toy
CC is strongest when it’s planned:
- to stop a dangerous cast,
- to stabilize a big pull,
- to create a burst window,
- or to peel enemies off the healer.
CC is weakest when it’s random:
- scattering mobs out of AoE,
- breaking the tank’s grouping,
- or overlapping stuns so nothing is controlled later.
Rule: One planned CC per pack beats three random CCs.
Positioning Fundamentals That Make Every Role Easier
Positioning is synergy you can’t see in meters or damage numbers.
Tank Positioning
- Keep enemies facing away from the party.
- Move only when you must; movement breaks DPS uptime and healing consistency.
- When you must move, move decisively to a safe spot.
Healer Positioning
- Stand where you can see the boss and the party.
- Don’t hug the tank’s hitbox; avoid cleaves.
- Always know your escape route.
DPS Positioning
- Melee: stand behind/side, not in front.
- Ranged: keep line-of-sight and don’t outrange your healer.
- Everyone: step out instantly. “One tick” of floor damage is never worth it.
Hotbars and Loadouts: Build for Your Role, Not for Your Ego
Aion 2 has been shown with limited hotbar slots and a loadout concept for different content types. That pushes you toward role clarity:
- Tanks must keep threat, defensives, and one control tool always available.
- Healers must keep sustain, one stabilizer, one save, and cleanse available.
- DPS must keep core rotation, interrupt, movement/escape, and one utility slot available.
The “Must-Have” Button Categories
No matter your class, your dungeon loadout should include:
- Core output: your main rotation buttons
- One emergency defensive: personal survival tool
- One utility tool: interrupt or control
- One mobility tool: repositioning / escape
- One “team” tool: buff, debuff, cleanse, shield, or add control
If you can’t cover these categories, your loadout is too greedy.
Stigma and Build Philosophy for Party Value
Even if you love solo damage builds, group content rewards “party value” choices:
- debuffs that increase team damage,
- utility that reduces incoming damage,
- tools that control adds or stop casts,
- and consistency boosts (uptime, resource sustain).
A simple build rule for smooth progression:
- Farm build: prioritize consistency, AoE efficiency, and safety.
- Push build: prioritize burst windows and mechanic tools.
- PvP build: separate loadout entirely so you don’t sabotage dungeon performance.
When you use the right loadout for the right content, your role becomes clean.
The Real Secret of Fast Clears: Make the Healer Bored
The best compliment a party can give is: “Healer barely had to panic.”
That happens when:
- tank uses defensives early,
- DPS avoids floor damage,
- interrupts are consistent,
- and the party doesn’t scatter mobs.
When the healer isn’t panicking, the healer can:
- contribute damage,
- keep buffs active,
- and save cooldowns for real danger.
A bored healer is a fast dungeon.
Loot, Reputation, and Getting Invited Again
Progression speed isn’t only about skill. It’s also about:
- being invited faster,
- farming with the same reliable people,
- and avoiding drama.
If you want better parties:
- ask loot rules at the start (even if it’s simple),
- don’t change rules mid-run,
- don’t blame people—solve problems,
- and be the calm player when something goes wrong.
Reliable players gear faster because they get more runs.
Common Party Synergy Mistakes and Instant Fixes
Here are the most common problems and the simplest fixes.
- Problem: Tank feels “spiky.”
- Fix: tank uses defensives earlier; healer preps stabilizer before big pull; DPS stops pulling extra packs.
- Problem: DPS keeps dying.
- Fix: DPS saves mobility/defensive for mechanics; healer stops “chasing” bad positioning; tank re-centers the fight.
- Problem: Boss casts keep wiping you.
- Fix: assign interrupts; stop overlapping; pick one person as backup.
- Problem: Trash packs take forever.
- Fix: focus priority targets first; tank groups tighter; AoE classes save burst for big pack.
- Problem: Everyone is stressed.
- Fix: slow one pull, stabilize, reset the rhythm. Speed comes from consistency, not from panic.
A Progression-Friendly Party Routine
If your goal is fast progression, treat dungeons like an upgrade engine:
- Do a short warm-up run to sync
- Switch into farm rhythm (repeatable pulls, consistent interrupts)
- Track what actually slows you down (usually one mechanic or one pack)
- Fix one thing, not ten things
- End on a good run so your team wants to repeat tomorrow
That routine turns random dungeon time into steady gear.
Practical Rules
- Tanks set tempo; healers set stability; DPS sets efficiency.
- Assign interrupts before you start—most wipes are missed kicks.
- Kill priority targets first; AoE is for grouped packs, not scattered chaos.
- Use big cooldowns on big problems, not on tiny packs.
- If you wipe twice to the same thing, stop and assign a solution.
- Build loadouts for the content: dungeon bars should include utility, not just damage.
- A consistent party with “average gear” beats a chaotic party with “better gear.”
- Be the calm player—reputation is progression.
BoostRoom Promo
If you want smoother clears and faster gearing without wasting runs on random synergy, BoostRoom helps you build the party plan that actually works: which roles your class can fill best, how to set up a clean dungeon loadout, what utility to prioritize, and how to run a repeatable farm script that turns limited dungeon entries into maximum upgrades. Whether you’re forming a static 4-player squad or preparing for 8-player endgame, BoostRoom can help you go from “we survive” to “we farm efficiently.”
FAQ
What is the best 4-player party setup in Aion 2?
The safest default is 1 tank + 1 healer + 2 DPS, with one DPS slot acting as a flex (utility/support/control) if your group struggles with survivability or mechanics.
Do we always need a dedicated tank and healer?
For smooth progression and fast farming, yes. You can experiment with off-meta comps later, but the tank/healer foundation makes learning and farming dramatically easier.
How do we stop wiping to dungeon bosses?
Assign interrupt order, call burst windows, and move as soon as mechanics start. Most wipes are missed interrupts and late movement—not raw gear.
What should DPS focus on besides damage?
Interrupts, priority targets, and staying alive. Dead DPS is zero DPS, and reliable utility often speeds runs more than a few extra crits.
How can a healer carry a struggling group?
Use triage (save the tank and yourself first), track damage spikes, and reserve long cooldown “saves” for lethal moments instead of normal damage.
How can a tank carry a struggling group?
Control the pace, group enemies tightly, face threats away, and use defensives early on big pulls. Clean pulls reduce chaos more than anything else.
What’s the biggest synergy mistake in random groups?
No assignments. If nobody owns interrupts, adds, or burst timing, fights become chaotic and slow. A 60-second plan fixes it.
How do we speed up dungeon clears without risking wipes?
Use pull scripts: consistent grouping, priority target deletes, one planned CC per pack, and cooldowns saved for big pulls and boss windows.
Is support utility worth losing a “pure DPS” slot?
Often, yes—especially when learning content or farming consistently. A support-flex can prevent wipes and keep tempo stable, which usually increases rewards per hour.
How do we become the kind of players people invite again?
Be consistent: show up prepared, communicate simply, respect loot rules, and stay calm after mistakes. Reliability is a progression advantage.
