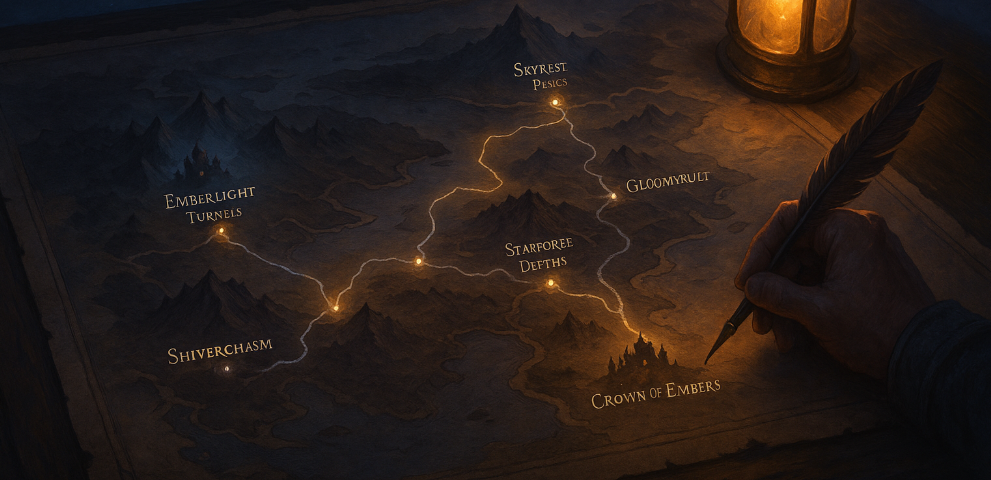
⚡ TL;DR Route (Pin This)
- Camp Waystone → South Gate → Overlook Ridge → Shallow Grotto (Level 1–9)
- Emberlight Tunnels (D1) clear → Waypost Vale hub (Level 9–14)
- Glassleaf Basin → Stormwatch Bluffs + D2: Shiverchasm (Level 14–22)
- Veilmarsh Lowlands → Sunken Archives + D3: Gloomvault (Level 22–31)
- Aurora Steppe → Frostworn Pass + D4: Starforge Depths (Level 31–40)
- Obsidian Strand → Skyrest Peaks + D5: Crown of Embers (Level 40–Cap)
Breakpoints to never skip:
- Weapon Empowerment I (post D1) → Chest Empowerment I
- Starmap: Fleetfoot → Field Rations → Basic Mastery → Iron/Gale
- Talents Row 1–2 unlocked before D2
- Waypoints: Overlook Ridge + Waypost Vale early (cuts hours later)
🎒 Pre-Route Setup (5 Minutes That Save You Hours)
- Potions: 5–8 Health; 2–3 Stamina (Archer/Guardian); 2–3 Mana (Battle Mage).
- Keybinds: Dodge on thumb (pad) / Mouse4 (K/M); Block on LB/Q.
- Vendors: If your drop is off-stat, buy a main-stat weapon to stabilize.
- Craft Plan: Hold mats for Weapon Empowerment I after D1.
- Starmap: Buy Fleetfoot → Field Rations → Basic Mastery before branching.

🌱 1–9: Starter Arc (Camp Waystone Cluster)
Zones & Flow
- Camp Waystone → South Gate → Overlook Ridge → Shallow Grotto
- Stack 2–3 quests and turn in together.
- Do one on-path mini-event (Portal Flicker) and one free cache.
Dungeon
- D1: Emberlight Tunnels (Level ~7–9)
- Route: hug right wall → kill Broodcaller first → Ember Mound: spit count 1–2, sidestep 3, burst core expose.
Breakpoints
- Starmap Dust/Fragment from D1 → spend into Path of Iron (Guardian) or Path of Gale (Archer/Mage).
- Craft Weapon Empowerment I (weapon first) at a Camp Kit outside the exit.
- Pick survival accessory from early turn-ins (+Health / +Stamina / +Mana Regen).
Class Notes
- Guardian: Learn Block → single punish rhythm; don’t greed a second hit until perfect.
- Archer: Mark → light-light → roll → burst; kite in L-shapes, not straight back.
- Battle Mage: Burn stacks to 3+ → detonate → dash through enemies (safer than backing up).
🌿 9–14: Waypost Vale On-Ramp
Zones & Flow
- Waypost Vale hub unlock → Glassleaf Basin intro
- Grab Gathering Tools (herb pouch first) so your path prints free mats.
- Activate the Vale waypoint (fast travel = free hours later).
Daily Loop (10–12 min)
- Event → Cache → Cache near the hub; sell junk → restock potions → Starmap spend.
Breakpoints
- Finish Starmap branch opener:
- Guardian: Block Efficiency → Iron Reserves
- Archer: Dash Cooldown → Eagle Eye
- Battle Mage: Dash Cooldown → Arcane Efficiency
- Chest Empowerment I if mats allow; otherwise bank for D2.
Class Notes
- Guardian: Now you can hold bigger packs; still punish only after heavies.
- Archer: Consider shortbow → longbow if your kites are clean; else stay shortbow.
- Battle Mage: If mana dips, weave one light poke between abilities.
🌬️ 14–22: Glassleaf Basin → Stormwatch Bluffs (Your First Real Pace Test)
Zones & Flow
- Glassleaf Basin side chains (pick the ones that overlap kills/gathers).
- Stormwatch Bluffs event clusters—watch weather cycles; fog phases spike mob density (great XP if you’re comfy).
Dungeon
- D2: Shiverchasm unlock (~17–18)
- Mechanics: split adds, dodge double ground rakes, kill crystals to stop boss channel.
- Whetstone on exposed windows.
Breakpoints
- Talents Row 1–2 online before D2 (huge comfort).
- Guardian: Bulwark’s Reward → Measured Strikes
- Archer: Hunter’s Rhythm → Piercing Setup
- Battle Mage: Spell Sustain → Heat Cycle
- Waypoints: Add Stormwatch to your network.
Class Notes
- Guardian: Begin 2-hit punish only if you never get chip damage on 1-hit loops.
- Archer: Trap before you roll; never trap after you’re already in danger.
- Battle Mage: Always detonate after your safety move, not before.
🦠 22–31: Veilmarsh Lowlands → Sunken Archives (Sustain Matters)
Zones & Flow
- Veilmarsh Lowlands: venom/DoT mobs—carry an extra Health potion.
- Sunken Archives: more casters, less melee; prioritize interrupts.
Dungeon
- D3: Gloomvault (~25–27)
- Spread on rot, collapse for add burn; boss triple volley = roll or block, then burst.
Breakpoints
- Starmap Safecracker + Quick Study done by now (economy + exploration XP).
- Accessory upgrade:
- Guardian +Health/Block, Archer +Stamina/Crit, Mage +Mana Regen/Power.
- Consider Gloves/Boots Empowerment I if Weapon/Chest are done.
Class Notes
- Guardian: Carry Stamina Tonic for long add phases; blocking burns stamina.
- Archer: If you’re overshooting targets, slightly lower ADS sens or add a tiny Sharpen to TAA.
- Battle Mage: If mana still tight, push Arcane Efficiency nodes before small damage picks.
❄️ 31–40: Aurora Steppe → Frostworn Pass (Damage Windows Grow)
Zones & Flow
- Aurora Steppe: wide-open—amazing for Archer/Mage AoE; kite smart.
- Frostworn Pass: hazard stripes, ground chills; pre-move to avoid chip.
Dungeon
- D4: Starforge Depths (~34–36)
- Forge boss overheat cycles—burst the post-cooldown window; adds explode on death (step out).
Breakpoints
- Minor damage nodes now start to pay (your engine—tempo/sustain—is online).
- Upgrade any blue trinket to stat-correct purple if offered (don’t chase bad affixes).
Class Notes
- Guardian: Practice step-block (tiny reposition while raising shield), it saves you in tight arenas.
- Archer: Window discipline: roll → mark refresh → burst; never reverse it.
- Battle Mage: Get greedy only on guaranteed post-telegraph windows.
🔥 40–Cap: Obsidian Strand → Skyrest Peaks (Final Sprint)
Zones & Flow
- Obsidian Strand: elite density; chain event → cache → elite for absurd XP.
- Skyrest Peaks: pathing is vertical—use waypoints aggressively.
Dungeon
- D5: Crown of Embers (~42–44)
- Boss has baited slam → ring of fire → exposed core. Save Whetstone and big cooldowns for core exposes, not the bait.
Breakpoints
- Engine complete: Fleetfoot/Field Rations/Basic Mastery + your branch & essentials.
- Final prep for cap content: verify weapon → chest empowered; fill consumables.
Class Notes
- Guardian: You’re a wall—lead pulls, call heavies, create safe burst windows for your partner.
- Archer: Longbow feels great here; if you miss windows, swap back to shortbow until rhythm is clean.
- Battle Mage: Detonate discipline = zero deaths; panic detonates wipe runs.
🧭 Breakpoints Explained (Why These Matter)
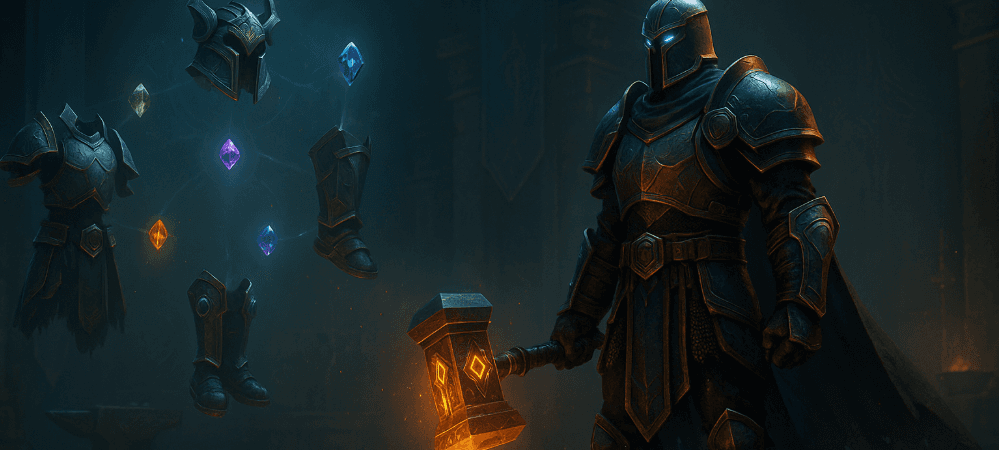
- Weapon Empowerment I: The biggest comfort/DPS spike in early game—everything gets easier.
- Chest Empowerment I: eHP without losing damage; lets you learn mechanics instead of face-planting.
- Row 1–2 Talents: They convert good intentions into muscle memory (block shield, roll-buff, mana sustain).
- Starmap Engine: Fleetfoot → Field Rations → Basic Mastery → Iron/Gale → Safecracker → Quick Study multiplies your runs; damage nodes shine after this engine is online.
👥 Duo Routing (Anchor + DPS Wins)
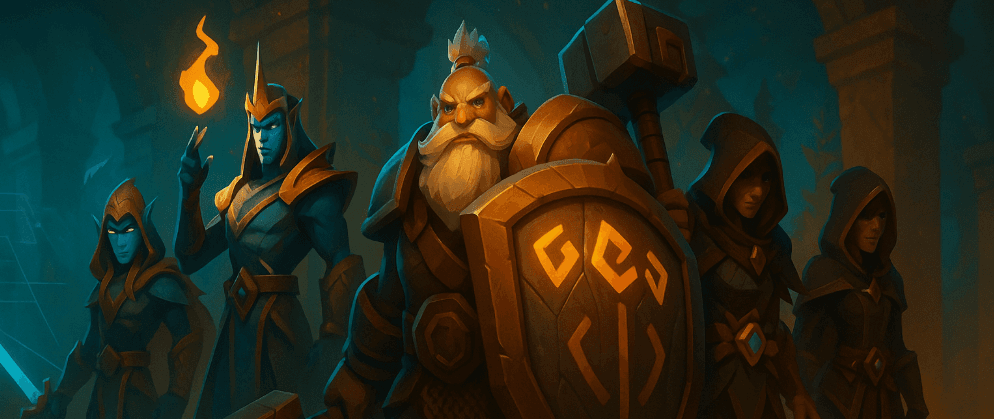
- Guardian + Archer: textbook. Guardian tags/holds, Archer bursts windows.
- Guardian + Mage: safest big pulls; Mage detonates stacked packs.
- Archer + Mage: fastest clears; requires clean kites and callouts.
Duo rules:
- Ping pulls, no chest opens mid-fight, call “heavy next,” rotate potions (one drinks, one kites).
🕒 30–45 Minute “Busy Day” Plans (Per Bracket)
1–14: Hub loop → D1 → craft Weapon Empowerment I → Starmap spend.
14–22: Event cluster in Bluffs, D2 if unlocked, talent Row 2 set.
22–31: One Veilmarsh chain, D3, buy/upgrade survival accessory.
31–40: Steppe AoE farm path + D4; take a couple minor damage nodes.
40–Cap: Strand/Peaks event → cache chains; D5 once; stock consumables.
You’re always doing story or dungeon, never pure grind.
🧪 Troubleshooting (Simple Fixes to Real Problems)
- Keep dying on elites? Add one sustain piece (+Health/+Stamina/+Mana Regen) and slow pull size.
- Boss feels random? Learn cadence: many run two normals + one big; punish only after the big.
- Stuttering? Use our FPS guide (cap frames just under refresh, lower Shadows/Volumetrics, Quality upscaler).
- Mana starvation (Mage)? Finish Arcane Efficiency and weave a light poke.
- Missing windows (Archer)? Lower ADS sens slightly; practice roll → burst timing 60s.
- Greed hits (Guardian)? Drill block → single punish ten times, then earn the second hit.
❓ FAQs
- Do I ever grind mobs? - Only if an event spawns under your feet. Otherwise story → dungeon → Starmap → craft beats grinding.
- What’s the best moment for Chest Empowerment I? - After you’ve felt Weapon Empowerment I. Do chest next; gloves/boots later.
- When should I swap bows (Archer)? - When your kites are clean. Longbow punishes positioning mistakes.
- Is a lower-ilvl item ever better? - Yes—if it has your top two stats in decent amounts.
- Solo or duo for fastest cap? - Duo kills dungeons/events quicker; solo hones mechanics. Both work—play what’s fun.
🏁 Conclusion
From Level 1 to cap, your goal isn’t “do everything”—it’s sequence the right things: zone order, dungeon timing, and breakpoints that multiply your progress. Build your engine (Starmap + potions + Empowerments), then let the damage nodes sing. Whether you’re anchoring as Guardian, kiting and bursting as Archer, or dancing detonations as Battle Mage, this roadmap keeps your runs smooth, safe, and fast.
If you want a tailor-made route (class, schedule, duo synergy) or a done-for-you push to cap, BoostRoom can blueprint and execute the whole climb for you—clean comms, steady clears, zero wasted time.
Learn more: when publishing, we’ll link the best active Fellowship wiki (official or community) for zone maps and dungeon specifics, verified per your standard.


