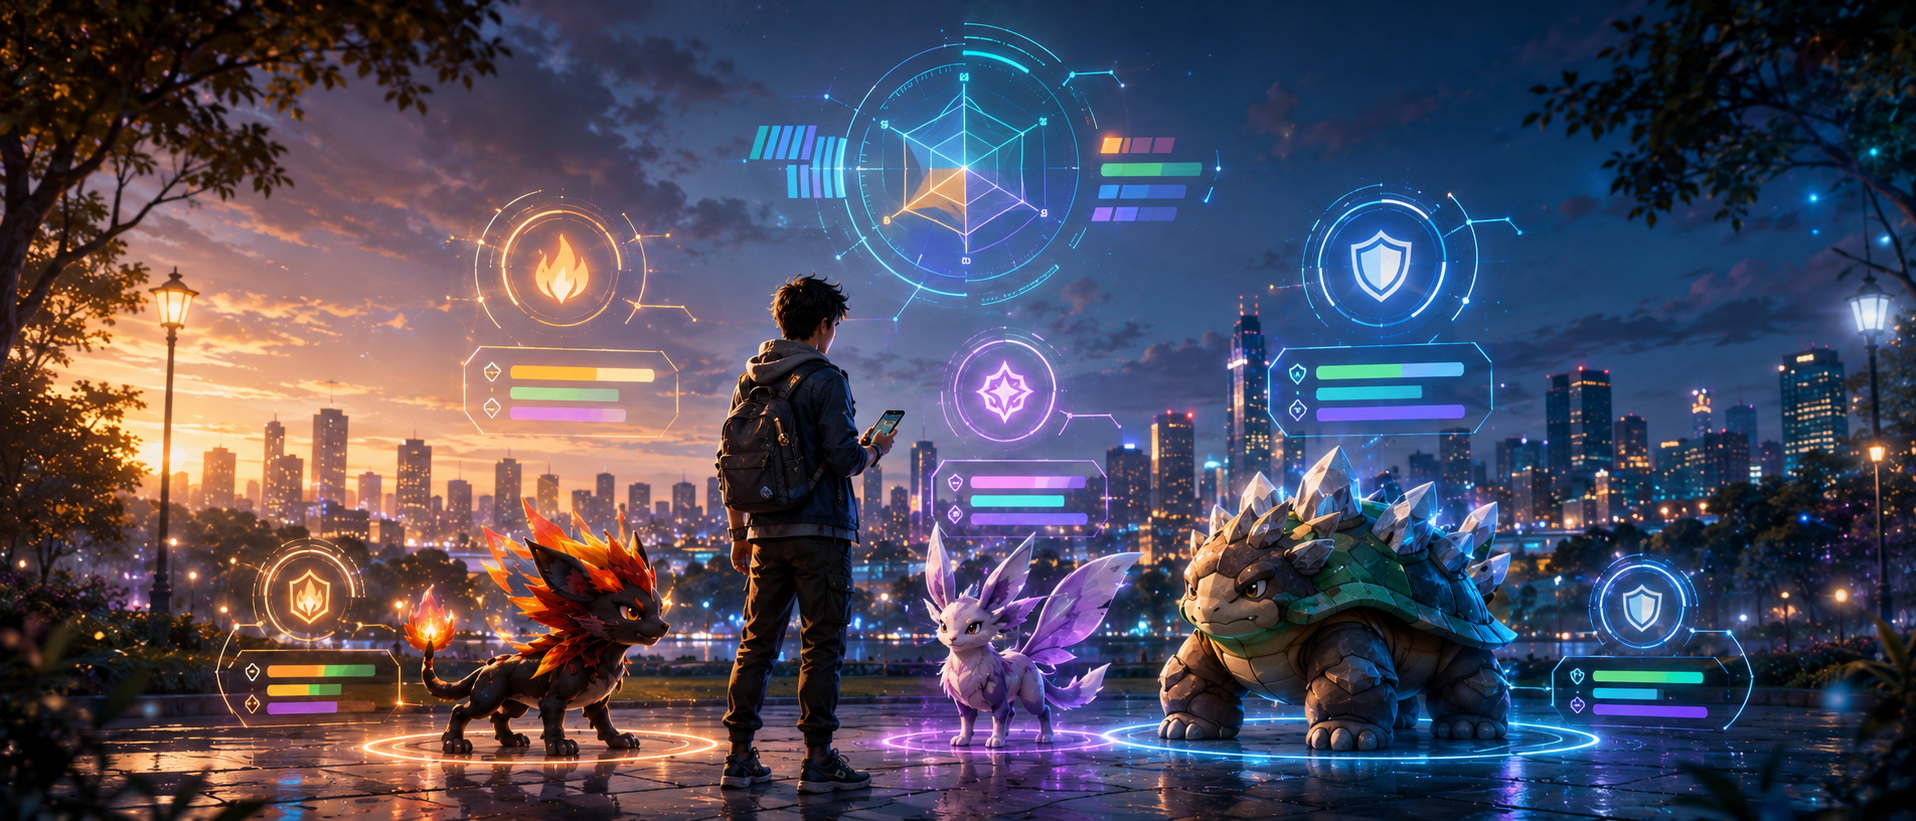
Trading Requirements and Rules You Must Know
Basic requirements
- You must be at least Trainer level 10 to trade.
- You and your friend normally must be near each other in real life to trade (in-person trading).
- Trading costs Stardust, and the amount depends on what you trade and your friendship level.
What changes when you trade
- CP, HP, and IVs change (the game shows a CP/HP range before you confirm).
- The Pokémon becomes owned by your friend and cannot be traded again later (traded Pokémon are one-trade-only).
- Trades can affect candy required to evolve certain Pokémon (trade-evolution discount).
What cannot be traded (common restrictions)
- Pokémon that were already traded once
- Most Mythical Pokémon (a few exceptions may exist, but generally assume Mythicals are not tradeable unless the game allows it)
- Shadow Pokémon (and additional restrictions apply to remote trades)
In-Person Trade Distance and Event Bonuses
Normal in-person trading
Bold line: In most situations, you need to be very close to your friend to start a trade.
Occasional extended trade distance
Sometimes the game runs bonuses that temporarily increase the distance required for in-person trades. These are limited-time perks, and they’re not always active.
Important safety note
Only trade with people you trust and meet in safe public places with a parent/guardian if needed. Trading should never pressure you into meeting strangers.
Remote Trades and the “Forever Friends” Tier
Trading isn’t only in-person anymore for everyone: a special friendship milestone can unlock Remote Trading.
How Remote Trading works (simple version)
- You can unlock Remote Trading by reaching a higher friendship milestone called Forever Friends.
- You earn a Remote Trade when you first reach that milestone, and you can earn more by continuing to gain friendship points with that same friend.
- Remote Trades have their own process using a special tag and a request/selection flow.
Remote Trade limits
- Bold line: Remote Trades are limited (including a daily limit), and they require you to follow the remote trade steps within a response window.
Remote Trade restrictions
Remote Trades have extra restrictions compared to in-person trades (for example, Pokémon caught very recently and certain special states/forms may not be eligible). Always check the in-game eligibility rules during the remote trade flow.
Why Remote Trading matters
- It’s a huge quality-of-life upgrade if your best trading partner isn’t physically nearby.
- It can help you plan Lucky Trades and candy trades without travel.
Friendship Levels Explained (And Why They Matter for Trading)
Friendship levels are the main “discount system” for trading.
The friendship milestones
- Friend (just added)
- Good Friend
- Great Friend
- Ultra Friend
- Best Friend
- Forever Friends
What friendship does for trading
- Unlocks special trades at Good Friend
- Reduces Stardust cost more and more as friendship increases
- Enables the chance for Lucky Friends (after Best Friend)
- Can unlock Remote Trading at the highest milestone
How friendship points work
Bold line: You can usually earn up to one friendship point per day per friend through key interactions like opening gifts, trading, battling together, or raiding together. Some systems (like weekly features) may allow extra points.
Fast Ways to Increase Friendship Levels
If you want cheaper trades and more Lucky chances, friendship progress is the best investment.
Best daily friendship actions
- Open a gift from that friend (or have them open yours)
- Trade with that friend
- Battle together (raids, gyms, or trainer battles)
- Do other in-game interactions that count toward friendship
The smartest habit
Bold line: Do one meaningful interaction daily with your key trading partner. Consistency beats intensity.
Pro tip for busy players
If you can’t play long, simply:
- open a gift
- send a gift back
- That alone steadily builds friendship and unlocks huge Stardust savings later.
Stardust Trade Costs (What You’ll Actually Pay)
Trading costs Stardust. The cost depends on two things:
- Friendship level (higher friendship = cheaper trades)
- Trade type (regular vs special, registered vs new)
Regular trades
A normal trade (already registered Pokémon, not shiny/legendary/ultra beast/new form) is cheap.
Special trades
Special trades cost much more and have daily limits.
Registered vs new
“Registered” means you already have that Pokémon/form in your Pokédex. “New” means you don’t. New entries cost dramatically more.
Real-world advice
Bold line: If a special trade is not urgent, wait until Ultra/Best friendship for a massive Stardust discount.
What Counts as a Special Trade
Special trades cost more Stardust and are limited per day. Special trades include:
- A Pokémon you don’t already have in your Pokédex
- Legendary Pokémon
- Shiny Pokémon
- Ultra Beasts
- Forms you don’t have registered (examples include regional forms, Unown entries, costumed versions, and other form variations)
- Pokémon with special features (certain unique features can make a trade “special”)
Important: “special” is about the trade, not the Pokémon’s power
Even if the Pokémon is weak in battle, a new Pokédex entry can still make it a special trade.
Daily Limits: How Many Trades Can You Do
Normal trades per day
There is a daily cap on the total number of trades you can complete in a day. If you plan a big trading session, you’ll want to pace it and focus on your highest-value trades first.
Special trades per day
Bold line: Special trades are limited to a small number per day (often one), and some events temporarily allow more.
Remote trade daily limit
Remote trades also have a daily cap. If you’re planning remote trading, don’t waste your daily remote slot on low-value trades.
Lucky Pokémon: What They Are and Why They’re Amazing
Lucky Pokémon are one of the strongest rewards trading can give you.
What makes a Pokémon “Lucky”
A trade can result in both traded Pokémon becoming Lucky. When a Pokémon becomes Lucky:
- It costs half Stardust to power up
- It has a strong minimum IV floor, making it more likely to be a high-quality build
Why Lucky Pokémon are so valuable
Bold line: Lucky Pokémon save you huge Stardust over time.
If you plan to power up something expensive (raids or Master League), Lucky is one of the best upgrades you can get.
What Lucky does not do
Lucky does not guarantee a perfect Pokémon. It guarantees that the floor is high and the cost is lower—still incredibly useful.
Lucky Trades vs Lucky Friends (Know the Difference)
Lucky Trade
A trade where both Pokémon become Lucky.
Lucky Friends
A special temporary status between two players that guarantees the next trade between them becomes a Lucky Trade.
Key idea
Lucky Trades can happen randomly, but Lucky Friends is how you can plan a guaranteed Lucky Trade for something you truly care about.
How Lucky Friends Works
Lucky Friends is one of the best systems in the game for high-value trading.
How you become Lucky Friends
- You must already be Best Friends with the other trainer.
- After you reach Best Friends, subsequent friendship interactions have a small chance to trigger Lucky Friends status.
What happens when you’re Lucky Friends
- Your next trade with that friend is guaranteed Lucky.
- After you complete that trade, the Lucky Friends status is cleared.
- You can become Lucky Friends again later through more friendship interactions.
The most important Lucky Friends habit
Bold line: Do your first meaningful interaction daily with your Best Friend trading partner. That’s how you roll the “Lucky Friends chance” consistently over time.
How to Choose the Best Pokémon for a Lucky Trade
If you only get a guaranteed Lucky trade occasionally, don’t waste it.
Use Lucky Trades for Pokémon you will actually invest in
Great Lucky Trade targets usually match at least one of these:
- You plan to power it up a lot (high Stardust cost project)
- It’s a top raid attacker you’ll use repeatedly
- It’s a Master League or Master Premier staple you want maxed
- It’s a rare Pokémon you can’t easily replace if you get a bad IV roll
Avoid using Lucky Trades on
- Common Pokémon you can catch every day
- Pokémon you don’t plan to power up
- “Just for fun” trades that don’t improve your account
Collector exception
If you’re a collector, it’s totally valid to use Lucky on a rare shiny you truly love. Just know that the “power value” is lower than using it on a heavy investment.
Trading for Raids: The Best Strategy
Trading is one of the fastest ways to build raid teams—especially after big spawn events.
Best raid trade types
- Mirror trades (same Pokémon for same Pokémon) to reroll IVs
- Distance trades to earn extra candy and Candy XL
- Lucky Trades for expensive raid attackers you want powered up
Why mirror trading is so effective
You catch a bunch of the same useful attacker, then trade duplicates with a friend:
- You both get new IV rolls
- You both potentially get Lucky results
- You both gain candy from the trade
The best time to do raid-building trades
Right after you’ve caught many duplicates of a strong species (like after a featured spawn window). You don’t need perfect timing—just do it while you still have lots of duplicates.
Trading for PvP: The Smart Way (And the Trap to Avoid)
PvP trading is different because Great League and Ultra League often prefer bulk-focused IV spreads.
The PvP trading trap
Trading raises IV floors depending on friendship and lucky status. For Great League especially, that can be bad because:
- low Attack is often ideal
- higher floors can remove the “low Attack, high bulk” spreads you want
When trading helps PvP
- You want Ultra League candidates where higher IV floors can still work well
- You want to reroll a Pokémon that is hard to find and you need multiple attempts
- You want to get a specific Pokémon/form that you can’t catch locally
- You’re building for formats where “high IV” is preferred (like Master League)
Practical PvP rule
Bold line: Trade for PvP when you need access or many rerolls—not just because you want “higher stars.”
Candy and Candy XL From Trading (Distance Matters)
Trading doesn’t only reroll IVs—it also gives candy for the Pokémon you trade away.
How trade candy works
- Each trade gives candy for the Pokémon you traded away.
- The amount of candy increases based on the distance between the catch locations of the two Pokémon being traded.
Common distance tiers players use
- Short distance trades give the lowest candy
- Medium distance trades give more candy
- Very long distance trades give the most candy
Candy XL basics
If you’re at a high enough trainer level to earn Candy XL, trading can also give Candy XL with a chance that increases with distance. Very long-distance trades can be a reliable XL method.
The “distance trade” habit
Bold line: Save Pokémon caught far away (travel catches, gift-egg hatches, event catches from different cities) for later trade sessions. Those distance pairs are pure value.
How to Build a “Distance Trade Bank” Without Traveling
You don’t need to fly around the world to do distance trades.
Smart ways to collect far-distance Pokémon
- Hatch eggs received from friends who live far away
- Keep Pokémon caught during trips (even short trips help)
- Save catches from different regions of your country if you travel at all
- Coordinate with a friend who also has a “distance bank” and trade your banks together
How to find distance Pokémon quickly
Use your storage tags and favorite system:
- Tag “Distance Trade” on anything you want to trade later
- Keep them until you have a big session
- This avoids accidentally transferring your distance value.
Trade Evolution: Free Evolutions After Trading
Some Pokémon lines get a special bonus after being traded: evolving them may require zero candy (or less candy than normal).
Why trade evolution matters
- It turns trading into a candy-saver
- It’s perfect for building evolutions you want for Pokédex or teams
- It’s a sneaky way to save resources when you’re newer
How to use trade evolution smartly
Bold line: Trade the Pokémon first, then evolve the traded version.
If you do it the other way around, you lose the discount.
Best use case
If you and a friend both need evolutions, trade duplicates back and forth and evolve the traded ones. You’ll save a ton of candy over time.
Stardust-Saving Trade Plan (The One Most Players Should Follow)
If you don’t want to overthink, this plan works for almost everyone.
Step 1: Grow friendship before special trades
- Don’t rush expensive trades at low friendship
- Aim for Ultra or Best for big discounts
Step 2: Use daily special trade wisely
- Only do a special trade when it’s truly high value
- If you’re not sure, save it
Step 3: Use normal trades for volume
- Mirror trade useful Pokémon in bulk
- Focus on candy and IV rerolls
Step 4: Convert volume into power
- Keep the best result(s)
- Transfer or trade away the rest later
- Power up only your winners (especially if Lucky)
Best Trade Session Types (Pick One and Do It Well)
A “trade session” is when you sit down with a friend (in-person or remote) and trade with a goal.
Session type: Lucky Friends “big trade”
- Goal: one guaranteed Lucky trade for a premium target
- Bring: exactly what you both agreed on
- Tip: confirm you’re both ready before selecting
Session type: Mirror trade reroll
- Goal: reroll IVs for a specific species
- Bring: 50–100 duplicates of that species
- Tip: trade the highest-level duplicates first if you want a usable result immediately
Session type: Distance candy + XL grind
- Goal: maximize candy and Candy XL
- Bring: your distance-tagged bank
- Tip: trade in batches and keep moving; sorting comes later
Session type: Dex completion
- Goal: new entries (special trades) and missing forms
- Bring: a priority list (top 3 things you want)
- Tip: don’t waste Stardust on filler new entries you don’t care about
How to Avoid Bad Trades (Mistakes That Hurt Most)
Mistake: doing special trades too early
You pay a massive Stardust premium. The fix is simple: wait for higher friendship if the trade can wait.
Mistake: trading your only rare Pokémon
If you’ll regret losing it, don’t trade it. A good rule is: keep one copy of any rare, shiny, or costume you care about before trading extras.
Mistake: using your daily special trade on low value
Bold line: Your daily special trade is your “premium slot.” Use it on premium targets.
Mistake: forgetting that IVs reroll
A perfect Pokémon can become average after trading. Never trade something you need to stay perfect for your own use.
Mistake: trading for Great League and accidentally ruining the IV shape
If you care about Great League, don’t assume “Lucky = best.” Lucky floors are often too high for the best Great League bulk spreads.
Mistake: meeting unsafe people to trade
Trading should never risk your safety. Only trade with people you trust, in safe places, with adult support if needed.
Privacy and Safety Tips for Trading
Trading and friends systems can reveal small bits of personal info. Protect yourself.
Location awareness
Friends may infer your area from gifts and trading meetups. Keep that in mind before adding strangers.
Trade with people you know
Bold line: If you’re a younger player, stick to friends you know in real life (classmates, family, trusted community groups with adult supervision).
Keep meetups public and short
If you trade in person, do it in a public place and keep it quick—especially if it’s just one special trade.
Best Things to Trade (High Value Categories)
If you want the best results, prioritize trades in these categories.
High value: raid attackers
- Pokémon you will power up and use repeatedly
- Shadow versions are usually not tradeable, but strong normal versions can still be huge value—especially as Lucky Pokémon
High value: Master League projects
- Expensive builds where Lucky Stardust savings matter a lot
- Pokémon where near-perfect IVs are preferred
High value: rare forms and Pokédex gaps
- Regionals, Unown entries, costume Pokédex entries, and special forms you truly care about
High value: distance bank Pokémon
- Anything caught far away that fuels candy/XL trades later
Medium value: shiny duplicates
If you have multiple, trading extras can be great—especially with Lucky Friends. But don’t overpay Stardust for shinies you don’t actually want.
Low value: common filler
Common spawns are better transferred than traded unless you’re doing bulk mirror trades for a specific purpose.
Best Times to Trade
After a featured spawn window
You’ll have lots of duplicates, which makes mirror trading powerful.
When you’re sitting on too many duplicates
Instead of transferring for minimal candy, trade first to reroll IVs and gain trade candy.
Before you invest Stardust
If you plan to power something up, trade first (especially if you can aim for Lucky). Don’t power up an “okay” version if you can reroll a better one cheaply.
During trade bonus events
Some events add trade perks (extra candy, extra special trades, extended distances). When those happen, it’s the best time to do your biggest trade sessions.
Trading Checklist (Use This Before You Confirm)
Confirm these six things
- Is it a special trade? If yes, is it worth your premium slot?
- Is the Stardust cost acceptable? If not, wait for higher friendship.
- Are you okay with IV reroll? If not, don’t trade it.
- Is this Pokémon tradable? Mythicals and previously traded Pokémon usually aren’t.
- Do you have enough storage space? Trade sessions can fill storage fast.
- Are you trading safely? Don’t risk safety for a trade.
BoostRoom: Trade Smarter, Get Better Pokémon Faster
If you want trading to feel like a power tool (not a confusing menu), BoostRoom can help you turn trades into a simple plan.
How BoostRoom helps your trading results
- Personal trade priority lists: what to special trade vs what to bulk trade based on your goals
- Lucky planning: how to use Lucky Friends and Lucky trades on the highest-impact targets
- Candy/XL strategy: building a distance bank and using trade sessions to fuel real upgrades
- PvP-safe advice: avoiding the “Lucky ruined my Great League IVs” trap
- Resource protection: minimizing Stardust waste by timing friendship discounts and planning daily limits
If you want better teams faster—and fewer “I shouldn’t have traded that” regrets—BoostRoom turns trading into a repeatable system.
FAQ
How close do you need to be to trade in person?
In-person trades require you to be physically near your friend. If you can’t see the Trade button become available, move closer and try again.
What is a special trade?
Special trades include new Pokédex entries, Legendary Pokémon, Shiny Pokémon, Ultra Beasts, and unregistered forms (like certain regionals, Unown entries, and costumes). Special trades cost more Stardust and are limited per day.
How many special trades can I do per day?
Special trades are limited per day. Most of the time it’s one, but some events allow more. Always check in-game when an event is live.
What are Lucky Pokémon?
Lucky Pokémon are special trade results that cost half Stardust to power up and have a high minimum IV floor. Lucky Pokémon are great for expensive raid attackers and Master League projects.
What are Lucky Friends?
Lucky Friends is a temporary status that can happen after you become Best Friends with someone. When you’re Lucky Friends, your next trade with that person is guaranteed to be Lucky.
Do IVs change when trading?
Yes. IVs reroll every time you trade, which also changes CP and HP. Never trade something you need to keep “perfect.”
Can you trade Mythical Pokémon?
Most Mythical Pokémon can’t be traded. If the game won’t let you select it in the trade screen, it’s not tradable.
Can you trade Shadow Pokémon?
Shadow Pokémon can’t be traded in normal trades, and they are also restricted in remote trading.