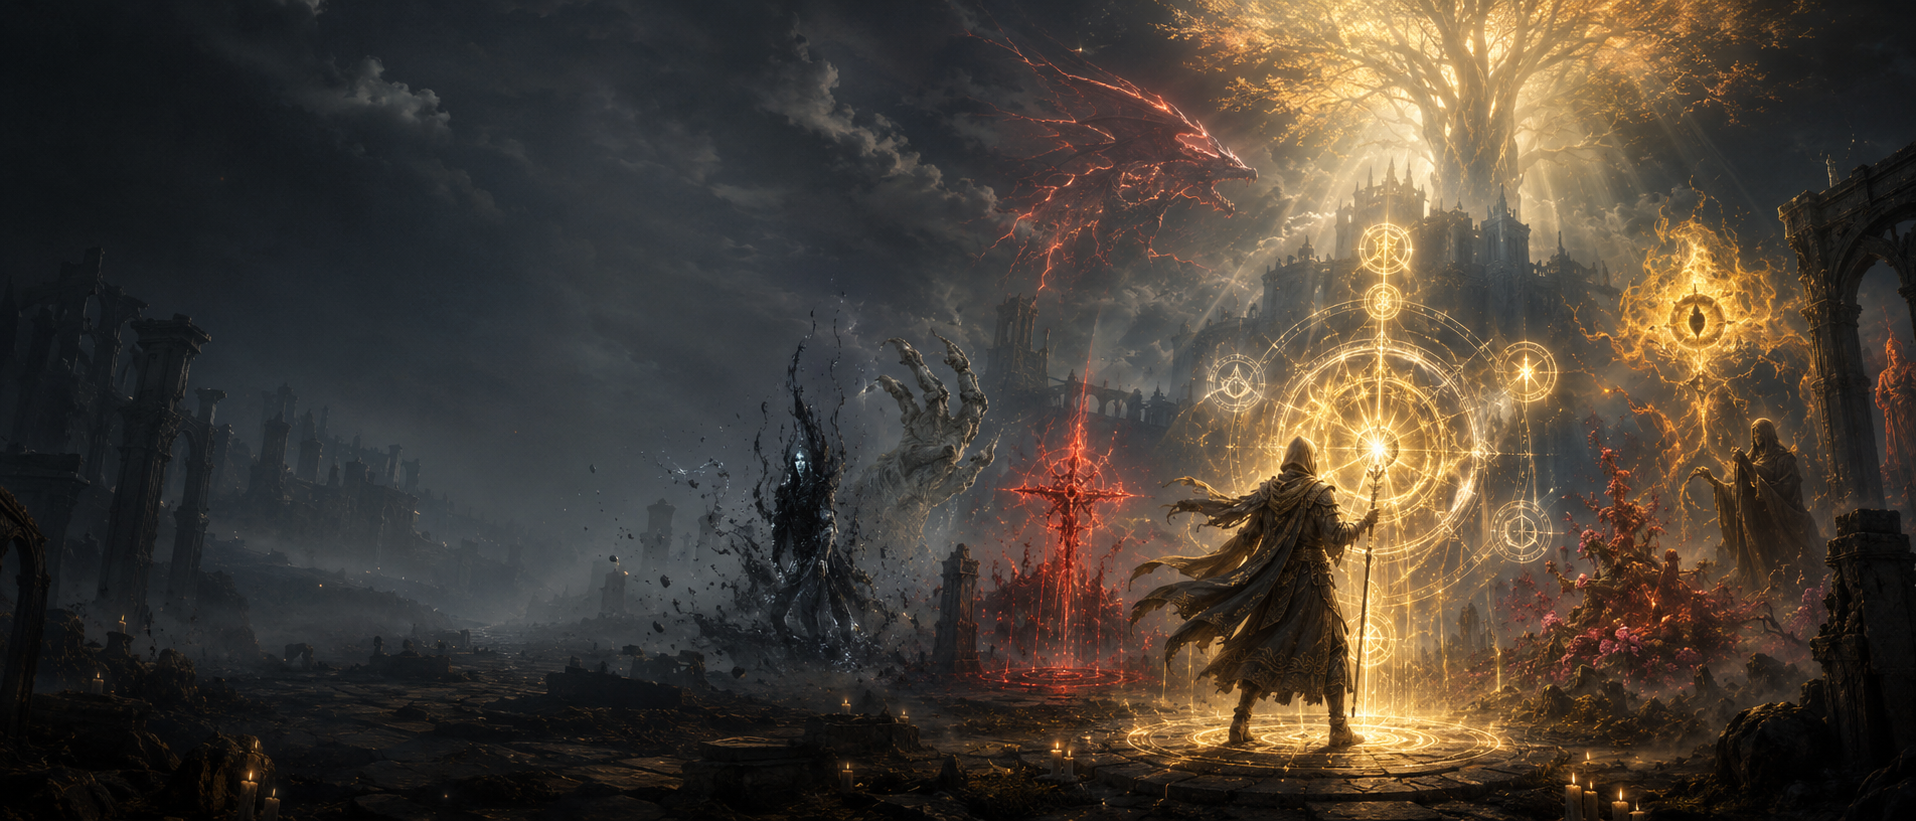
Subtitle: Proc effects are different from buildup effects
Some statuses hurt you while they build (small chip or visual stress). Others do almost nothing until they proc—then they slam you. Learning which is which is a major survival upgrade.

The four resistance stats you must know
Subtitle: These stats decide how fast your bars fill
Elden Ring ties status resistance to four core defensive stats:
Immunity: resistance to Poison and Scarlet Rot (and related toxin effects). Immunity is commonly increased by Vigor and by gear/consumables.
Robustness: resistance to Bleed (Hemorrhage) and Frostbite. Robustness is commonly increased by Endurance and by gear/consumables.
Focus: resistance to Sleep and Madness. Focus is commonly increased by Mind and by gear/consumables.
Vitality: resistance to Death Blight (not the focus of this guide, but it matters if you explore certain late zones). Vitality is boosted through specific gear and effects.
Subtitle: What resistance does (and doesn’t do)
Resistance does not make you immune in most cases. It makes the bar fill slower, giving you more time to respond. That “more time” is what prevents panic decisions.
Subtitle: The beginner trap: ignoring resistance until it’s too late
If you enter a rot swamp with low Immunity and no cure plan, you’ll spend the whole area healing rot instead of enjoying exploration. If you face madness-heavy enemies with low Focus, you’ll get stun-locked into disasters. Resistance turns these areas from miserable to manageable.
Curing and preventing status effects
Subtitle: Resting is a reset button
Resting at a Site of Grace restores HP/FP and can clear many negative effects, including common status ailments.
Subtitle: Boluses are the “instant fix” family
Boluses are consumables designed to alleviate buildup and/or cure the active status. The key bolus types include:
- Stanching Boluses (Bleed buildup)
- Thawfrost Boluses (Frost buildup / Frostbite)
- Neutralizing Boluses (Poison)
- Preserving Boluses (Scarlet Rot)
- Stimulating Boluses (Sleep)
- Clarifying Boluses (Madness)
Subtitle: Healing isn’t curing
HP flasks heal damage but do not remove most active statuses. If you’re rotting, healing only buys time. Curing stops the drain.
Subtitle: The best prevention plan is “two-layered”
For any status-heavy area or boss, aim for two layers of protection:
Layer 1: resistance (gear, stats, temporary buffs)
Layer 2: cure plan (bolus or cleansing option)
That combination keeps you calm, which is half the battle.
Bleed explained (Hemorrhage)
Subtitle: What Bleed does when it procs
Bleed is the “sudden HP chunk” status. When the bar fills, you take a burst of damage immediately. Against many normal enemies, Hemorrhage is commonly described as 15% of max HP plus a flat 100 or 200 (flat value depends on the source that triggered it).
Many bosses and tougher enemies often take reduced percentage damage compared to regular mobs (the exact percentage can vary by enemy type).
Subtitle: Why Bleed feels unfair to new players
Bleed punishes “I can tank one more hit.” You might be fine at 60% HP—then a proc drops you into panic range instantly. Bleed turns small mistakes into emergency situations.
Subtitle: Common Bleed situations in PvE
Bleed is often present in:
- fast multi-hit enemies (your bar fills before you realize it)
- ambush fights (you take multiple small hits quickly)
- “dogpile” moments in tight rooms (your bar fills while you’re trying to escape)
Subtitle: How to survive Bleed (practical rules)
Rule 1: When your bleed bar reaches about 60–70%, stop trading hits and start playing clean.
Rule 2: If you must heal, heal before the proc puts you in one-shot range.
Rule 3: Treat multiple small enemies as a Bleed risk even if you don’t see a Bleed icon yet—multi-hit pressure is how Bleed sneaks in.
Rule 4: Raise Robustness if a zone or boss keeps bleeding you. Robustness slows the buildup so you can escape before the proc.
Subtitle: How to cure Bleed buildup
Use Stanching Boluses to reduce Bleed buildup and prevent a proc when the bar is climbing.
Frostbite explained
Subtitle: Frostbite has two parts: burst + debuff
Frostbite is powerful because it does instant proc damage and then applies a temporary debuff. When it triggers, Frostbite commonly deals a chunk of damage (often described as a percent of max HP plus a small flat value), then reduces the target’s damage absorption so they take more damage for a window of time.
A widely cited effect is a 20% damage absorption penalty (meaning the target takes more damage) for about 30 seconds.
Frostbite is also commonly described as slowing stamina recovery while active.
Subtitle: Why Frostbite feels scary
Frostbite is “damage now” plus “danger later.” The proc hurts, and the debuff makes the next hits hurt more. That’s why a Frostbite proc can start a death spiral even if the proc itself wasn’t lethal.
Subtitle: Frostbite and repeat procs (important mechanic)
Frostbite generally doesn’t keep building the same way while the debuff is active. Many guides describe that it can be removed by fire damage, after which it can be applied again.
You don’t need to “play around” this in a complicated way—just understand why your bar may stop building for a while after a proc.
Subtitle: How to survive Frostbite (practical rules)
Rule 1: When Frostbite procs, assume you are temporarily more fragile and avoid greedy trades.
Rule 2: Reset the fight rhythm: dodge once cleanly, reposition, then heal if needed.
Rule 3: If you keep getting Frostbitten, raise Robustness and keep a cure option ready. Robustness slows buildup and buys you escape time.
Subtitle: How to cure Frostbite
Thawfrost Boluses can alleviate frost buildup and cure Frostbite.
Poison explained
Subtitle: Poison is damage over time, not a burst
Poison is the classic damage-over-time status. It drains HP steadily for a duration after it procs. It’s usually not as instantly lethal as Bleed, but it punishes long exploration because it quietly consumes healing resources.
A commonly cited “normal poison” formula is (0.07% Max HP + 7) per second for 90 seconds, totaling (6.3% Max HP) + 630 over the full duration (for typical cases).
Subtitle: Why Poison kills beginners
Poison rarely kills you immediately. It kills you by forcing bad decisions:
- you chug flasks during normal enemies
- you arrive at the boss room with less healing
- you rush because “I’m losing HP,” then take extra hits
Subtitle: Poison zones are a mindset test
In poison swamps, you win by playing slow and efficient. Poison is manageable when you stop panic-healing and start treating cure tools as part of your route.
Subtitle: How to survive Poison (practical rules)
Rule 1: Don’t waste multiple flasks to fight poison; cure it when possible instead of out-healing it.
Rule 2: If you can’t cure yet, treat poison as a timer and finish fights quickly, then reset safely.
Rule 3: Increase Immunity if poison buildup is constant; it reduces how often you get re-poisoned.
Subtitle: How to cure Poison
Neutralizing Boluses cure poison and help manage buildup.
Scarlet Rot explained
Subtitle: Scarlet Rot is Poison’s terrifying big sibling
Scarlet Rot is also damage over time, but it’s typically much stronger than normal poison and often lasts longer. It’s one of the most feared status effects because it can burn through HP and flasks fast.
Rot damage can vary widely depending on the source. For example, one commonly cited high-potency rot instance is described as (3.3% Max HP) + 26 per second for 300 seconds (often associated with a major rot source), while other environmental sources can be lower potency (examples include values like (2% Max HP) + 8 per second for 90 seconds for a swamp-type source).
Subtitle: Why Scarlet Rot feels oppressive
Rot forces you to solve it. You can sometimes “ignore” poison for a short fight. Rot usually punishes that approach, especially in late zones where enemies are already dangerous.
Subtitle: The scarlet rot spiral (what’s actually happening)
The rot spiral looks like:
Rot procs → you heal more often → you run out of flasks → you panic → you take more hits → rot keeps ticking → you die.
Breaking this spiral is not about bravado. It’s about preparation and discipline.
Subtitle: How to survive Scarlet Rot (practical rules)
Rule 1: If rot procs, decide quickly: cure now, or retreat to a safe space first—don’t fight in chaos while rotting.
Rule 2: In rot zones, keep your camera and footing calm. Falling, cornering yourself, or getting surrounded is usually the real reason rot kills you.
Rule 3: Increase Immunity when rot is common. Immunity directly slows poison/rot buildup.
Rule 4: Use “route logic”: clear safe pockets first, then push into rot-heavy areas with a plan to reset.
Subtitle: How to cure Scarlet Rot
Preserving Boluses are the classic cure tool for Scarlet Rot.
Sleep explained
Subtitle: Sleep is a control status: it stops you from acting
Sleep is designed to incapacitate. On many weaker enemies, it can put them to sleep for a period. Against stronger enemies, it may behave more like a heavy stagger.
For the player, Sleep is dangerous because it can briefly stagger you and drain FP. One commonly cited player effect is FP drain equal to 30 + 10% of max FP when Sleep is inflicted.
Subtitle: Eternal Sleep (a rarer, nastier cousin)
Some sources distinguish Sleep from Eternal Sleep, which is treated as a stronger variant with different FP drain behavior.
You don’t need to memorize the math—just recognize that “sleep-like” effects can vary in severity.
Subtitle: Why Sleep is so punishing in real fights
Sleep often punishes you when you’re already under pressure. Getting staggered at the wrong moment can eat a full combo or knock you into hazards.
Subtitle: How to survive Sleep (practical rules)
Rule 1: Treat rising Sleep buildup like rising Bleed buildup: once it’s high, you must reset.
Rule 2: If you rely heavily on FP, Sleep is extra punishing. Plan to protect Focus and don’t enter sleep-heavy zones with “bare minimum” FP management.
Rule 3: Increase Focus if Sleep is constantly proccing on you; it slows the buildup.
Subtitle: How to cure Sleep
Stimulating Boluses alleviate Sleep buildup.
Madness explained
Subtitle: Madness is the “panic status” (stun + big penalty)
Madness is one of the most dramatic statuses because the proc causes a heavy stagger and drains a significant amount of HP and FP.
Many sources describe Madness as ineffective against most non-Tarnished enemies (it’s famous for mostly affecting Tarnished and certain NPCs), which is why it’s discussed differently in PvE compared to other statuses.
Subtitle: The Torrent detail that catches people off guard
If you’re riding Torrent and Madness procs, you can be knocked off instantly—turning a safe ride into a sudden disaster.
Subtitle: Why Madness kills players
Madness kills you by stealing control. The stagger and resource drain can happen at the exact moment you needed to dodge, heal, or sprint. It’s not just “damage,” it’s “your next three seconds are ruined.”
Subtitle: How to survive Madness (practical rules)
Rule 1: When Madness buildup is high, your goal is not damage—it’s safety. Break line of sight, reposition, and let the bar fall.
Rule 2: Assume you can’t “roll through it” safely. If you’re already under pressure, the proc stagger is what kills you.
Rule 3: Raise Focus (via Mind/gear/temporary buffs) if you’re exploring madness-heavy areas.
Rule 4: If you’re mounted, treat Madness threats as dismount threats and avoid staying exposed.
Subtitle: How to cure Madness
Clarifying Boluses alleviate Madness buildup and are one of the most direct answers to the status.
What to do when multiple statuses are in play
Subtitle: Elden Ring loves stacking threats
The game often combines:
- a damage-over-time zone (poison/rot)
- plus enemies that apply Bleed or Frost
- plus tight terrain that makes movement errors lethal
The trick is recognizing which threat is the “real killer.” Usually it’s not the DoT itself—it’s the panic decisions the DoT causes.
Subtitle: The “priority ladder” that prevents panic
When multiple statuses are happening, use this order:
1) Avoid control-loss procs: Sleep and Madness can cost you the fight instantly.
2) Avoid burst procs: Bleed and Frostbite procs can drop you into one-shot range.
3) Then manage DoTs: Poison and Rot are dangerous, but they’re predictable.
Subtitle: The smartest reset move
If your bars are all high, stop trying to win right now. Reset: create distance, cure, heal, and re-engage calmly. That one habit alone wins countless fights.
PvE vs PvP: why these statuses feel different
Subtitle: PvE is about survival efficiency
In PvE, statuses are often environmental and enemy-driven. Your goal is to preserve flasks, avoid control loss, and prevent sudden procs during boss patterns.
Subtitle: PvP is about momentum and psychology
In PvP, status pressure changes how people move. Even if you’re not “about to die,” a high buildup bar forces early rolls and bad decisions. Understanding this helps you stay calm when pressured.
Subtitle: The best universal skill is “bar awareness”
Whether PvE or PvP, watching the bar is a skill. If you only notice statuses when they proc, you’re reacting too late.
The status-effect cheat sheet (fast reference)
Subtitle: One-line definitions you can remember
Bleed (Hemorrhage): buildup → sudden burst HP loss.
Frostbite: burst damage + temporary “take more damage” debuff (often ~20%) and slowed stamina recovery.
Poison: steady HP drain over time; manageable but resource-taxing.
Scarlet Rot: stronger, more punishing HP drain over time; potency varies by source.
Sleep: control loss / stagger; drains FP for players; stronger targets may be staggered rather than fully slept.
Madness: heavy stagger + big HP/FP penalty; mostly affects Tarnished/humanoid targets; can knock you off Torrent.
Subtitle: Which resistance stat matters
Bleed/Frost → Robustness
Poison/Rot → Immunity
Sleep/Madness → Focus
BoostRoom: make hard status zones feel fair
Status-heavy areas are where many players burn out—especially rot swamps, frost-heavy late zones, and madness pressure segments. If your goal is to keep Elden Ring fun (not exhausting), BoostRoom can help you push through the “status wall” moments that stall progress.
Subtitle: What BoostRoom helps with
Better survival planning: raise the right resistance and survivability baseline so you stop getting deleted by sudden procs.
Smoother progression: move through status-heavy regions without losing hours to repeated resets.
Less frustration, more learning: when you survive longer, you learn patterns faster—and everything becomes easier.
Momentum protection: if a single rot zone or madness section is killing your enjoyment, BoostRoom helps you keep the playthrough moving.
FAQ
What is the strongest status effect in Elden Ring?
It depends on the situation. Bleed and Frostbite are terrifying because they can swing a fight instantly with burst damage, while Scarlet Rot is terrifying because it drains resources and punishes long attempts.
Which stat helps against Bleed and Frostbite?
Robustness. Increasing Robustness slows how quickly Bleed and Frost buildup reaches a proc.
Which stat helps against Poison and Scarlet Rot?
Immunity. Higher Immunity slows Poison and Rot buildup.
Which stat helps against Sleep and Madness?
Focus. Higher Focus slows Sleep and Madness buildup.
Why do I die “randomly” even when my HP seemed fine?
Often it’s a status proc. Bleed and Frostbite can chunk HP suddenly, and Madness/Sleep can stagger you into a lethal follow-up.
What should I do when my status bar is almost full?
Reset immediately: create space, stop trading hits, let buildup drop, and use a cure if you have one. Waiting until it procs is how most deaths happen.