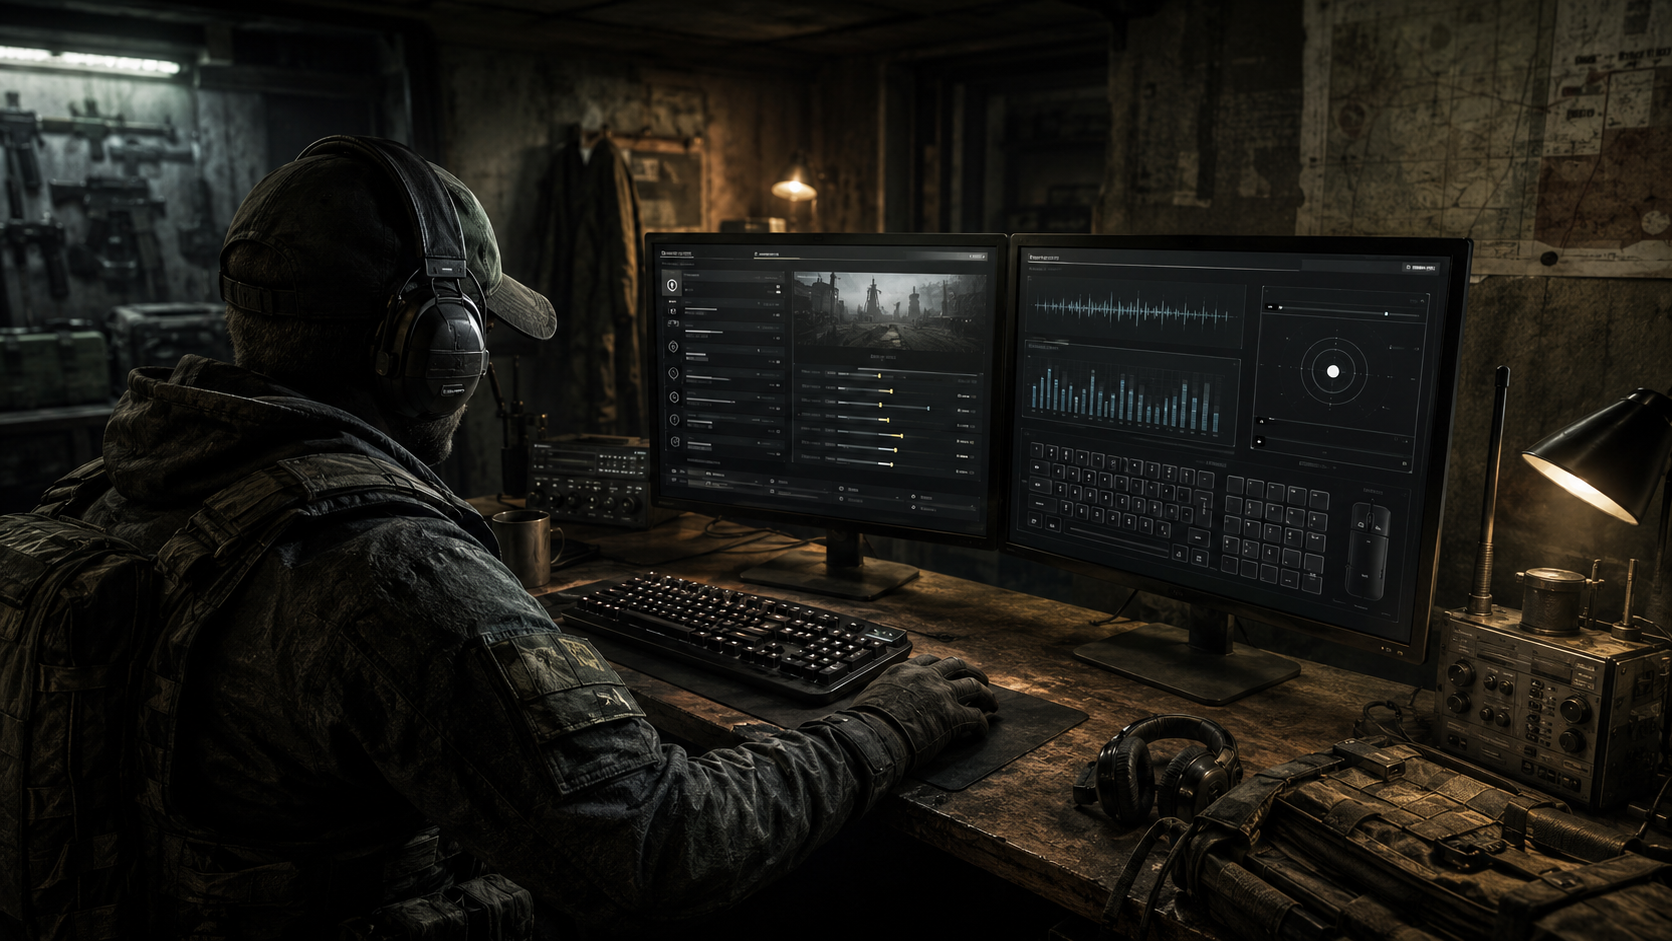
Why Map Knowledge Matters So Much in Escape from Tarkov
Escape from Tarkov is built around extraction. You enter a raid, collect value, complete tasks, fight or avoid enemies, and then escape before the timer ends. Everything depends on your ability to move through the map safely. If you do not know where you are going, even good gear becomes unreliable.
Most Tarkov deaths start before the fight begins. They start with a bad route.
A bad route puts you in the wrong place at the wrong time. It can send you through an open field when players are watching from cover. It can push you into a chokepoint with no stamina. It can make you cross the same bridge or road every other player is using. It can leave you trapped between a hotspot and your extraction.
A good route does the opposite. It gives you cover, options, timing, loot opportunities, and a realistic path to extraction. It does not guarantee survival, but it improves your odds before bullets are even fired.
Map knowledge also changes how you read sound. When you hear footsteps, gunfire, doors, bushes, metal, or grenades, the sound only becomes useful if you understand the space around you. If you know the building layout, you can predict where someone may come from. If you know the common player route, you can decide whether to hold, rotate, or leave.
The Three Things Every Tarkov Map Route Needs
A good route in Escape from Tarkov needs three things: direction, safety, and purpose.
Direction means you know where you spawned, where your extracts are, and which side of the map you need to reach. Without direction, you wander. Wandering gets beginners killed because they cross dangerous areas without knowing why.
Safety means your route uses cover, avoids unnecessary hotspots, protects your stamina, and gives you fallback options. Safe does not mean slow forever. It means controlled. Sometimes the safest move is to sprint across open ground quickly. Sometimes the safest move is to stop and listen before entering a building.
Purpose means your route has a reason. You might be doing a task, collecting Hideout items, farming technical loot, learning extracts, hunting Scavs, or simply making money. A route without purpose becomes greed. You loot too long, move randomly, and die after you already had enough value to leave.
Every raid should answer one simple question: what am I trying to get done before I extract?
How to Read a Tarkov Map Before the Raid Starts
Before entering a raid, do not only look at the map image. Study how the map flows. Look for spawn clusters, main roads, bridges, rivers, buildings, extraction sides, loot centers, and natural chokepoints. The goal is not to memorize every tiny detail immediately. The goal is to understand the shape of the map.
Most Tarkov maps have a few common movement patterns. Players spawn around the edges or in defined areas. Early movement usually pushes toward loot, quests, PvP spots, or extraction direction. The middle of the map often becomes dangerous because routes overlap. Late raid movement shifts toward extracts, Scav activity, remaining loot spots, and player Scavs.
When studying a map, focus on these questions:
Where do PMCs usually spawn?
Where are the closest danger zones from each spawn?
Where are the extracts on the opposite side?
Which routes are exposed?
Which routes have cover?
Where do players usually fight in the first five minutes?
Where can I loot without entering the most obvious hotspot?
Where can I rotate if my route becomes unsafe?
Do not memorize maps like pictures. Learn them like traffic systems.
A map is a network of movement. Once you understand traffic, you can predict danger.
How Extractions Work in Tarkov
Extractions are the points that let you leave the raid. Some extracts are always available, while others may have requirements, conditions, payments, keys, flares, switches, vehicles, or special timing. The official Ground Zero extraction table, for example, lists different extracts with requirements and notes, including Mira Ave requiring a green flare in the correct signal area.
Beginners should never assume every extract on a map is available. Always check your extraction list at the start of the raid. From there, build your route toward the extracts you can actually use.
Your loot does not matter if you do not know how to leave.
Many new players make the mistake of learning loot before learning extracts. This creates panic near the end of the raid. They find valuable items, then realize they do not know where to extract. They sprint across the map, run into danger, or arrive at the wrong extraction point.
A better method is simple: learn extracts first, loot second.
When you load into a raid, identify your spawn, check your extracts, and choose a primary extraction route. Also choose a backup route if possible. You may need to change plans because of gunfire, enemies, low health, missing requirements, or poor timing.
The Best Beginner Rule for Extraction Planning
The best beginner rule is to move gradually toward extraction while looting along the way. Do not loot randomly in the wrong direction for twenty minutes and then try to cross the whole map at the end.
A smart route looks like this:
Spawn, identify location, move away from early danger, loot a safe nearby area, continue toward extraction side, check risk, loot again if safe, then leave.
This keeps your raid controlled. You are not rushing straight to extract with no profit, but you are also not staying in one area until every other player has time to rotate into you.
Good extraction planning turns the raid timer into a tool instead of a threat.
Leaving early is not failure. In Tarkov, survival is progress. If you extract with useful items, quest progress, or even just your kit intact, the raid gave you value.
Understanding Spawns and Early-Raid Danger
The first few minutes of a Tarkov raid are dangerous because PMCs are all entering the map at roughly the same time. Players near your spawn may rush nearby loot, push common angles, or rotate toward the same route you want to take.
This is why experienced players often know where danger might come from before they see anyone. They are not guessing randomly. They understand spawn logic.
As a beginner, you do not need to memorize every spawn instantly. Start by learning your closest danger. Every time you spawn, ask: “Where could the nearest player be?” Then move in a way that respects that possibility.
The first minute should be used for orientation, not panic.
Do not sprint blindly from spawn unless you know exactly why. If your spawn is exposed, you may need to move quickly into cover. If your spawn is close to other players, you may need to listen and avoid an early fight. If your spawn is safe but confusing, you may need to identify landmarks before committing to a route.
The more you repeat a map, the more natural this becomes. Eventually, you will know when a spawn is dangerous, when it is flexible, and when it gives you a strong route.
Best Beginner Maps to Learn First
There is no perfect first map for every player, but some maps are better for building core skills. Ground Zero, Customs, Woods, and Factory often appear early in player learning because they teach different parts of Tarkov. Ground Zero is specifically designed as an early location and has detailed map resources showing extracts, spawns, loot, keys, quests, and more.
Customs teaches linear movement, chokepoints, industrial cover, river crossings, dorms danger, and many early quest routes. Woods teaches navigation, long sightlines, stash routes, outdoor movement, and patience. Ground Zero teaches urban navigation and early-game extraction learning. Factory teaches close-range awareness, sound, and fast fights, but it can be punishing because it is small and chaotic.
The best beginner map is the one you are willing to repeat until it becomes familiar.
Jumping between too many maps slows your progress. You never build deep knowledge. Instead, choose one primary map and one support map. Use your primary map for PMC progression and route practice. Use your support map for Scav runs or specific tasks.
Customs Map Guide: Routes, Extractions, and Loot Areas
Customs is one of the most important maps to learn because it connects to many early tasks and teaches essential Tarkov movement. The official wiki describes Customs as a large industrial park area adjacent to Factory, and its interactive map includes PMC spawns, Scav spawns, boss spawns, extractions, transits, loot, keys, quests, caches, levers, and more.
Customs has several recognizable zones: Big Red side, river crossings, construction areas, dorms, gas station areas, warehouses, and the ZB extraction side. The map often plays like a long path from one side to the other, with dangerous chokepoints in between.
Customs rewards players who understand crossings.
The river and central routes are important because players often need to pass through or around them. Bridges, roads, construction, and open lanes can create predictable contact points. Beginners should avoid running directly through the most obvious route without checking angles.
Dorms is one of the most dangerous areas on Customs because it attracts PvP, quest activity, keys, and valuable loot. New players should learn its location and respect it, but they do not need to force dorms every raid. If your goal is survival, you can route around it until you understand the building layout.
Safer Customs routes usually involve moving along the edges, using cover, and looting smaller areas instead of rushing the most contested spots. Hidden stashes, jackets, toolboxes, technical crates, and Scav areas can create reliable value without forcing high-risk combat.
Best beginner Customs route idea: spawn, identify which side you are on, avoid rushing dorms, loot smaller containers along your side, rotate through cover toward your extraction side, and leave before the raid becomes too chaotic.
Woods Map Guide: Routes, Extractions, and Loot Areas
Woods is a strong map for learning outdoor survival. The official Woods map page includes markers for PMC, Scav and boss spawns, extractions, transits, loot, keys, quests, caches, and more.
Woods can feel confusing at first because many areas are natural rather than urban. Trees, hills, rocks, lakes, roads, power lines, camps, and landmarks become your navigation tools. Once you learn those landmarks, Woods becomes much easier.
Woods teaches one of Tarkov’s most important lessons: open space is dangerous if you move without cover.
Beginners often die on Woods because they cross fields or roads without checking sightlines. The map has long views, and players may spot you before you hear them. Move from cover to cover. Use terrain. Avoid walking along skylines where your silhouette is easy to see.
Woods loot can be steady if you understand routes. USEC Camp, Military Camp, Scav areas, stashes, village areas, and various loose loot spots can be valuable, but many of these areas attract attention. The tarkov.dev Woods map lists notable locations such as USEC Camp, Military Camp, Ponds, Crash Site, Checkpoint, Lumber, Scav areas, and more, which reflects how many landmark-based routes the map supports.
For beginners, Woods is excellent for stash routes and slower movement. You can make money without entering the most contested center every raid. However, you must learn your extracts carefully because getting lost on Woods is common.
Best beginner Woods route idea: identify a major landmark, avoid open fields, follow a planned edge or stash route, loot camps carefully only when sound is clear, and extract before the timer forces a desperate crossing.
Ground Zero Map Guide: Routes, Extractions, and Loot Areas
Ground Zero is important because many newer players encounter it early. It is an urban map with buildings, streets, underground areas, and many short-to-medium sightlines. The official wiki’s Ground Zero map includes markers for PMC, Scav and boss spawns, extractions, transits, loot, keys, quests, and more.
Ground Zero can feel intense because the map has many indoor spaces and sharp angles. A beginner may hear movement above, below, or around corners. This makes sound awareness very important.
Ground Zero punishes careless movement through streets and rewards players who understand building routes.
Do not sprint through the middle of exposed roads unless you know where you are going. Move with cover, use interiors carefully, and avoid standing in windows or doorways longer than necessary. Streets and entrances are danger points because players may hold angles from nearby buildings.
Ground Zero extracts must be learned before loot routes. Some extractions have specific conditions, and beginners can easily lose raids by reaching the wrong place without knowing what is required.
Best beginner Ground Zero route idea: learn one extraction pair at a time, use buildings for cover without staying trapped too long, avoid rushing every gunshot, loot small containers safely, and extract once you complete your early objective.
Factory Map Guide: Routes, Extractions, and Loot Areas
Factory is small, fast, and brutal. It is not a calm money map for most beginners, but it is useful for learning close-range sound, quick decision-making, and fight timing.
Factory has very little downtime. You can encounter players quickly, and every sound matters. Doors, metal, stairs, movement, and gunfire can reveal positions instantly. Because the map is compact, hiding forever rarely works. You need to understand how to move decisively.
Factory is a classroom for close-range pressure, but it is not always the best place to protect your money.
Beginners should use Factory with a clear goal. Maybe you need a task, Scav practice, or close-range confidence. Do not bring expensive gear just because the map is small. Small does not mean safe.
Loot on Factory is not the main reason most beginners should go there. The main value is learning quick fights, extracts, and sound discipline. If you want steady money as a beginner, Woods, Customs, Shoreline stash routes, or safer Scav routes may be less stressful.
Best beginner Factory route idea: know your extract before loading in, move quickly to cover, listen carefully, avoid standing in open center lanes, complete your goal, and leave before extra players or Scavs collapse on your position.
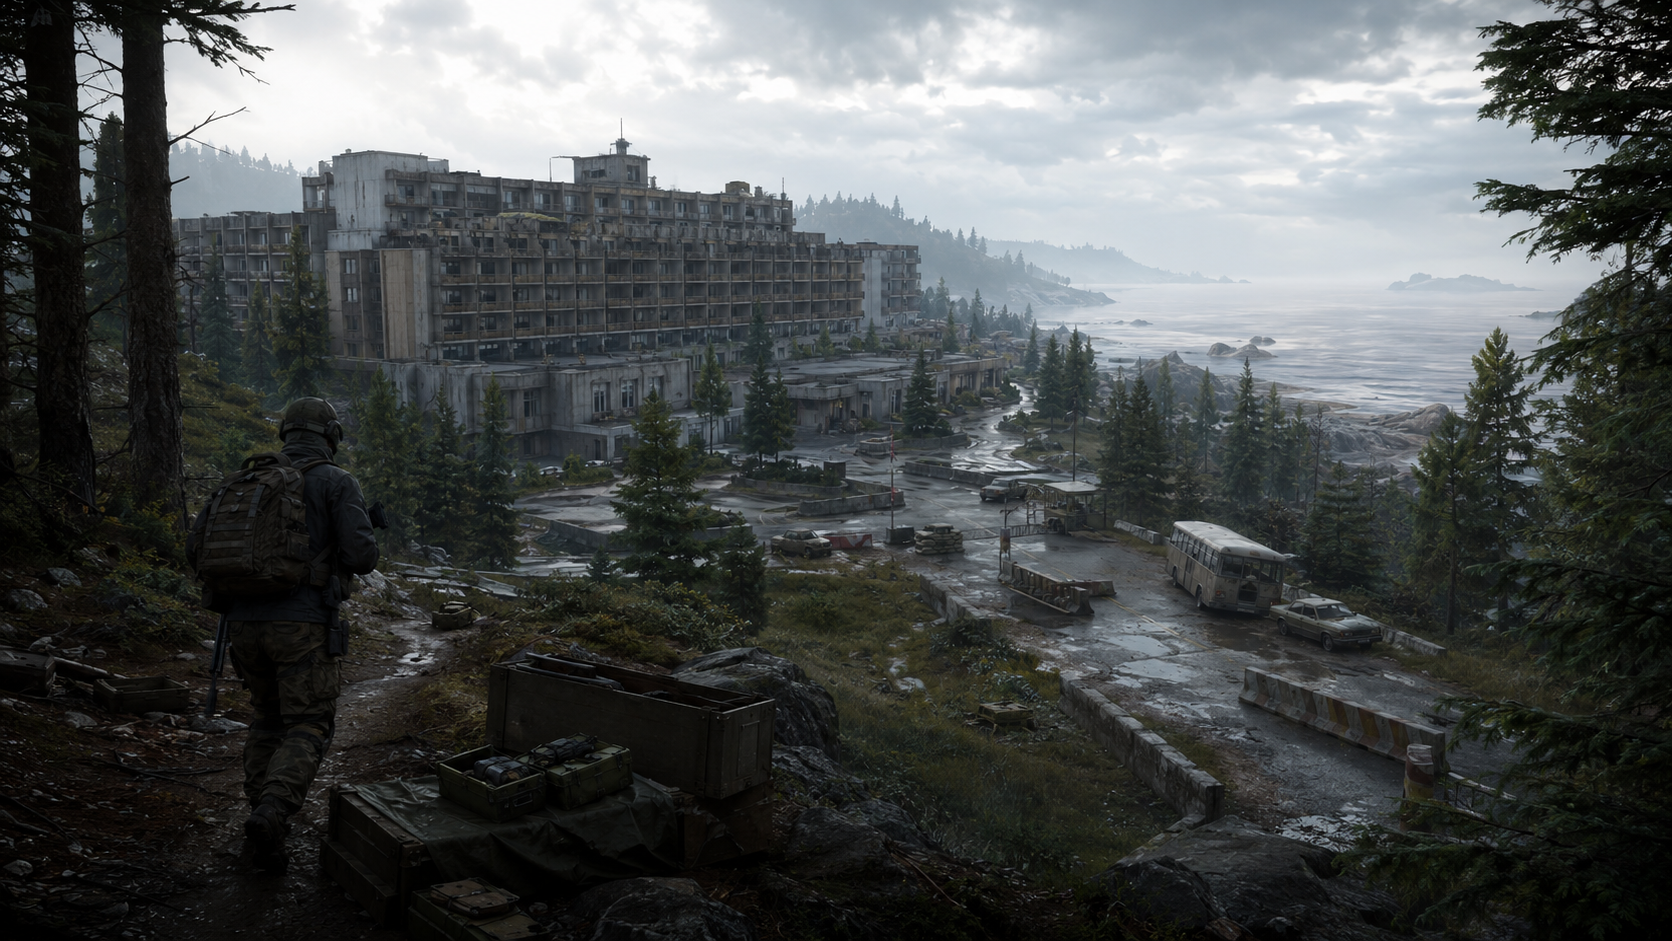
Shoreline Map Guide: Routes, Extractions, and Loot Areas
Shoreline is a large map with open areas, villages, coastlines, roads, swampy terrain, and the famous health resort. Battlestate’s older official Shoreline preview described it as close to the military checkpoint at the port area entrance and connected it thematically to evacuation routes.
Shoreline has a major contrast: the resort is dangerous and high-interest, while outer routes can be calmer and useful for looting. Beginners do not need to rush resort every raid. Resort can be profitable, but it attracts players who know the layout, keys, vertical audio, and room-to-room combat.
Shoreline is much safer when you stop treating the resort as the only place worth visiting.
Village, stashes, jackets, toolboxes, hidden containers, Scav areas, and outer routes can all create value. The map is large, so navigation and timing matter. If you spend too long on the wrong side, extraction can become stressful.
Beginners should be careful crossing open areas. Shoreline has long sightlines, especially near roads, hills, and approaches toward resort. Move with terrain and avoid running across exposed ground without stamina.
Best beginner Shoreline route idea: use edge movement, loot village or stash routes, avoid resort until you understand it, rotate slowly toward your extract, and leave early if you find task items or valuable loot.
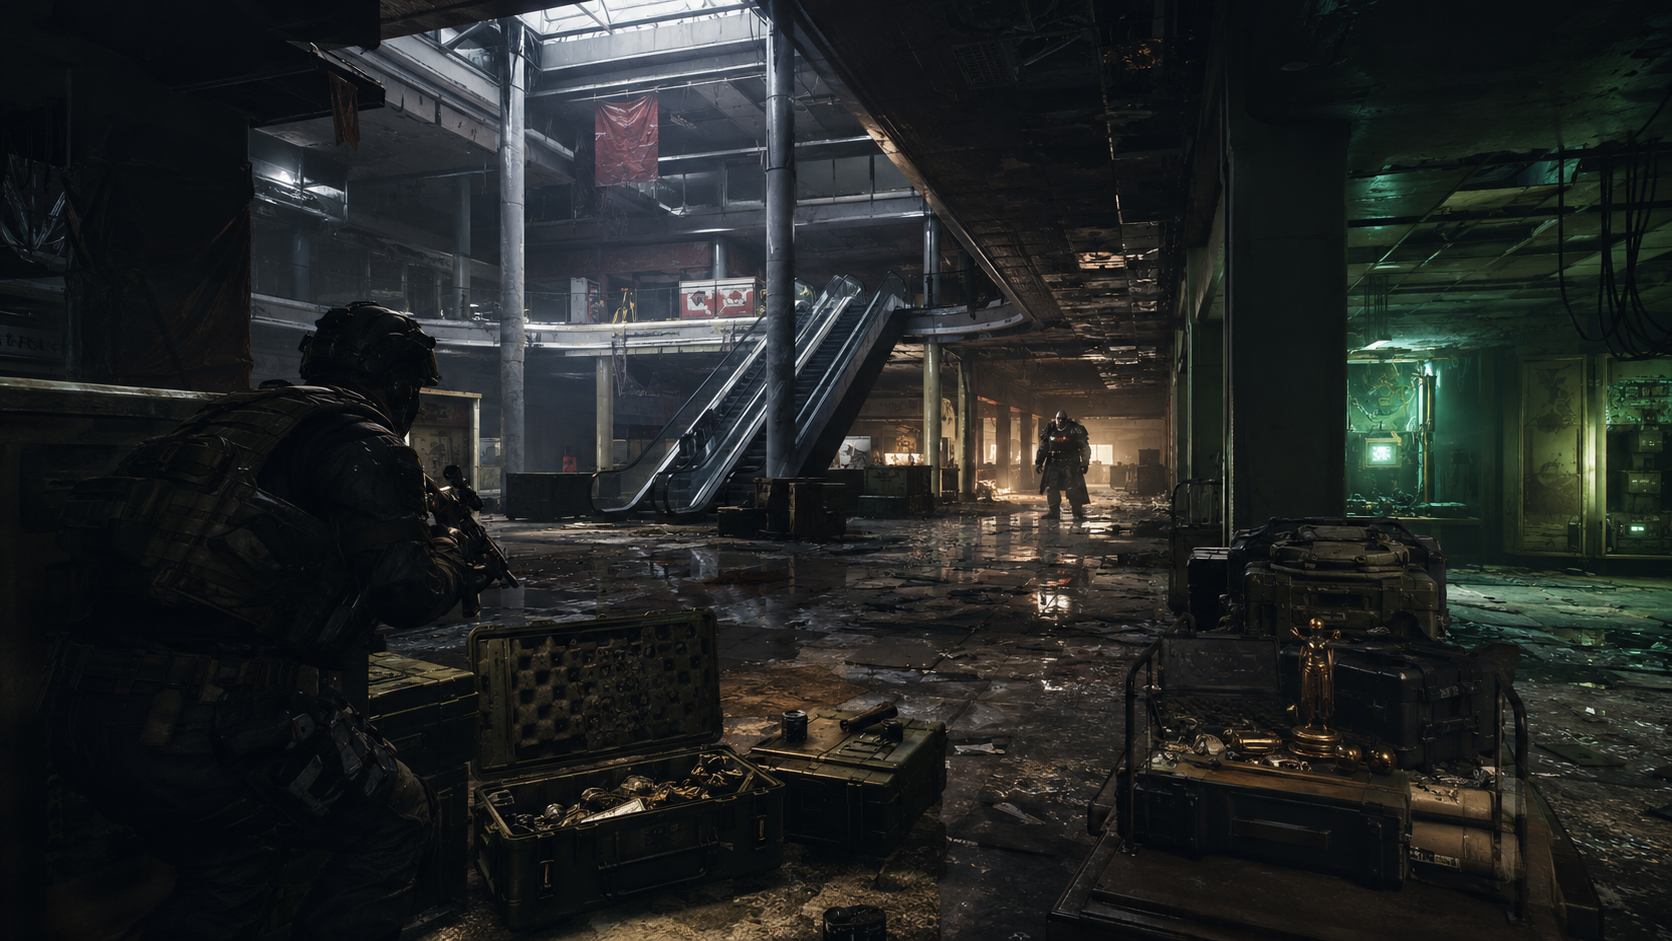
Interchange Map Guide: Routes, Extractions, and Loot Areas
Interchange is built around a large shopping mall with stores, parking areas, power systems, long corridors, dark interiors, and multiple levels. It can be very profitable, but it is intimidating for beginners because danger can come from many angles.
Interchange is not only a loot map. It is a visibility and sound test.
Inside the mall, players can hear movement, hold long store angles, hide in shadows, or rotate through floors. Outside the mall, players may watch approaches and extraction routes. This makes both entry and exit dangerous.
Beginners should not rush deep into the mall without a plan. Learn the outside first, then learn one section of the mall at a time. Understand major stores, escalators, parking connections, and extraction directions.
Interchange loot can be strong in tech stores, offices, back rooms, tool areas, and general mall containers, but higher-value zones bring higher risk. A beginner route should focus on consistency: enter safely, loot a limited area, avoid overextending, and exit before getting trapped.
Best beginner Interchange route idea: choose one mall section, avoid sprinting through central open areas, listen before crossing stores, keep stamina for extraction, and do not chase every gunshot through the building.
Reserve Map Guide: Routes, Extractions, and Loot Areas
Reserve is a military base with bunkers, buildings, underground routes, armored areas, rooftops, train-related extracts, raiders, and valuable military-style loot. Battlestate’s official news for Reserve described it as a military reserve base and noted its large explorable area when it was introduced.
Reserve is rich but complicated. It has verticality, underground movement, dangerous AI, and extraction conditions that can confuse new players. Many extracts are not as simple as walking to the edge of the map.
Reserve can make money fast, but it can punish beginners who do not understand extraction requirements.
Before running Reserve seriously, learn extracts. Understand which ones are available to you, what conditions they require, and where players may camp or rotate. Do not enter underground areas without understanding exits, because getting trapped below the map can be deadly.
Loot on Reserve can be excellent in military buildings, technical areas, filing cabinets, underground zones, and locked rooms. However, high-value areas attract experienced players. Beginners should use Scav runs to explore Reserve before risking strong PMC kits.
Best beginner Reserve route idea: Scav the map first, learn surface landmarks, practice extraction paths, avoid underground confusion until you know exits, and focus on smaller loot routes before contesting major areas.
Lighthouse Map Guide: Routes, Extractions, and Loot Areas
Lighthouse is a map with coastal terrain, chalets, roads, villages, water treatment areas, long sightlines, and dangerous AI-controlled zones. It can be profitable but is not always beginner friendly.
Lighthouse rewards careful routing and punishes players who walk into sightlines without understanding them.
The map has many long-distance angles. Movement along roads, hills, and open approaches can expose you. Beginners should use cover, terrain, and timing instead of sprinting directly toward high-value zones.
The water treatment area is known as a dangerous and valuable part of the map, especially because of powerful AI threats and player interest. New players should be cautious and avoid treating it like a normal loot area. Learn from Scav runs, study routes, and build confidence before entering as a PMC with valuable gear.
Chalet areas and outer loot routes can be profitable, but they are also contested. Lighthouse is a map where route discipline matters a lot. If you move with no plan, you can be seen from far away.
Best beginner Lighthouse route idea: use Scav runs to learn landmarks, avoid exposed road movement, do not rush water treatment blindly, loot safer outer zones, and extract when you have value instead of pushing deeper.
Streets of Tarkov Map Guide: Routes, Extractions, and Loot Areas
Streets of Tarkov is one of the most complex maps because it has dense urban areas, many buildings, streets, interiors, quest zones, loot spawns, and vertical positions. The official wiki’s Streets page and map page include extractions, interactive maps, 2D and 3D map references, and markers for spawns, loot, keys, quests, caches, and more.
Streets is a map where one wrong turn can change the whole raid.
For beginners, Streets can be overwhelming. There are many angles, windows, doors, roads, alleys, and interior spaces. You may hear enemies but not know whether they are above you, below you, across the street, or behind a wall.
The best way to learn Streets is in sections. Do not try to master the entire map at once. Learn one district, one extract route, one loot path, and one set of landmarks. Over time, connect those sections together.
Loot on Streets can be excellent in apartments, stores, offices, technical areas, containers, filing cabinets, and locked rooms, but the map’s density creates constant risk. Beginners should avoid greed and keep routes short.
Best beginner Streets route idea: learn one spawn-to-extract path, loot only along that path, avoid crossing major roads carelessly, use interiors carefully, and extract as soon as your backpack has good value.
How to Build Safe Loot Routes
A good loot route is not only about where expensive items spawn. It is about how safely you can reach loot, how quickly you can search it, and how easily you can extract afterward.
The best loot route is repeatable.
Repeatable routes help you learn timing. You begin to understand when other players arrive, which containers are usually safe, where Scavs appear, and where you should stop looting. This is better than randomly chasing every high-value area you see in a video.
A safe loot route should have:
A clear spawn adjustment.
A main path toward extraction.
Several loot stops, not one giant hotspot.
Cover between stops.
A backup route.
A planned extraction time.
A point where you decide to leave if your bag is valuable.
Beginners should focus on loot that is easy to access and consistent. Toolboxes, jackets, filing cabinets, sports bags, hidden stashes, technical crates, food spawns, and loose utility items can all be useful. The official wiki describes looting as a main source of acquiring items, gear, and weapons, which is why learning where and how to loot is central to Tarkov progression.
How to Avoid Hotspots Without Playing Too Passive
Avoiding hotspots does not mean hiding for the whole raid. It means choosing when risk is worth it. Every map has areas that attract players because of loot, quests, bosses, or PvP. These places are important, but they are not always the best choice for beginners.
You should enter a hotspot with a reason, not because you feel forced.
Before pushing a dangerous area, ask yourself:
Do I need this area for a task?
Do I know the exits?
Do I have enough stamina?
Do I hear fighting nearby?
Can I leave if another team arrives?
Is my backpack already valuable?
Am I pushing for progress or just greed?
If you do not have a good answer, rotate around. Tarkov gives you many ways to succeed. You can survive with route knowledge, smart looting, task discipline, and careful extraction.
How Timing Changes Every Map
The same location can be dangerous or quiet depending on raid timing. Early raid is usually spawn movement and high-value rushes. Mid raid is rotations, looting, task movement, and fights between players who survived the opening. Late raid may include player Scavs, remaining PMCs, extract movement, and people searching missed loot.
Good Tarkov players do not only know where danger is. They know when danger is likely.
For example, a central hotspot may be extremely dangerous in the first ten minutes but quieter later. An extraction route may be empty early but risky late. A stash route may be safe until player Scavs start sweeping it.
Beginners should use timing to reduce risk. If a place is too dangerous at the start, wait or route around it. If you found good loot early, do not stay until the map becomes crowded with late movement. If the raid is almost over, avoid desperate long crossings unless necessary.
Best Route Habits for Solo Players
Solo players must be careful because they do not have teammates watching extra angles. Your biggest advantages are quiet movement, quick decisions, and the ability to avoid fights without coordinating with anyone.
As a solo player, your route should give you escape options.
Avoid trapping yourself in rooms with one exit. Avoid looting too long in areas where teams can surround you. Avoid sprinting into fights where multiple players may be involved. Use sound, patience, and positioning.
Solo routes should often favor edges, cover, and controlled loot stops. You can still take fights, but you should choose fights where you have information or positioning advantage. Do not challenge every sound just to prove confidence.
A solo player who survives consistently can progress very fast. The key is discipline. Extract when your goal is complete. Do not let greed turn a good solo raid into a lost kit.
Best Route Habits for Squads
Squads have more firepower, but they also make more noise and create confusion. A squad that does not communicate can be easier to hear, easier to track, and more likely to hesitate during fights.
Squad routes need structure.
Decide who leads, who watches the rear, who loots first, and how you call movement. Do not all sprint into the same room. Do not all loot at the same time. Do not block doorways. Do not talk over important sound cues.
Squads should choose routes with space to move. Tight hallways and small rooms can become chaotic if teammates do not know where each other are. Before entering a dangerous area, agree on the plan: push, hold, rotate, or leave.
A good squad route is not just four players running together. It is a controlled movement pattern where each player understands the direction and danger.
How to Learn Extracts Faster
The fastest way to learn extracts is to practice them intentionally. Do not wait until you are overloaded with loot and injured to learn where an extract is.
Use offline practice, Scav runs, and low-risk PMC raids to physically walk to extracts. Learn what they look like from multiple directions. Learn nearby landmarks. Learn whether the extract is open, conditional, or requires something special.
An extract is only learned when you can find it under pressure.
Looking at a map outside the raid is helpful, but Tarkov pressure changes everything. You need to know how to reach an extract while hearing gunfire, managing stamina, watching angles, and checking the timer.
A strong practice method is to enter a raid with the goal of visiting one or two extracts, even if you do not use them. This builds mental map connections. Over time, you will stop feeling lost.
How to Use Scav Runs for Map Knowledge
Scav runs are one of the best tools for learning maps because you risk less. You can explore routes, identify landmarks, check loot areas, and practice extracts without bringing your own PMC kit.
Use Scav runs as study raids, not only money raids.
Instead of only grabbing loot and leaving, pay attention to the map. Where did you spawn? Which areas were already looted? Where did you hear fights? Which routes felt safe? Which extract did you use? What landmarks helped you navigate?
Scav runs also teach late-raid flow. You see what the map feels like after PMCs have moved through it. This helps you understand which areas remain dangerous and which areas may be safer later.
How BoostRoom Helps Players Learn Tarkov Maps Faster
Escape from Tarkov maps can take a long time to learn alone. Many players lose dozens of raids before they understand why a route is bad, where the danger came from, or which extraction they should have used. BoostRoom helps players approach Tarkov with more structure, better direction, and less wasted time.
BoostRoom is useful for players who want to stop feeling lost and start moving with a plan.
Map knowledge is one of the biggest differences between a frustrated beginner and a confident survivor. With better guidance, players can learn safer routes, understand extraction logic, improve loot decisions, and avoid repeating the same mistakes every raid.
If you struggle with Customs, Woods, Ground Zero, Streets, Reserve, Lighthouse, Shoreline, or Interchange, BoostRoom can help you focus on what matters most: where to go, what to avoid, when to extract, and how to turn raids into progress. Tarkov is still challenging, but it becomes much more enjoyable when every raid has a clear purpose.
Best Overall Beginner Map Strategy
The best beginner strategy is not to master every map at once. That creates confusion and slows progress. Instead, build your map knowledge in layers.
Start with one main map. Learn its extracts. Learn its landmarks. Learn where players spawn. Learn one safe route. Learn one loot route. Learn one dangerous area to avoid. Then add more routes slowly.
Do not chase every map. Build confidence on one map, then expand.
Once you have a reliable map, Tarkov becomes less stressful. You can use that map to rebuild money, practice PvP, complete tasks, and test new gear. Then, when you move to another map, you already understand the process of learning.
This method works because map learning is a skill. Once you learn how to study one map, every future map becomes easier.
Final Thoughts: Routes Win Raids Before Fights Start
Escape from Tarkov maps are difficult because they are not just backgrounds. They are survival puzzles filled with players, AI enemies, loot, sound, timing, and extraction pressure. A good route can save your kit before a fight happens. A bad route can lose your raid even if your aim is good.
The player who knows the map controls more of the raid.
Learn extracts first. Study spawns. Respect hotspots. Use cover. Keep stamina. Build repeatable loot routes. Leave before greed takes over. Use Scav runs to explore. Focus on one map until it becomes familiar. Then expand your knowledge step by step.
Tarkov will always be punishing, but it becomes much more manageable when you know where you are, where you are going, and why you are taking that route. Every map you learn gives you more confidence. Every extraction teaches you timing. Every safe route gives you money, progress, and control.
If you want to survive more raids, stop thinking only about weapons and armor. Start thinking about routes, extracts, loot flow, and map timing. That is where real Tarkov improvement begins.
FAQ
What is the best map for beginners in Escape from Tarkov?
Ground Zero, Customs, and Woods are strong beginner options for different reasons. Ground Zero helps with early-game urban learning, Customs teaches important quest routes and chokepoints, and Woods helps players practice outdoor navigation and safer loot routes.
How do I learn Tarkov maps faster?
Choose one map, repeat it often, study extracts first, use Scav runs, learn landmarks, and practice one route at a time. Do not try to master every location at once.
Why do I keep dying while trying to extract?
You may be waiting too long, using obvious routes, sprinting through open areas, or approaching extracts without checking nearby danger. Plan your extraction earlier and move toward it before the raid timer becomes stressful.
Are high-value loot areas worth it for beginners?
They can be worth it later, but beginners should be careful. High-value areas attract experienced players. Safer loot routes with stashes, toolboxes, jackets, filing cabinets, and technical containers are often better for learning and consistent survival.
Should I use Scav runs to learn maps?
Yes. Scav runs are excellent for learning landmarks, extracts, loot areas, and late-raid movement with less risk to your PMC gear.