Discipline: “one safe punish” beats “big combos.”
Stamina: if you end a punish with no stamina, you usually die.
Reset habit: after anything scary happens, you reposition and stabilize instead of forcing damage.
A plan for Waterfowl: you don’t need to dodge it perfectly every time—but you must survive it consistently.

The two mechanics you must understand to stop losing
Healing on hit (the real boss mechanic):
Malenia can regain health whenever she lands attacks. This changes everything:
Bold reality: blocking and trading are less effective than they are in most fights because every contact can heal her.
Reliable response: prioritize avoiding hits over “toughing it out.” If you are taking damage, she is also recovering from your damage.
Phase 2 starts with a scripted dive (Scarlet Aeonia):
Phase 2 begins with a dramatic airborne dive that creates a rot bloom. Many attempts die here because players try to “finish Phase 1 strong,” stand too close during the transition, then get caught by the dive and the explosion.
Reliable response: treat Phase transition as a reset moment. Your job is to survive the opener, heal if needed, then punish the end safely.
Build tips that actually matter (without a gear shopping list)
This is the “build” section that helps any playstyle—melee, caster, hybrid, cautious, aggressive—because Malenia punishes the same weaknesses no matter what you’re using.
Survivability: your real damage multiplier
Why survivability makes you win faster:
The longer you stay alive, the more you learn patterns, and the fewer “random” deaths you take. Malenia kills people who are technically strong but too fragile to make mistakes while learning.
Practical survival targets:
Bold goal: survive at least one full mistake without instantly dying.
If you’re getting deleted before you can even see what happened, the solution is not “more damage.” It’s more survival time.
Reliable survivability upgrades:
More maximum HP so you don’t die to a single spike.
More physical defense so chip hits don’t force panic healing.
Rot protection in Phase 2 so one bad step doesn’t turn into a drain spiral.
Stamina and movement: the Malenia control stat
Why stamina decides this fight:
Malenia punishes stamina-empty players with fast follow-ups and roll catches. You must be able to:
- dodge after your punish
- reposition after Waterfowl
- sprint away during the Phase 2 opener
- If you can’t do those because you spent all stamina attacking, you lose.
The stamina rule that wins fights:
Bold rule: after every punish, you must still have stamina for one defensive action.
Movement comfort (roll feel):
If your movement feels sluggish, Malenia becomes harder than she needs to be. Many players find that lighter movement makes her entire kit more manageable.
Reliable baseline: movement should feel responsive enough that you can reposition quickly after her fast steps and sudden retreats.
Damage plan: win by repeatable pressure, not “perfect combos”
You don’t need a complicated damage setup. You need a plan you can execute under stress.
The most reliable damage plans against Malenia:
Plan A: Stagger pressure
Win by interrupting her repeatedly with safe punishes and short pressure bursts.
Plan B: Status-based tempo (Frost / Bleed)
Many guides note she’s especially vulnerable to Frost, with Bleed also performing very well. You don’t have to “build your entire character around it,” but if your kit naturally applies these effects, they can shorten the fight and reduce the number of dangerous cycles.
Plan C: Safe chip + punish-only burst
If you prefer cautious play, you chip when it’s safe and only take big damage after the best openings.
Important warning:
Don’t choose a plan that requires you to stand still for a long time. Malenia punishes long commitments.
Phase 1 game plan: the reliable loop
Your Phase 1 win condition:
Stay calm, take short punishes, and force her to play your tempo. Phase 1 is where you build consistency so Phase 2 doesn’t feel like chaos.
The reliable Phase 1 loop (works for any playstyle):
1) Mid-range bait → let her start an approach.
2) Late dodge → avoid the hit at the moment it lands.
3) One short punish → one clean damage action (or two if you’re confident).
4) Reset → step away and regain stamina.
Repeat.
Why this works:
It avoids two common death patterns:
- punishing mid-string and getting clipped
- emptying stamina and dying to follow-ups
Phase 1 safe punish windows (your “menu”)
Pick two punish windows and only use those until you consistently reach Phase 2. That’s how you turn a scary boss into a repeatable boss.
Safe punish window 1: Big downward slam recovery
When she commits to a heavy downward strike, her recovery is clearer than her light strings.
Reliable punish: dodge late → hit once → reset.
Safe punish window 2: Long lunge that ends “in place”
Some lunges leave her planted for a moment.
Reliable punish: dodge → punish → immediately prepare to defend again.
Safe punish window 3: Whiffed grab
If she misses the grab, there is often a real recovery moment.
Reliable punish: only punish if you clearly see the miss and the end of the animation.
Safe punish window 4: Post-stagger moment
She staggers relatively easily in Phase 1.
Reliable punish: take your damage quickly, then reset. Don’t get greedy trying to chain too long.
Phase 1 counters: the habits that stop her from healing back the fight
Counter 1: Don’t trade hits
Trading is bad because she heals on contact. Win by not letting her connect.
Counter 2: Don’t block as your “default defense”
Blocking may keep you alive, but it can feed her healing. Use it as an emergency tool, not a plan.
Counter 3: Respect her “micro-step”
Malenia often steps slightly to adjust spacing before a burst. If you swing into that step, you miss and get punished.
Reliable response: don’t swing when she’s repositioning. Wait for commitment.
Waterfowl Dance: survive it reliably (three practical responses)
Waterfowl Dance is the move that defines this fight. The goal here isn’t “perfect style.” The goal is consistent survival.
First, recognize the tell:
She rises into the air and pauses—this is your warning. The fight changes immediately into “Waterfowl protocol.”
Reliable response A: Create distance early
This is the most consistent approach if you have space and you notice the tell quickly.
How it works: sprint away the moment she lifts. The goal is to be far enough that the first flurry either misses or barely connects. Then you respond to the second and third flurries with late dodges and repositioning.
When it fails: if she starts Waterfowl when you’re already too close and you react late.
Reliable response B: Dodge “through” and around, not straight away
If you’re close, rolling straight backward often keeps you in the hitbox. A common reliable principle is:
Bold: avoid traveling along the same line as her tracking.
You want to change angle and use late dodges so you don’t get clipped at the end of your roll.
Key discipline: one clean dodge is better than panic rolling three times and losing all stamina.
Reliable response C: Use a planned emergency tool
Many players keep one emergency answer for Waterfowl: something that interrupts, forces a reset, or gives you enough survivability to live through it if you misread timing.
Important rule: your emergency answer must be quick. If it takes too long to activate, Waterfowl will hit you anyway.
The “Waterfowl survival rule” that wins fights:
When Waterfowl starts, stop thinking about damage. Your only job is to survive the sequence and return to neutral calmly.
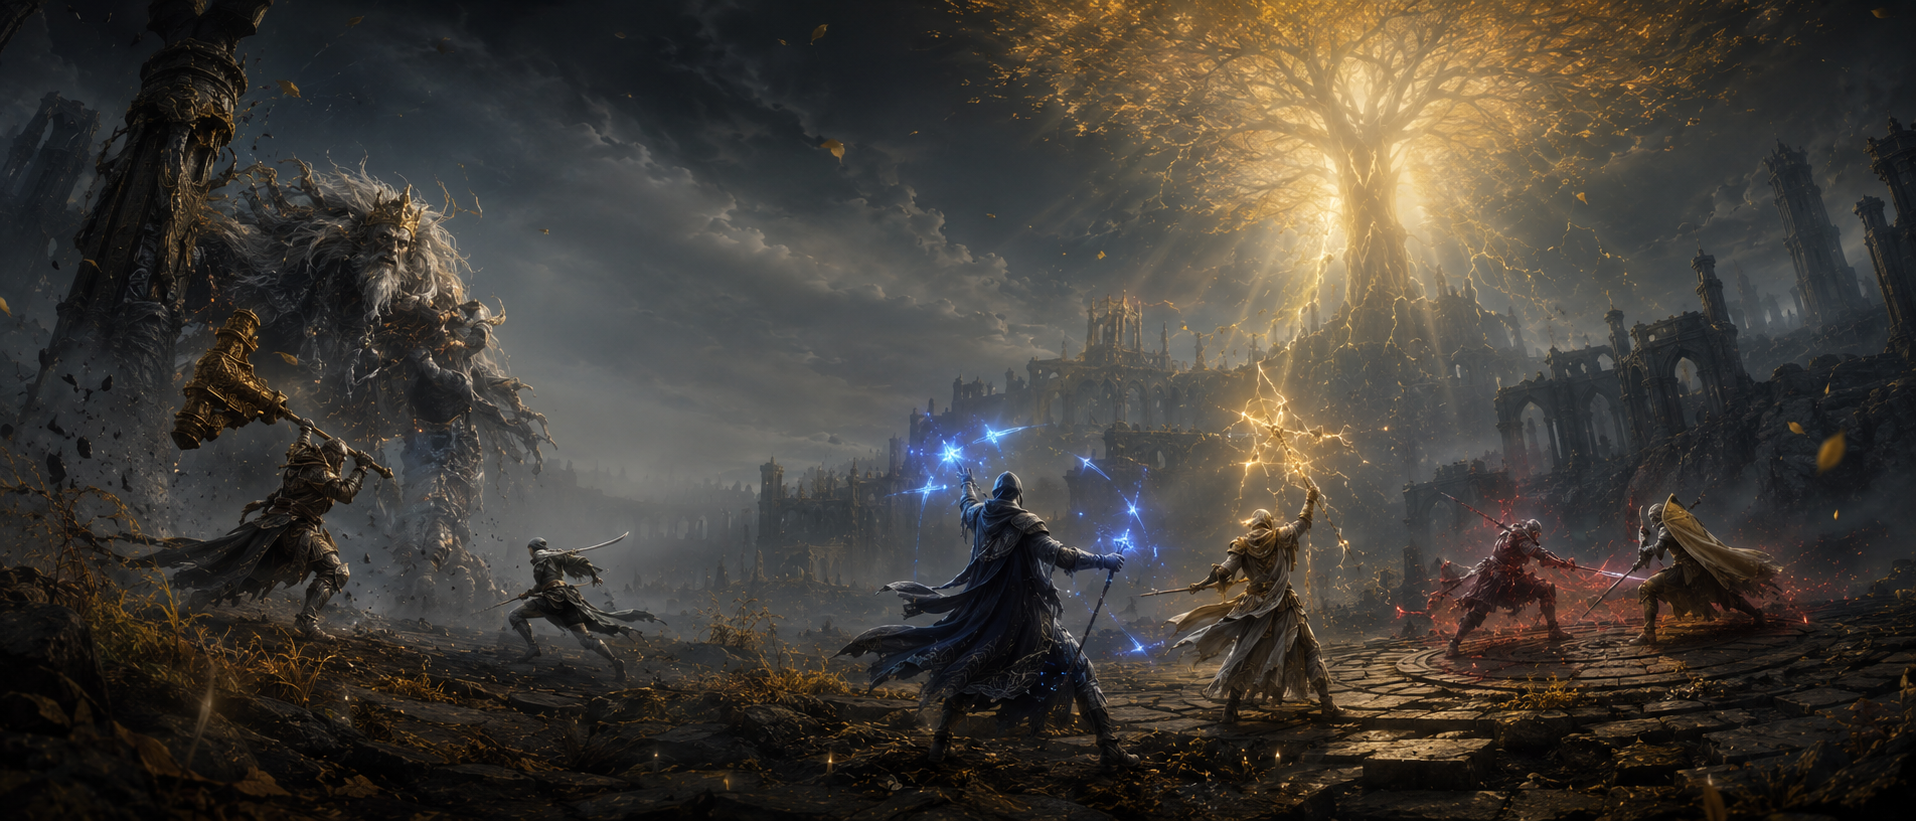
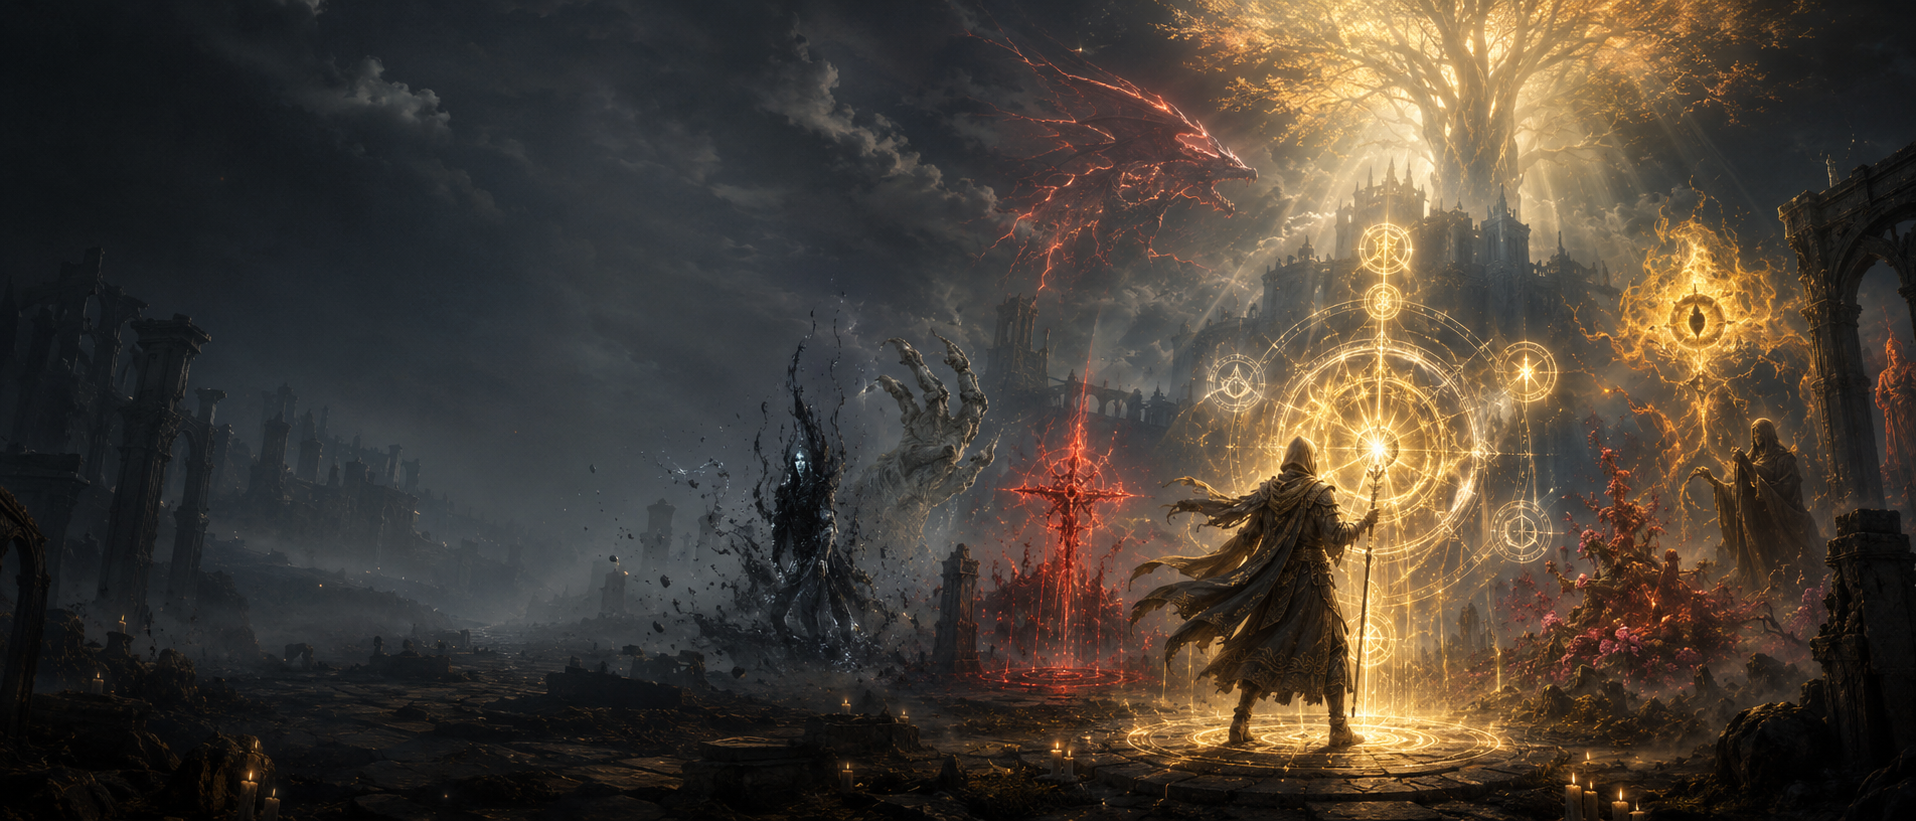
Phase 2: Malenia, Goddess of Rot (most reliable plan)
Phase 2 is scarier visually, but it becomes manageable when you treat it as:
Opener survival → safe punish → short pressure → reset.
Phase 2 opener: Scarlet Aeonia (how to not lose instantly)
Phase 2 always begins with the scripted dive-bloom.
Reliable survival plan:
1) As soon as the cutscene ends, sprint away.
Don’t stand still “to see what happens.”
2) Avoid the impact zone first.
The initial slam is what kills many attempts.
3) Avoid the explosion and the lingering rot.
The bloom zone is not “free damage time” if you don’t know the timing.
4) Punish only after it fully settles.
If you re-enter too early, you often take rot damage and get clipped by her recovery movement.
Reliable punish:
Once the bloom finishes, you usually get one of the cleanest punish windows in the entire fight. Take your short damage, then back out before greed kills you.
What changes in Phase 2
More lingering danger: some attacks leave rot effects on the ground.
More aerial movement: she moves in ways that disrupt your camera and spacing.
More “pressure bursts”: she can threaten from angles that didn’t exist in Phase 1.
Same core weakness: she still loses to discipline, late dodges, and short safe punishes.
Phase 2 safe punish windows
Use these to keep the fight controlled.
Safe punish window 1: After Scarlet Aeonia resolves
This is the biggest “free” opening—if you wait for safety.
Safe punish window 2: After long aerial commitments
Some winged attacks have a clear end.
Reliable punish: dodge → short punish → reset.
Safe punish window 3: After phantom projection sequence ends
She may create spectral follow-ups.
Reliable punish rule: survive the sequence first, then punish after the final landing, not mid-phantom.
Safe punish window 4: Post-stagger resets
Even in Phase 2, interrupting her can create short windows.
Reliable punish: take a small win, then reposition—because the arena hazards punish staying close too long.
The biggest Phase 2 mistake (and the fix)
Mistake: treating Phase 2 like a race.
Players see her lower health, panic, and overcommit… then die to rot zones and sudden bursts.
Fix: play Phase 2 slower than Phase 1.
You win Phase 2 by being even more disciplined: fewer attacks, safer windows, better resets.
Most reliable spirit-ally strategy (without feeding her healing)
Many players use spirit allies to stabilize the fight. The trap is that a careless ally can “donate” health to Malenia by getting hit repeatedly, because she heals on contact.
How to choose a good ally for this fight:
Bold trait 1: Survival instincts
An ally that dodges or disengages survives longer.
Bold trait 2: Consistent pressure
Frequent attacks can interrupt her and create safer windows.
Bold trait 3: Doesn’t stand still
Stationary allies often get shredded and feed her healing.
How to use an ally correctly:
1) Summon early if you want the calmest Phase 1.
It reduces pressure and creates safer healing windows.
2) Don’t “hide behind” the ally.
If you stop contributing, Malenia farms the ally and heals.
3) Use the ally as a spacing tool.
When she targets the ally, you reposition and take safe side punishes.
4) If the ally is constantly getting hit, your ally choice is wrong for this fight.
Switch to something more evasive or more durable.
Most reliable co-op plan (if you use other players)
Co-op can make Malenia easier or harder. The benefit is shared pressure; the risk is unpredictable targeting and more opportunities for her to heal.
Reliable co-op rule: trade attention cleanly.
- When she targets Player A, Player B takes safe punishes.
- When she turns to Player B, Player A resets and heals safely.
- Nobody overcommits into Waterfowl range without stamina.
What not to do:
Don’t both stand in front of her. Don’t both swing at once during unsafe windows. That’s how you both get clipped and feed healing.
How to “build” specifically for Malenia without rebuilding your character
This section is for people who want targeted build tips but don’t want a giant shopping list.
Build priority 1: Stop dying to mistakes
If you’re dying to one bad moment, you can’t learn the fight. Raise survivability until attempts last long enough to practice Waterfowl and Phase 2.
Build priority 2: Make stamina feel generous
If you can’t dodge after your punish, fix stamina comfort. Malenia punishes stamina-empty play more than most bosses.
Build priority 3: Use a damage plan that matches your personality
If you’re impatient: focus on stagger pressure and short bursts.
If you’re cautious: focus on safe chip and punish-only burst.
If you like tempo strategies: frost-style tempo is widely cited as her lowest resistance, and bleed is also commonly strong—use status effects if your setup naturally supports them.
If you hate chaos: use a spirit ally that creates stability and doesn’t constantly feed her healing.
Build priority 4: Don’t over-invest in “defense at the cost of mobility”
If extra weight makes you roll worse, you’ll get hit more, and she’ll heal more. Against Malenia, mobility often equals survivability.
Most common deaths and the quick fixes
This section is written for the real experience: “I die to the same thing every time.”
Death 1: Waterfowl deletes you at close range
Fix: practice one close-range survival plan.
- Stop defaulting to rolling straight back.
- Don’t panic roll three times.
- Keep stamina reserve so you can respond to all flurries.
Death 2: You reach Phase 2 and instantly die to the opener
Fix: treat Phase transition as a mandatory sprint-and-survive moment.
Don’t stand near her at cutscene end. Your first job is avoiding impact and explosion.
Death 3: She heals back everything you did
Fix: stop trading and stop relying on block as your default defense.
Every time she connects, you lose progress.
Death 4: You die at 10% because you get greedy
Fix: keep your plan exactly the same at low boss health.
The final 10% is the most dangerous part because your brain wants to rush.
Death 5: You get tilted and start improvising
Fix: pick two punish windows and commit for five attempts.
Improvising under stress is how Malenia wins.
The clean practice routine (the fastest way to improve)
This is the fastest method to become consistent without needing “perfect reflexes.”
Attempt block 1: 2 attempts with no goal except survival
- Don’t force damage.
- Learn Waterfowl tells and spacing.
- Learn how she ends strings.
Attempt block 2: 3 attempts with only two punish windows
- Choose two safe openings.
- Only punish those.
- One short punish per opening.
Attempt block 3: Phase 2 opener practice
Even if you die later, your goal is:
- survive the dive
- punish safely after it settles
- reset without panic
Once you can reliably survive the opener, Phase 2 becomes a normal fight.
BoostRoom: beat Malenia without burning out
Malenia is one of the most common “momentum killers” in Elden Ring. People don’t quit because they can’t win—they quit because the attempt loop becomes exhausting: Waterfowl deaths, Phase 2 opener deaths, and long fights that get reversed by her healing.
BoostRoom is built for players who want the victory and the progression without turning the game into a frustration marathon.
How BoostRoom helps with Malenia:
Reliable plan building: turn your fight into a repeatable script with safe openings and consistent Waterfowl survival.
Comfort-first tuning: adjust survivability, stamina comfort, and movement feel so your attempts last longer and teach you more.
Wall removal: if Malenia is blocking your entire playthrough, BoostRoom helps you break through and keep exploring the best content.
FAQ
Is Malenia optional?
Yes. She’s an optional endgame boss, which is why her difficulty is tuned far higher than most required fights.
Why does Malenia heal even when I block?
Her healing is tied to landing hits. Blocking can reduce your damage taken, but it doesn’t stop her from regaining health on contact.
What’s the single most important skill for this fight?
Surviving Waterfowl Dance consistently. Once Waterfowl stops ending attempts, the fight becomes about patience and repeatable openings.
How do I stop dying to the Phase 2 opener?
Sprint away as soon as Phase 2 starts, avoid the impact zone first, then avoid the explosion and lingering rot. Only punish after it fully settles.
Is it better to play aggressive or cautious?
Safe aggression is usually best: staying close limits her casting/spacing freedom, but you still punish in short bursts and reset often. Pure caution at long range can make the fight harder because she resets and pressures you on her terms.