What “Good Camera Settings” Actually Do in Rocket League
A great camera doesn’t just “look nice.” It solves three problems that decide most ranked games:
- Information problem (reads): Can you see the next threat early enough to make a calm decision?
- Distance problem (timing): Can you judge whether you can beat a challenge, or whether you must shadow?
- Contact problem (touches): Can you clearly see where your car will meet the ball so your touch goes where you intend?
When your camera is right, you’ll notice:
- You stop panic-flipping because the ball looks predictable.
- You arrive earlier to challenges because you can judge lines sooner.
- You rotate smarter because you can see teammates and opponents without guessing.
- Your touches get cleaner because you can line up contact points more consistently.
When your camera is wrong, the game feels “random.” It isn’t random—you’re just missing information.
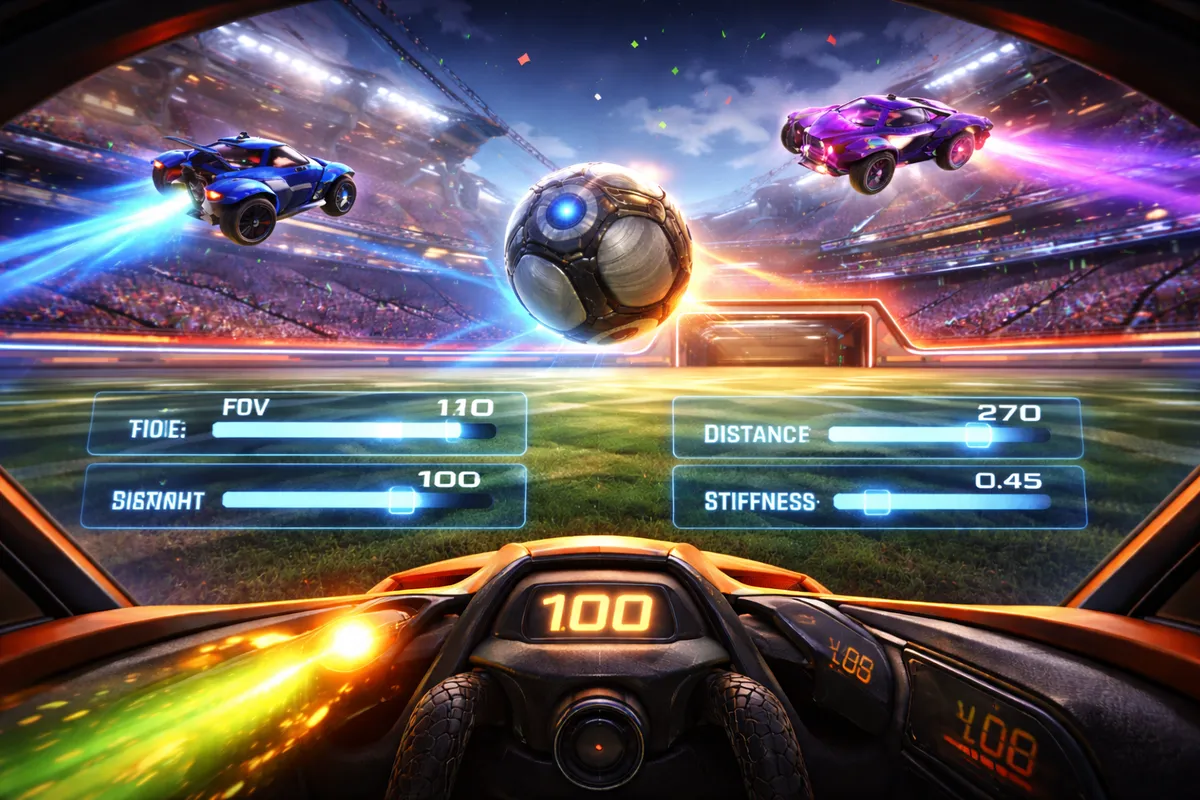
Best Rocket League Camera Settings: 3 Proven Presets (Pick One and Start Playing)
Most strong players end up in similar ranges because Rocket League’s field size and speed demand awareness. The difference is how you balance field vision vs close control.
Use one of these presets as your starting point. Then follow the tuning method later on this page.
Preset A: Balanced Competitive (best for most players)
- FOV: 108–110
- Distance: 265–280
- Height: 95–110
- Angle: -3.0 to -5.0
- Stiffness: 0.40–0.55
- Swivel Speed: 4.0–6.5
- Transition Speed: 1.0–1.5
- Camera Shake: Off
- Ball Cam Indicator: On
Preset B: Awareness-First (for faster reads and safer rotations)
- FOV: 110
- Distance: 275–290
- Height: 105–120
- Angle: -4.0 to -6.0
- Stiffness: 0.35–0.50
- Swivel Speed: 4.0–6.0
- Transition Speed: 1.0–1.4
- Camera Shake: Off
- Ball Cam Indicator: On
Preset C: Control-First (for cleaner dribbles and close touches)
- FOV: 105–110
- Distance: 255–270
- Height: 90–105
- Angle: -2.5 to -4.5
- Stiffness: 0.45–0.65
- Swivel Speed: 4.5–7.0
- Transition Speed: 1.2–1.6
- Camera Shake: Off
- Ball Cam Indicator: On
If you don’t know what to choose, pick Preset A and move on. The fastest improvement is playing with one stable setup, not endlessly tweaking.
Camera Setting Breakdown: What Every Slider Changes (In Real Gameplay)
Here’s what each setting affects and the specific mistakes it can fix (or cause).
Field of View (FOV)
- Higher FOV shows more of the field at once, helping you spot opponents, demos, and passing lanes sooner.
- Lower FOV makes the ball and car look bigger, which can feel easier for close touches—but it reduces awareness.
Practical impact:
- Higher FOV usually improves reads and rotation decisions.
- Lower FOV can feel comfortable early but can create “tunnel vision” in ranked.
Camera Distance
- Higher distance gives a wider view and helps you judge threats earlier.
- Lower distance helps precision, especially in dribbles and small adjustments.
Practical impact:
- Too close = you get surprised and misread bounces.
- Too far = touches feel “tiny,” and you may mis-hit the ball under pressure.
Camera Height
- Higher height gives a better top-down view, which improves lane reading and positioning.
- Lower height gives a more “behind the car” feel, sometimes better for dribbling.
Practical impact:
- Too low = the field feels flat; backboard reads get harder.
- Too high = close control can feel awkward until you adapt.
Camera Angle
- More negative angle (tilting down) helps you see the field and lanes.
- Less negative angle feels more level and can help in close dribble vision.
Practical impact:
- Too steep = dribbling can feel visually uncomfortable.
- Too flat = you may misread bounces and aerial approach angles.
Camera Stiffness
- Lower stiffness means the camera moves more fluidly; it can feel smooth for awareness.
- Higher stiffness keeps the camera more “locked” behind your car, which can improve consistency for touches and recoveries.
Practical impact:
- Too low = the camera feels floaty; your touch timing can feel inconsistent.
- Too high = the camera can feel rigid; quick turns can feel harsh.
Swivel Speed
- Higher swivel speed lets you look around faster.
- Lower swivel speed feels smoother but can slow your information checks.
Practical impact:
- Too high = twitchy, dizzy feeling.
- Too low = you can’t check threats quickly enough.
Transition Speed
- This controls how fast the view blends when you switch Ball Cam on/off.
- Faster transitions feel snappier; slower transitions feel smoother.
Practical impact:
- Too fast = toggling can feel jarring.
- Too slow = toggling feels delayed, and you lose information in fast moments.
Camera Shake
- Adds visual shake with speed and collisions.
- It reduces clarity and makes reads harder.
Practical impact:
- Most competitive players keep this off because it’s a pure readability loss.
How to Choose Camera Settings Based on Your Biggest Problem
Instead of guessing, tune your camera based on the mistake you repeat most.
If you whiff aerials because depth feels wrong
- Increase Distance by 5–10
- Increase Height by 5–10
- Keep FOV high (108–110)
- Keep Stiffness mid-range (avoid very low)
If you get surprised by opponents or demos
- Increase Distance by 5–15
- Keep FOV at 110
- Consider slightly more negative Angle
If you can’t dribble and the ball blocks your view
- Decrease Distance by 5–10
- Decrease Height by 5–10
- Use a slightly less negative Angle
If your camera feels floaty and touches feel inconsistent
- Increase Stiffness by 0.05
- Keep Distance in the balanced range
- Don’t over-lower stiffness trying to feel “smooth”
If toggling Ball Cam makes you dizzy
- Lower Swivel Speed slightly
- Lower Transition Speed slightly (smoother)
- Practice toggling drills (later in this page)
A good setup isn’t the one that feels perfect instantly—it’s the one that becomes predictable after a few sessions.
Ball Cam vs Car Cam: The Rule That Unlocks Faster Reads
Camera settings work best when you use the correct camera mode at the correct time.
Ball Cam is best for:
- defense and shadowing
- challenges and 50/50s
- aerial reads and backboard plays
- rotating and tracking pressure
- wall bounces and corner rebounds
Car Cam is best for:
- dribbling and close control
- grabbing boost pads precisely
- tight turns and recoveries when the ball isn’t your immediate target
- lining up bumps/demos
- some shots where car alignment matters more than ball tracking
Simple rule that ranks you up:
- Use Ball Cam most of the match for information.
- Toggle to Car Cam only for precision moments.
Many players think “Ball Cam vs Car Cam” is preference. It’s not. It’s a skill—and mastering it makes your reads faster immediately.
The “One Change at a Time” Method (So You Don’t Ruin Your Muscle Memory)
The biggest camera mistake is changing five settings at once, playing two matches, then changing everything again.
Use this method instead:
- Pick one preset (Balanced, Awareness-First, or Control-First).
- Play 10–15 matches with it.
- Identify your single biggest camera-related issue.
- Change only one value in a small step:
- Distance: ±5 to ±10
- Height: ±5 to ±10
- Angle: ±0.5 to ±1.0
- Stiffness: ±0.05
- Swivel/Transition: ±0.2 to ±0.5
- Play another 10–15 matches before adjusting again.
This method feels slow, but it prevents the “camera chaos loop” where you never adapt, so nothing ever feels consistent.
Free Play Drills to Adapt Faster (So Your Settings Work in Ranked)
A camera can feel fine while driving around—but break down at speed. These drills make your camera reliable under real match conditions.
Drill 1: Wall Bounce Reads
- Hit the ball into the side wall at different speeds.
- Follow the rebound and try to touch it after the bounce.
- Goal: learn how rebounds look from your camera distance and angle.
Drill 2: Backboard Drop Control
- Chip the ball high toward the backboard.
- Drive to the goal line and watch the ball drop.
- Clear it safely to the side (not the middle).
- Goal: improve vertical reads and save angles.
Drill 3: Touch → Recover → Touch
- Tap the ball forward.
- Immediately turn away like you’re rotating out.
- Powerslide turn back in and touch again.
- Goal: train your camera to “re-center” and improve recovery speed.
Drill 4: Ball Cam Toggle Comfort
- Drive toward boost pads in Car Cam to collect them cleanly.
- Toggle Ball Cam to check the ball’s location.
- Toggle back off, then repeat.
- Goal: toggling becomes automatic, not disorienting.
Drill 5: First Touch Direction
- Approach the ball from a slight angle.
- Touch it intentionally to:
- the corner,
- the side wall,
- or a controlled lane in front of you.
- Goal: your touches stop being random and start being planned.
Ten minutes a day of these drills does more than hours of “just queue ranked.”
Camera Settings and Touch Quality: Why You Keep Hitting It “Wrong”
A better touch isn’t always a stronger touch. It’s a touch that creates advantage:
- possession (you can touch again)
- pressure (forces a bad save or awkward clear)
- safety (removes danger without giving up a shot)
Your camera affects whether you can see the contact point clearly:
- Hitting the center of the ball for power
- Hitting the side for direction
- Hitting underneath for lift
- Using the car corner to force a 50/50 angle
When your camera is stable and predictable, you start choosing touches on purpose:
- “Soft touch to the corner so I can follow.”
- “Backboard hit to force a rebound.”
- “Wide clear, not center.”
- That’s how your touches become cleaner and your reads become faster.
Camera Settings by Playlist: 1v1, 2v2, and 3v3
You don’t need a different camera for every mode, but knowing each playlist’s demands helps you tune smarter.
1v1 (Duel)
- You need control and opponent awareness at the same time.
- Control-First or Balanced usually fits best.
- If you love dribbles, slightly lower Distance can help—but don’t sacrifice awareness so much that you get surprised on counters.
2v2 (Doubles)
- Spacing and quick challenges decide everything.
- Balanced is the safest choice for most players.
- High FOV and decent Distance help you see both opponents and your teammate’s position.
3v3 (Standard)
- Team shape and rotation lanes matter most.
- Awareness-First tweaks can help, especially slightly higher Distance/Height.
- Seeing passing lanes and counter threats early prevents double-commits and panic clears.
The best camera is the one that keeps you calm in defense and accurate in your touches.
Screen Size, Seating Distance, and Why “Perfect Settings” Don’t Exist
Two players can use the same camera numbers and experience the game differently because of:
- monitor size
- how close they sit to the screen
- console vs PC performance
- input delay and frame stability
Practical guidance:
- If you sit close to a large display, extreme distance can feel overwhelming—stay more balanced.
- If you sit far from a smaller display, slightly higher distance and high FOV can help you read the whole field.
- If performance feels inconsistent, fix stability first—no camera setting can fully compensate for input delay.
Your goal is comfort plus clarity. If you feel calm and informed, you’ll play better.
The 12 Practical In-Match Rules for Faster Reads and Better Touches
Use these rules every session. They make your camera settings “convert” into ranked wins.
- Keep Camera Shake off for clearer reads.
- Use Ball Cam on defense and when challenging.
- Toggle Car Cam for dribbles and boost collection precision.
- Rotate wide so your camera has a clean angle on the play.
- Avoid ball-side rotating through teammates (it creates camera chaos and double-commits).
- Don’t flip into every touch—flip only when lined up.
- Approach the ball from the side when you want control; from behind when you want power.
- Clear to corners, not the middle.
- If you’re last back, shadow instead of diving—your camera will show the attacker’s mistake.
- When you feel lost, back up and widen your angle instead of rushing forward.
- Use small boost pads on rotation so you stay involved and don’t panic.
- After your touch, recover immediately—touch quality includes what you do next.
These rules are simple, but they reduce the exact mistakes that keep most players stuck.
BoostRoom: Lock In Your Best Camera Settings and Climb Faster
If you’re tired of guessing settings and still whiffing under pressure, BoostRoom helps you build a setup and playstyle that actually fits you.
With BoostRoom, you can get:
- Camera and settings calibration based on your screen, comfort, and main playlist
- Replay analysis that pinpoints whether your camera usage (Ball Cam toggles, awareness gaps) causes late challenges and bad touches
- Personal drills built around your exact camera settings so you adapt faster
- A climbing plan that turns better reads into more wins—because wins are what move your rank
Instead of “trying random pro settings,” you’ll have a clear, tested setup and a routine that makes your touches and decision-making noticeably sharper.
FAQ
What are the best Rocket League camera settings for most players?
A strong starting point is FOV 108–110, distance 265–280, height 95–110, angle -3 to -5, stiffness around 0.40–0.55, camera shake off, and moderate swivel/transition speeds.
Should I use 110 FOV?
110 is popular because it improves awareness. If the ball feels too small, adjust distance/height first rather than dropping FOV a lot.
Why do I whiff more after changing camera settings?
Your brain needs time to recalibrate depth and timing. Stick with a setup for at least 10–15 matches before judging it.
What stiffness is best for cleaner touches?
Mid-range stiffness usually works best. Too low can feel floaty; too high can feel rigid. Adjust in small steps (0.05).
Is Ball Cam always better?
Ball Cam is best for reads, defense, and challenges. Car Cam is best for dribbles, boost pickup precision, and some recoveries. Most strong players use Ball Cam most of the time and toggle for precision.
What transition speed should I use?
Most players prefer a moderate transition so toggles feel quick but not jarring. If toggling feels disorienting, lower it slightly; if it feels slow, raise it slightly.
Do I need different camera settings for 1v1, 2v2, and 3v3?
Not required. One balanced camera works fine. Small tweaks can help if your playstyle strongly favors dribbling (1v1) or awareness (3v3).
How do I stop changing settings every day?
Use the one-change method: change one slider, play 10–15 matches, then evaluate. Consistency beats constant tweaking.



